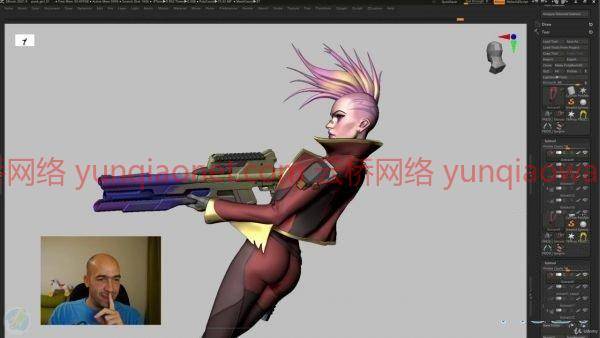
Zbrush课程中风格化的赛博朋克女孩制作视频教程
语言:英语+中文字幕(云桥CG资源站 机译)+原英文字幕 |大小解压后:33.3 GB |时长:30.5小时 1280X720 mp4
学习如何用坚硬的表面武器和配件制作一个风格化的角色
你会学到什么
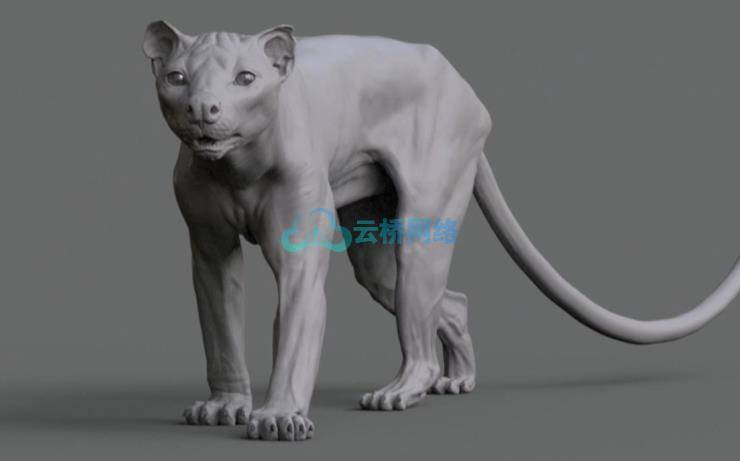
创建风格化的解剖结构
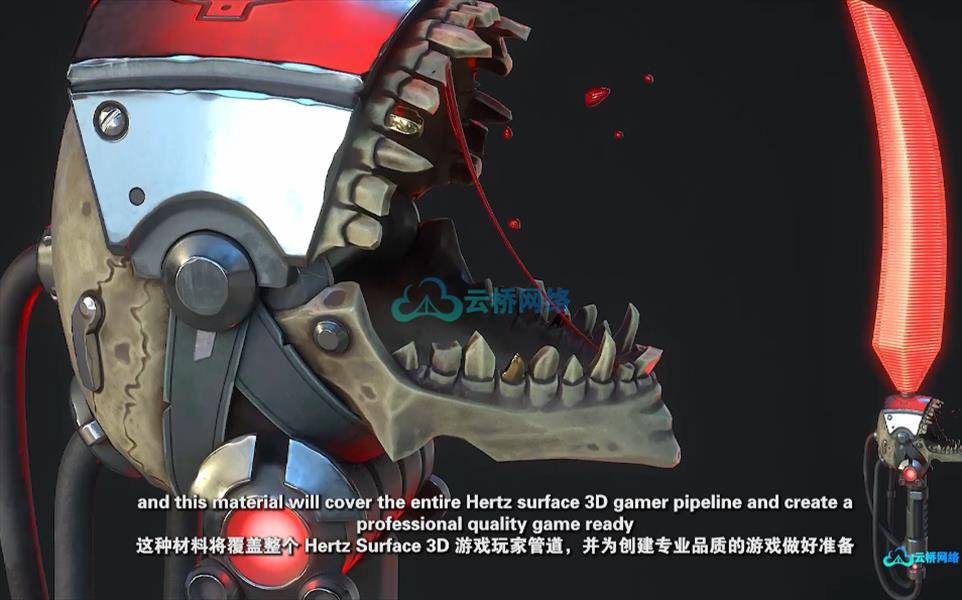
在Zbrush中创建硬表面武器和配件
用Zbrush和Photoshop进行造型和渲染
描述
前几个视频免费预览。
你希望能够创建一个风格化的脸吗?一个程式化的身体,衣服,说实话——一个完整的角色?那也许你来对地方了!
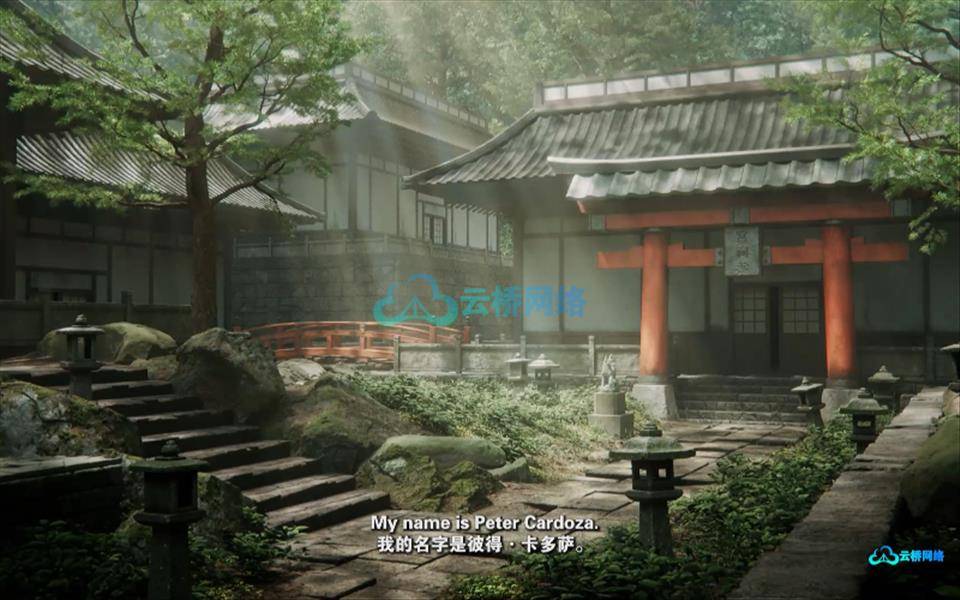
我的名字是尼科,我已经做了11年的3D角色艺术家。我的热情一直是风格化的角色,在过去的2年里,我创作了20多个风格化的角色,我觉得我已经准备好教你如何自己创作了。
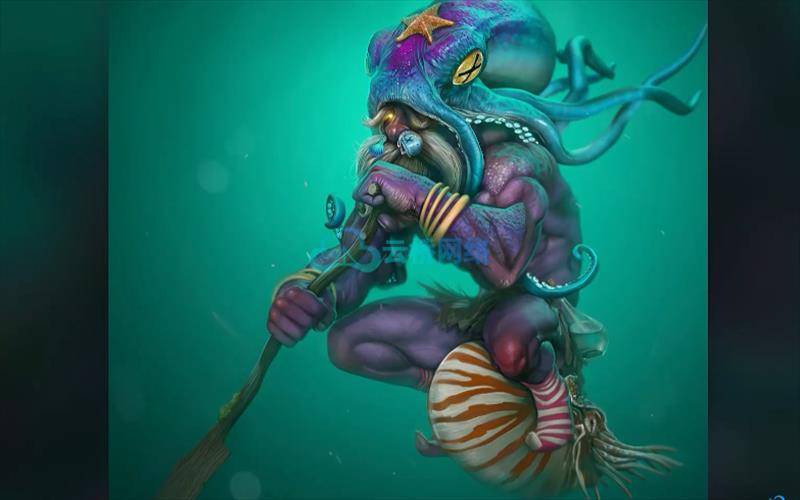
在本课程中,如果你选择接受,你将从概念学习如何用衣服、配饰和一把大枪来塑造一个风格化的女性赛博朋克角色。全部从零开始,全部只用Zbrish,使用最新的技术,当然还有@artofmaki的伟大理念。
我们将从两个简短的视频开始,分别是定制Zbrush用户界面和用最常用的操作制作定制菜单,以实现更高效、更快速的工作流程。
然后我们将真正开始模型,通过制作头部。我就说说头部解剖,常见错误和程式化的方法。然后我们将制作眼睛,并制作有趣的莫霍克发型。之后我们将制作躯干、手、脚和手指,同时也讨论解剖学和风格化。然后我们将开始我们的3D草图,以便更好地想象角色在建立时的样子。接下来,我们将把注意力转向她的衣服和配饰的各个部分,从夹克开始。之后,我们将做肩部和她的衣领或颈部盔甲的硬表面造型。然后我们会跳到手套和皮带上。我们会有一点挣扎,但最终胜利是在她臀部做了防毒面具。
之后,我们将得到护膝,并直接去模型的靴子。靴子会花费我们一些时间和精力,但我们也会在这场战斗中取得胜利。
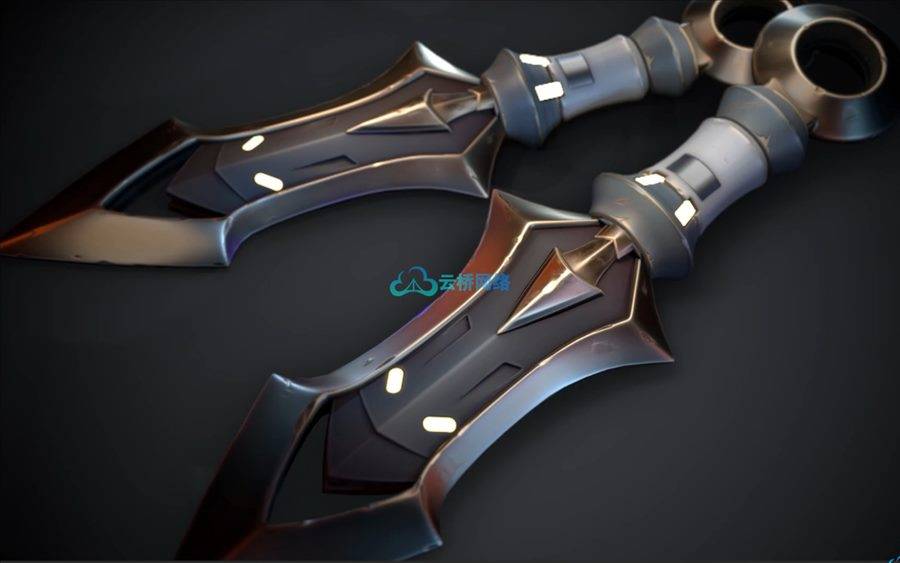
然后是制作武器的时候了,这是我们角色中最复杂的坚硬表面部分,但我会引导你如此顺利地完成从简单形式到细节的制作过程,以至于你再也不会想到在Zbrush之外制作坚硬表面的东西了!
然后,在我们把武器和我们的女孩结合起来之后,游戏准备好的高聚网的工作就完成了。不过,我们会继续,因为为了展示,一个好的姿势总是胜过一个t型姿势。我们将根据概念来制作姿势。
将会有戏剧,眼泪,笑声,最后我们将会再次获胜,带着快乐的心将会完成渲染过程,并在Photoshop中结合它们来实现最终的美丽渲染。
本课程主要面向中级Zbrush用户,但是如果您是初学者,并且您觉得有冒险精神,您可以尝试一下(并且在观看了前几个视频后,请查看我的绝对初学者Zbrush课程,然后再回到本课程:)
那么你是不是觉得要学习一些新的技能,诀窍,提升自己呢?如果是这样,我会在课程的第一个视频里等你!还有其他所有的…:)
本课程面向谁:
想学习风格化人物艺术的中级Zbrush用户
课程目录:
1.介绍
2.定制Zbrush以加快工作流程
3.在Zbrush中制作自定义菜单
4.从头部开始
5.制造头部2
6.制造头部3
7.做眼睛
8.制造头部5
9.给头涂息肉
10.测试新的头部外观
11.如何开口
12.画龙点睛
13.开始发丝
14.制作头发部分2
15.制作躯干
16.制作腿部1
17.制作腿部2
18.启动手臂
19.做手指
20.调整手臂,做胸
21.精炼身体
22.完成身体
23.开始三维草图
24.制作夹克的底部
25.制作三维草图第3部分
26.制作三维草图靴
27.制作三维草图第5部分
28.制作枪的三维草图
29.完成三维草图
30.精制夹克
31.制作夹克边框
32.制作护套零件2
33.发出声音
34.制作肩部2
35.制作领甲
36.36制作衣领部分2
37.制作胸罩,开始手套和一个小脱轨
38.制作手套
39.开始穿裤子
40.制造皮带部分1
41.制造皮带部分2
42.制造皮带部分3
43.启动防毒面具
44.制造防毒面具部分2
45.制造防毒面具部件3
46.制造防毒面具部件4
47.制造防毒面具部件5
48.完成防毒面具
49.制作护膝第1部分
50.制作护膝第2部分
51.制作鞋底
52.制作靴子第2部分
53.制作靴子第3部分
54.制作靴子第4部分
55.快完成靴子了
56.靴子细节
57.制作鞋底
58.配件的细节和整理
59.配件详图第2部分
60.启动武器
61.制造武器第二部分
62.制造武器第三部分
63.制造武器第4部分
64.制造武器第五部分
65.制造武器零件6
66.制造武器零件7
67.制造武器零件8
68.快完成武器了
69.完成武器并将其附加到女孩身上
70.开始摆姿势
71.制作姿势第2部分
72.挣扎着摆姿势第三部分
73.完成整体造型
74.清洁和固定姿势部分1
75.清洁姿势第2部分
76.最终精选
77.进行渲染过程
78.在Photoshop第1部分制作一个漂亮的渲染
79.完成渲染
80.再见
Stylized Cyberpunk girl in Zbrush course
Language: English | VTT | Size: 33.2 GB | Duration: 30.5 hours
Learn how to make a stylized character with hard surface weapon and accessories only in Zbrush
Stylized Cyberpunk girl in Zbrush course
What you’ll learn
Creating a stylized anatomy
Creating hard surface weapon and accessories in Zbrush
Posing and rendering with Zbrush and Photoshop
Description
First few videos are free for preview.
Would you like to be able to create a stylized face? A stylized body, clothes and let’s be honest – a whole character? Then maybe you have come to the right place!
My name is Niko and i’ve been a 3D character artist for over 11 years. My passion were always the stylized characters and with more than 20 stylized characters done by me in last 2 years i feel ready to teach you how to do one yourself.
In this course, if you choose to accept it, you will learn how to create a stylized female cyberpunk character with clothes, accessories and a big gun from concept. All from scratch, all only in Zbrish, using the latest technology and of course the great concept from @artofmaki.
We will start with two short videos of customizing the Zbrush UI and making a custom menu with most used operations for more efficient and fast workflow.
We will then really start the model, by making the head. I will talk about head anatomy, common mistakes and ways to stylize. Then we will make the eyes and will model the interesting mohawk hair. After that we will make the torso, hands, feet and fingers, while talking about anatomy and stylization too. Then we will start our 3D sketch in order to imagine better what the character will look like when fnished. Next we will turn our attention to the individual parts of her clothing and accessories by starting with the jacket. After that we will do the hard surface modelling of the shoulders and her collar or neck armor. Then we will jump to the gloves and also the belts. We will struggle a bit, but finaly triumph with the making of the gas mask on her hip.
After that we will get to the knee pads and go straight to model the boots. The boots will take us some time and effort, but we will be victorious in this battle too.
Then it will be time to make the weapon, which is the most complicated hard surface part in our character, but i will guide you so smoothly trough the process of making it from simple forms to the details, that you will never think of making hard surface things outside of Zbrush ever again!
Then, after we combine the weapon with our girl, the work on the game ready high poly mesh will be completed. We will continue, though, because for presentation, a nice pose always wins over a t-pose. And we will make the pose from the concept.
There will be drama, tears, laughter and finaly we will, once again be victorious and with happy hearts will do render passes and combine them in Photoshop to achieve the final beauty render.
This course is mainly for intermediate Zbrush users, but if you are a beginner and you feel adventurous, you may give it a try (and after the first few videos go and check out my Absolute beginners Zbrush course, and then get back to this one :))
So do you feel like learning some new skills, tricks and improving yourself? If so, i will wait for you in the first video of the course! Aaand also in all the others…:)
Who this course is for:
Intermediate Zbrush users who wants to learn the art of stylized characters
1. Intro
2. Customizing Zbrush for faster workflow
3. Making a custom menu in Zbrush
4. Starting the head
5. Making the head part 2
6. Making the head part 3
7. Making the eyes
8. Making the head part 5
9. Polypainting the head
10. Testing a new look of the head
11. How to open the mouth
12. Polypaint the head tatoos
13. Starting the hair
14. Making the hair part 2
15. Making the torso
16. Making the legs part 1
17. Making the legs part 2
18. Starting the arms
19. Making the fingers
20. Adjusting the arms and making breasts
21. Refining the body
22. Finishing the body
23. Starting the 3d sketch
24. Making the base of the jacket
25. Making the 3d sketch part 3
26. Making the 3d Sketch boots
27. Making of the 3d Sketch part 5
28. Making the 3d sketch of the gun
29. Finalizing the 3d sketch
30. Refining the jacket
31. Making the jacket border
32. Making the jacket part 2
33. Making the shouder
34. Making the shoulder part 2
35. Making the collar armor
36. 36 Making the collar part 2
37. Making the bra, starting gloves and a small derail
38. Making the gloves
39. Starting the pants
40. Making the belts part 1
41. Making the belts part 2
42. Making the belts part 3
43. Starting the gas mask
44. Making the gas mask part 2
45. Making the gas mask part 3
46. Making the gas mask part 4
47. Making the gas mask part 5
48. Finishing the gas mask
49. Making the knee pads part 1
50. Making the knee pads part 2
51. Making the soles
52. Making the boots part 2
53. Making the boots part 3
54. Making the boots part 4
55. Almost finishing the boots
56. Detailing the boots
57. Making the sole tread
58. Detailing and finishing the accessories
59. Detailing accessories part 2
60. Starting the weapon
61. Making the weapon part 2
62. Making the weapon part 3
63. Making the weapon part 4
64. Making the weapon part 5
65. Making the weapon part 6
66. Making the weapon part 7
67. Making the weapon part 8
68. Almost finishing the weapon
69. Finisning the weapon and append it to the girl
70. Starting the pose
71. Making the pose part 2
72. Struggling with the pose part 3
73. Finishing the overall pose
74. Cleaning and fixing the pose part 1
75. Cleaning the pose part 2
76. Final cleaning
77. Making the render passes
78. Making a nice render in Photoshop part 1
79. Finalizing the render
80. Goodbye
1、登录后,打赏30元成为VIP会员,全站资源免费获取!
2、资源默认为百度网盘链接,请用浏览器打开输入提取码不要有多余空格,如无法获取 请联系微信 yunqiaonet 补发。
3、分卷压缩包资源 需全部下载后解压第一个压缩包即可,下载过程不要强制中断 建议用winrar解压或360解压缩软件解压!
4、云桥CG资源站所发布资源仅供用户自学自用,用户需以学习为目的,按需下载,严禁批量采集搬运共享资源等行为,望知悉!!!
5、云桥CG资源站,感谢您的关注与支持!