持续时间1h 30m 包括项目文件 1280X720 MP4 大小解压后:1.67G 语言:英语+中文字幕(机译)
电影制作入门版虚幻引擎4
信息:
能运行虚幻引擎4和Blender的电脑。可以导入最终电影的NLE软件。
操作系统Windows 10 64位处理器四核Intel或AMD,2.5 GHz或更快内存8 GB RAM显卡/DirectX Version DirectX 11或DirectX 12兼容显卡
描述
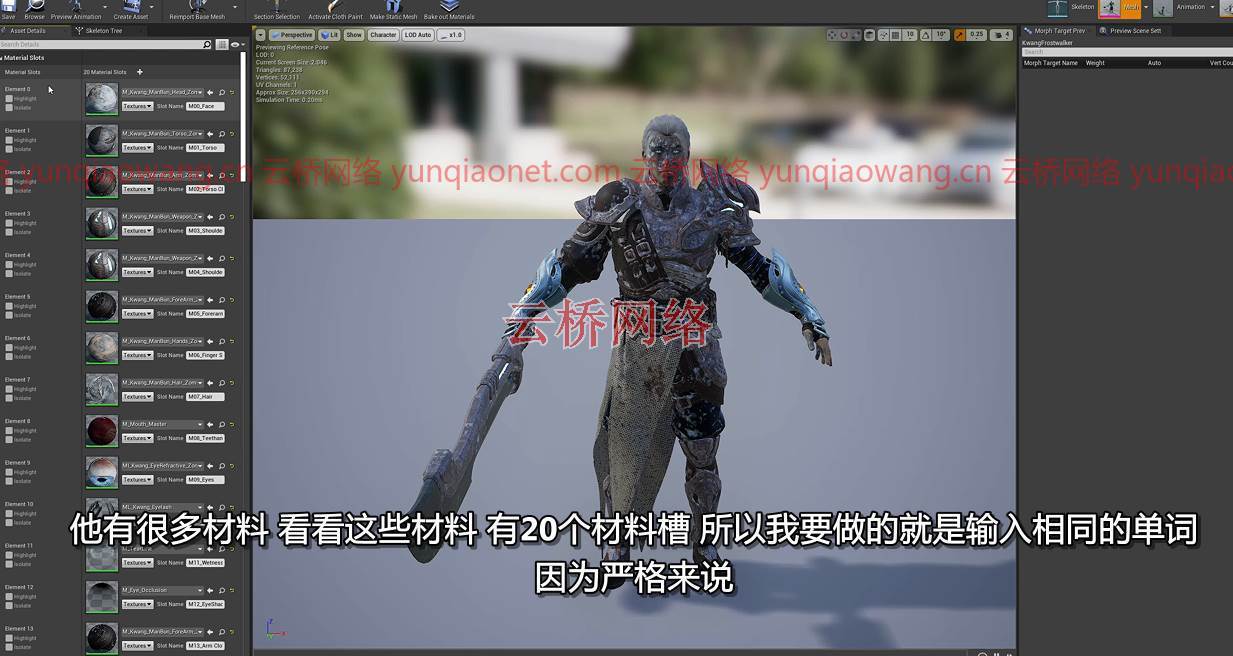
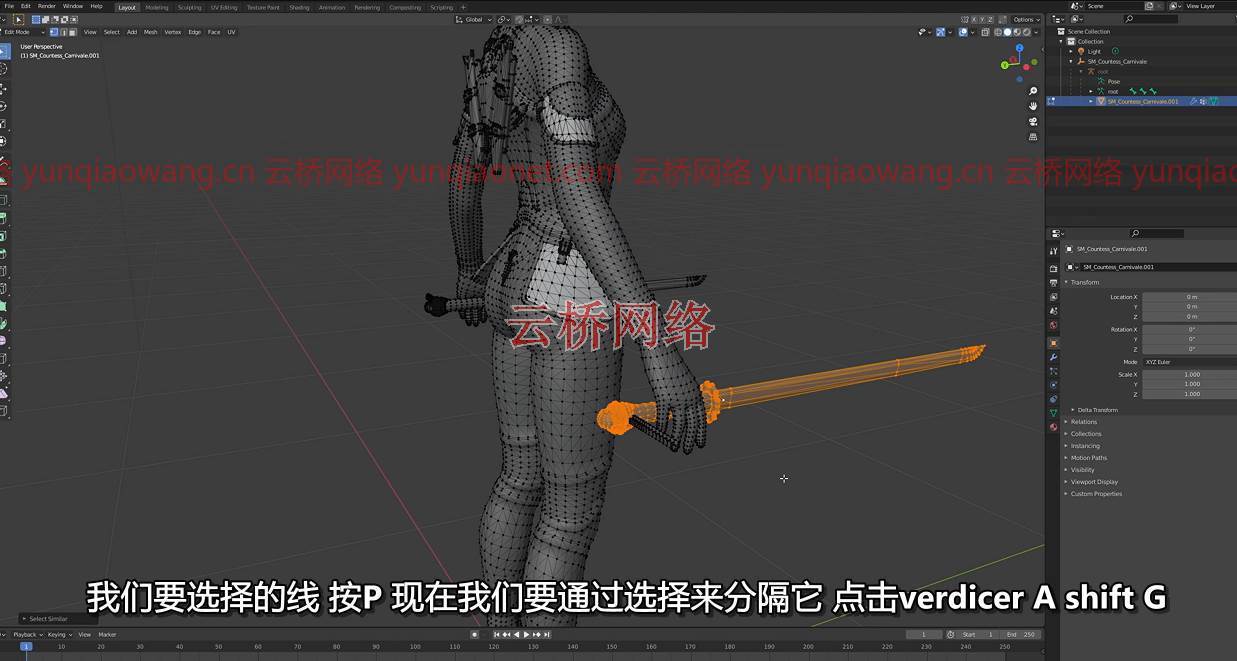
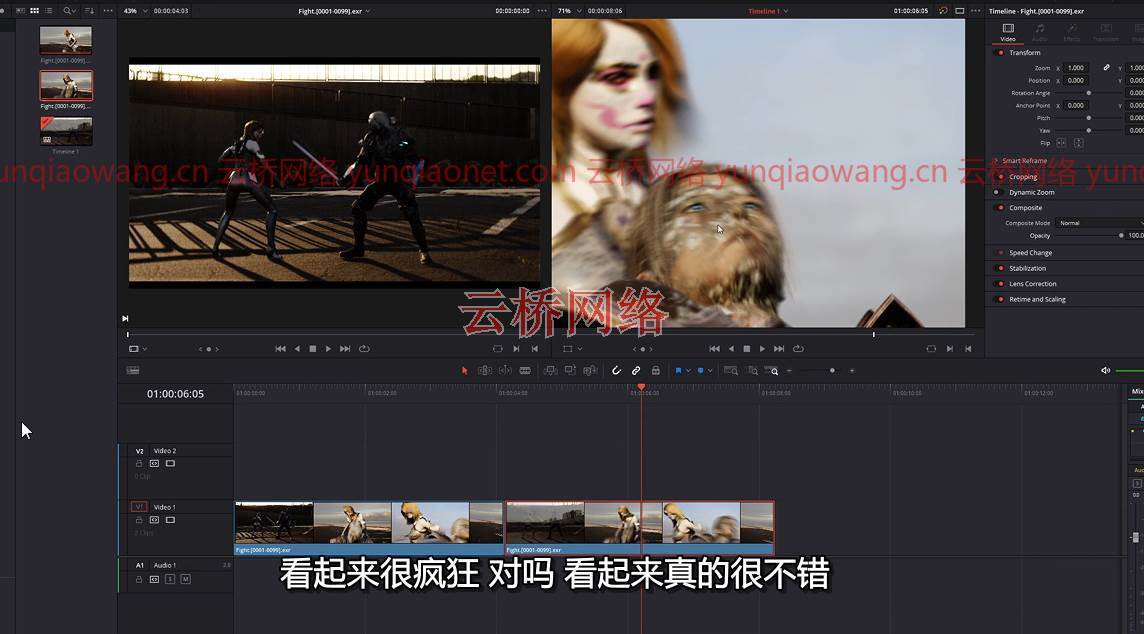
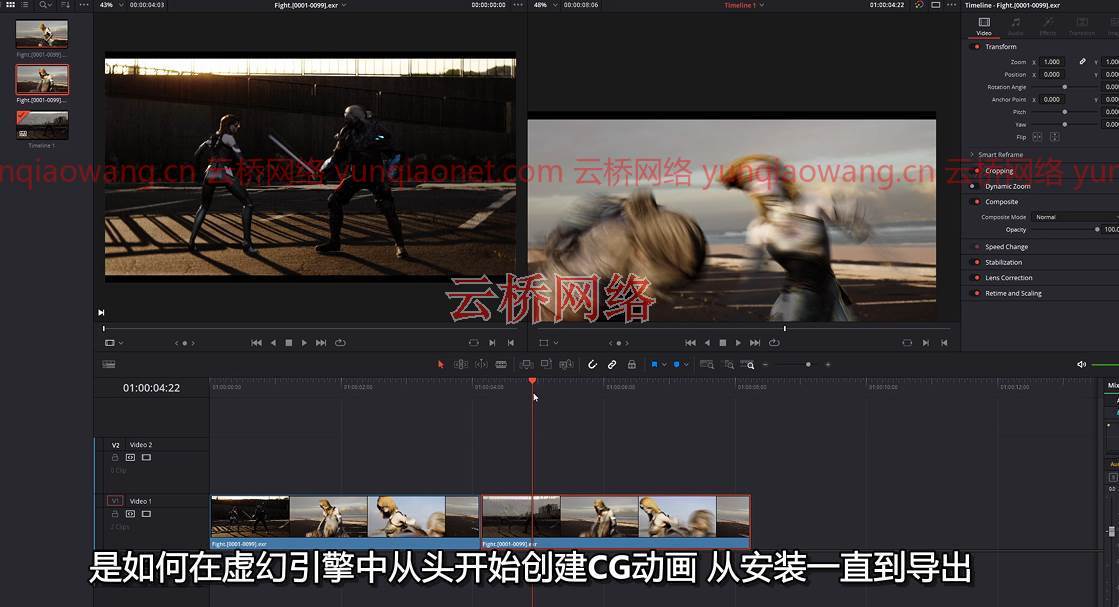
因此,今天我将与大家分享我的第一个付费课程,我称之为电影制作初学者版学习虚幻引擎4。这门课程是为那些第一次想尝试虚幻引擎的人准备的。在1小时40分钟内,你将从安装虚幻引擎4到在虚幻引擎4中导出你的第一个动画。这个课程对英雄来说是0分,意味着你将从对虚幻引擎一无所知到能够导出cg动画电影。我们将涵盖的一些主题将是史诗市场,导入动画,重定向动画,在搅拌机中操纵cg并将其重新导入虚幻,使用相机,使用电影序列器,使用头发梳理资产,光线跟踪,电影渲染队列,我的意思是我可以继续下去。我在这个短训班里学了很多东西。最重要的是,我们不会使用任何蓝图。最后,我尽我最大的努力只使用免费的资源,所以你们可以跟随,但我确实购买了一个动画用于本教程,以增加趣味性,我也买了头发,但不要担心我也使用免费的动画。像往常一样,感谢大家对你虚幻引擎之旅的支持和好运。

引言&第一部分:
1.安装虚幻引擎4。
2.从市场下载资产
3.创建项目
4.将下载的资产加载到项目中
5.导出FBX文件
6.下载Blender(免费软件)
7.在Blender中导入FBX,然后导出回虚幻引擎4
第二部分:
1.浅谈骨骼系统
2.重新定位免费动画/修复问题
3.创建电影序列器
4.在序列器中加载动画
第三部分
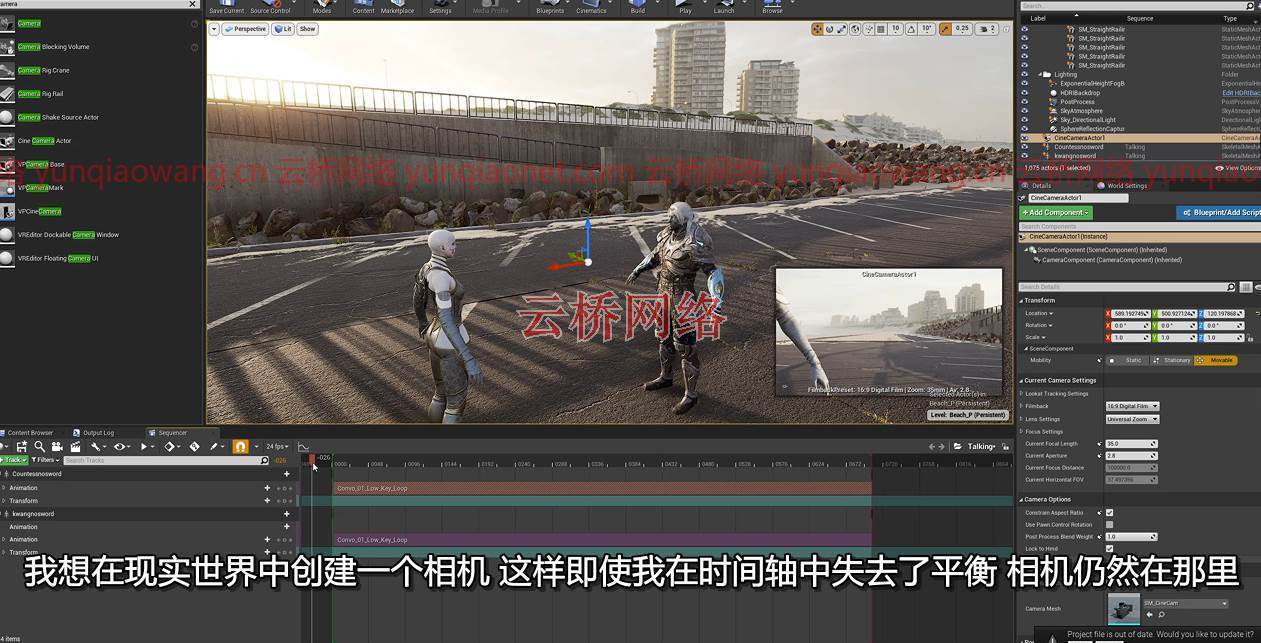
1.添加摄像机
2.使用相机
3.购买头发资产[可选]
4.启用培训插件
5.导入头发资产
第四部分。
1.使用美发资产
2.更多相机设置(手动对焦、参考线)
3.加载付费动画[可选]
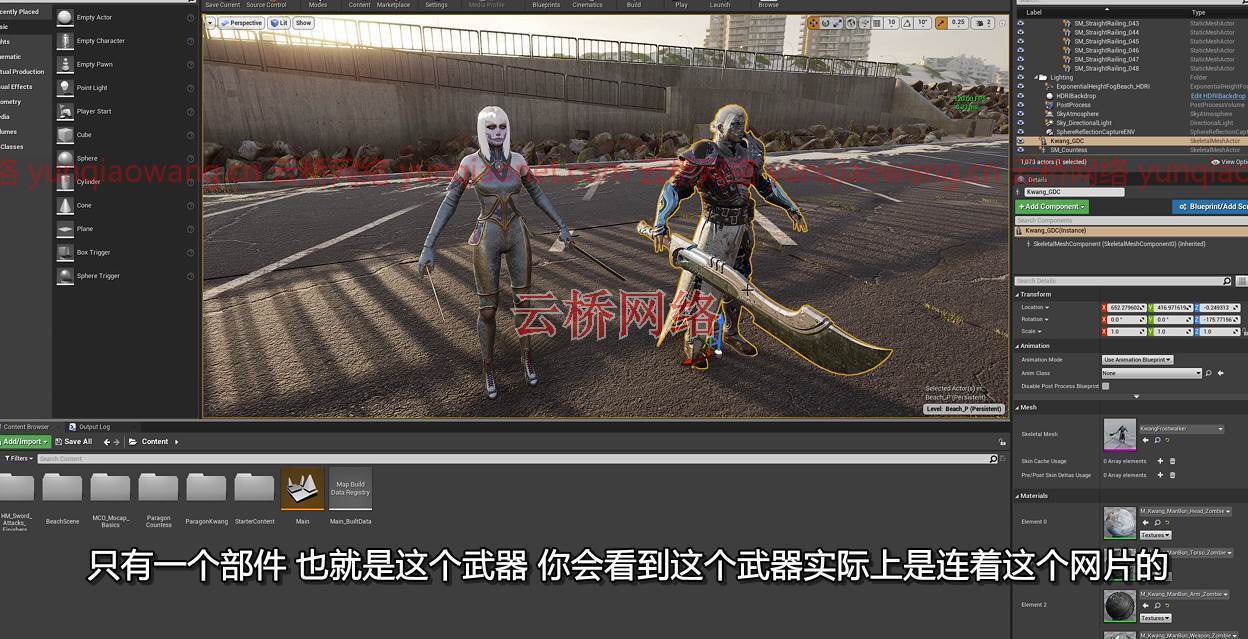
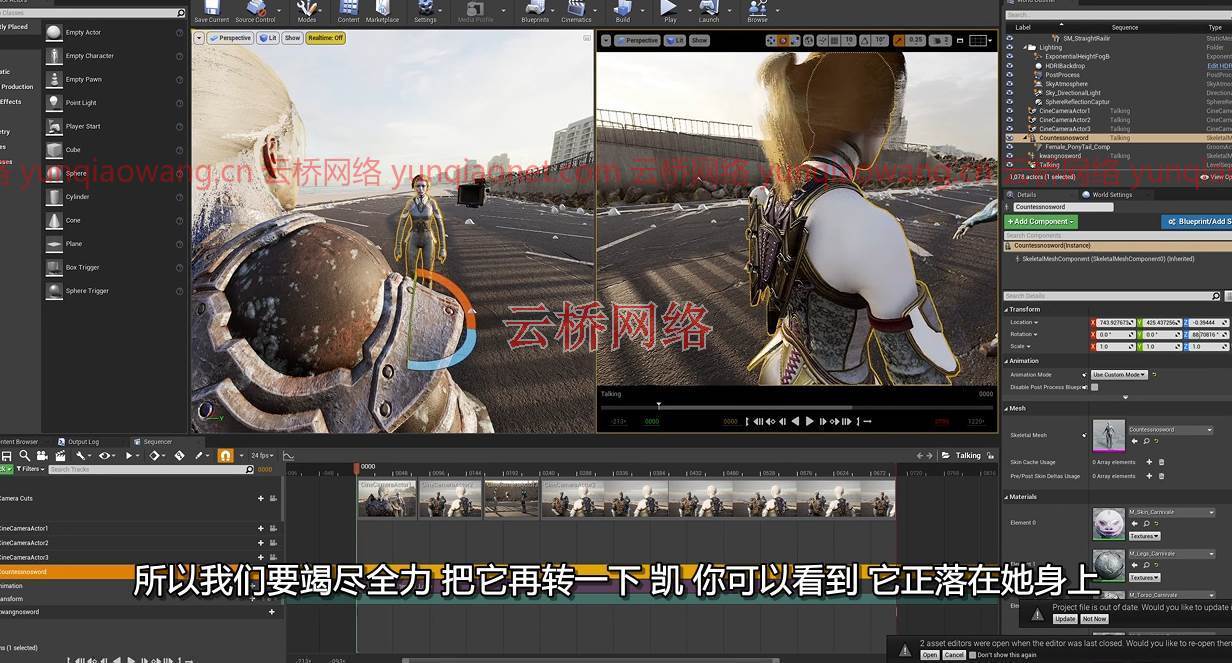
4.将武器与角色绑定
5.更多的相机削减更多的相机抖动
第五部分。
1.电影渲染队列
2.启用光线追踪
3.查看解决方案中的最终视频[可选]
4.非射线追踪出口与射线追踪出口的快速比较。
5.结局。
本课程面向谁:
初级虚幻引擎4用户
虚幻引擎4学生
动画学生
CG动画师
虚拟生产学生
VFX学生
blender用户

Duration 1h 30m Project Files Included MP4
Info:
Computer that can run Unreal Engine 4 and Blender. NLE software that can import final movie.
Operating System Windows 10 64-bit Processor Quad-core Intel or AMD, 2.5 GHz or faster Memory 8 GB RAM Video Card/DirectX Version DirectX 11 or DirectX 12 compatible graphics card
Description
So today i will share with you my very first paid course that i call Learn Unreal Engine 4 for Filmmaking Beginners Edition. This course is for you guys out there who are wanting to try unreal engine for the very first time. In 1 hour and 40 minutes you will go from installing unreal engine 4 to exporting your very first animation in unreal engine 4. This course is a 0 to hero meaning you will go from knowing nothing inside unreal engine to being able to export a cg animated movie. Some of the topics we will cover will be the epic marketplace,importing animations,retargeting animations,manipulating cg in blender and reimport it back to unreal,working with cameras,using the cinematic sequencer,working with hair groom assets,ray tracing,movie render queue i mean i can go on and on.I covered alot of stuff in this short course. And best of all, we will not be using any blueprints whatsoever. Lastly, i tried my best to only use free assets so you guys can follow along but I did purchase an animation to use for this tutorial to spice things up and I bought hair as well but dont worry i used free animations too. Like always, thank you all for the support and good luck with your unreal engine journey.
Unreal Engine 4 for Filmmaking Beginners Edition
Introduction & Part 1:
1. Installing Unreal Engine 4.
2. Downloading Assets from the Marketplace
3. Creating a project
4. Loading downloaded assets to the project
5. Exporting FBX Files
6. Downloading Blender (free software)
7. Importing FBX in Blender then exporting back to Unreal Engine 4
Part 2:
1. Discussing the Skeleton System
2. Retargeting free Animations/fixing issues
3. Creating a cinematic sequencer
4. Loading animations in sequencer
Part 3
1. Adding cameras
2. Working with cameras
3. Purchasing hair asset [Optional]
4. Enabling Groom Plugin
5. Importing Hair asset
Part 4.
1. Working with Groom Hair Asset
2. More camera settings (manual focus,guides)
3. Loading paid animation [Optional]
4. Binding weapon to characters
5. More camera cuts more camera shake
Part 5.
1. Movie render queue
2. Enabling Raytracing
3. Looking at final video in Resolve [Optional]
4. Quick comparison of non-ray traced export vs ray traced.
5. The end.
Who this course is for:
Beginner Unreal Engine 4 users
Unreal Engine 4 students
Animation students
CG animators
Virtual Production students
VFX students
Blender users
1、登录后,打赏30元成为VIP会员,全站资源免费获取!
2、资源默认为百度网盘链接,请用浏览器打开输入提取码不要有多余空格,如无法获取 请联系微信 yunqiaonet 补发。
3、分卷压缩包资源 需全部下载后解压第一个压缩包即可,下载过程不要强制中断 建议用winrar解压或360解压缩软件解压!
4、云桥CG资源站所发布资源仅供用户自学自用,用户需以学习为目的,按需下载,严禁批量采集搬运共享资源等行为,望知悉!!!
5、云桥CG资源站,感谢您的关注与支持!