时长16h 51m 1280X720 MP4 语言:英语 大小解压后:10.8G
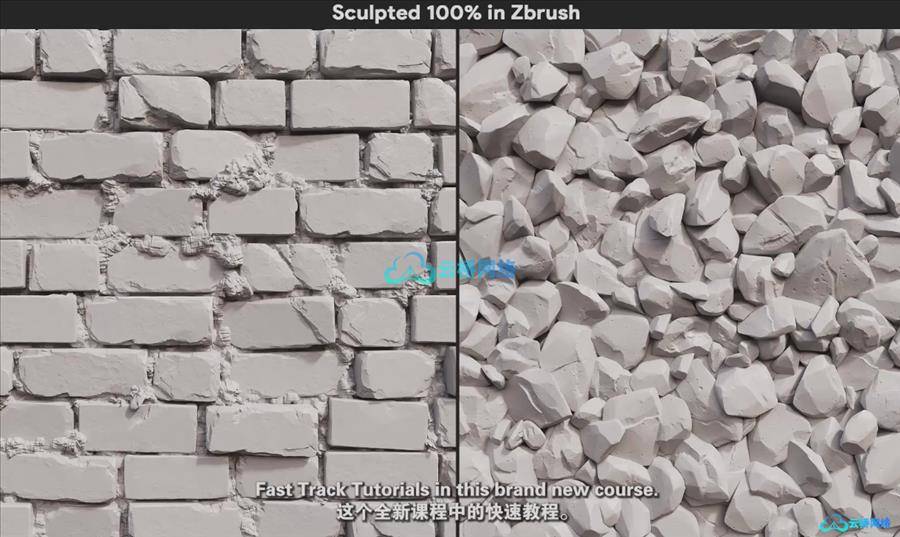
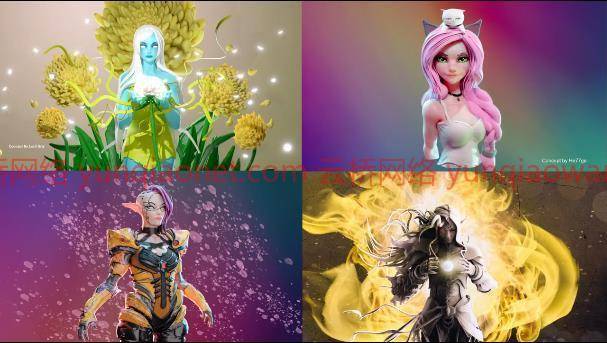
标题:技能分享–Zbrush–塑造风格化角色
信息:
在本课程中,您将学习:
–Zbrush的雕刻技术
–人物塑造的基本解剖和比例
–分析参考和要寻找的内容
-挡住你的角色
–为你的角色创造高细节
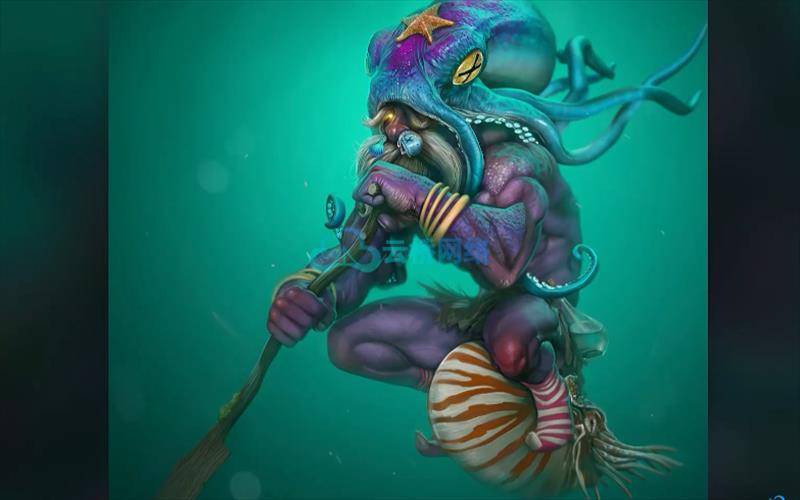
–塑造你的角色,尝试造型语言
–在Zbrush中制作头发
–在兹布拉什打造盔甲
–Zbrush中的UV和纹理
–将高多边形数据传输到低多边形网格
-在兹布鲁什摆姿势
–Zbrush中的照明和渲染
–从Zbrush导出到Photoshop
–使用Photoshop创建作品的最终图像
这个班对初学者友好!我解释一路上的每一步,以确保你不会错过一拍。如果你有任何问题,请随时联系我,我会尽快帮助你!
如果你觉得Zbrush的用户界面很有挑战性,我建议你去看看我的课Zbrush For初学者!这是Zbrush提供的主要工具和功能的完整概述,它将帮助您了解如何使用该程序!您将需要一台可以运行Zbrush的工作计算机和该软件的许可证。如果你没有Zbrush的永久许可证,我相信他们现在提供每月订阅,让学生和初学者更容易获得它!
课程目录:
01简介。
02入门-设置和界面。
03设置参考。
04雕刻基头。
05塑造眼睑。
06塑造鼻子1。
07塑造嘴巴。
08雕刻耳朵。
09塑造你的角色-第1部分。
10塑造你的角色-第2部分。
11颈部和躯干。
12躯干续。
13开始头发。
14创建自定义画笔。
15绘制发束-第1部分。
16绘制发束-第2部分。
17塑造头发。
18挡住腿。
19挡住手臂。
20挡住手。
21手的细节。
22创造靴子-第1部分。
23创造靴子-第2部分。
24塑造身体。
25装甲-网络服。
26装甲短裤。
27盔甲-躯干。
28护甲-上臂和下臂。
29脸和眼睛-手绘。
30条面部控制线。
31护甲-肩膀。
32护甲腿。
33装甲螺栓。
34发型-赛博朋克发型。
35装甲-装饰和细节-第1部分。
36装甲-装饰和细节-第2部分。
37护甲-清理-减少多点计数。
38转移高到低UV和纹理。
39高细节-肩部。
40高细节-排管。
41高细节-躯干。
42高细节-短裤。
43高细节-腿。
44摆出你的角色
45完成姿势
46个最终细节-眼睛
47最后的细节-脸
48最后的细节-头发
49导出到Photoshop -照明和渲染
50 Photoshop最终渲染
祝贺你
Duration 16h 51m MP4
Title: Skillshare – Zbrush – Sculpting Stylized Characters
Info:
In this class you will learn:
– Sculpting techniques in Zbrush
– Basic anatomy and proportions for character creation
– Analyzing reference and what to look for
– Blocking out your character
– Creating high detail on your character
– Stylizing your character and experimenting with shape language
– Creating hair in Zbrush
– Creating Armor in Zbrush
– UV’s and texturing in Zbrush
– Transfer high poly data to a low poly mesh
– Posing in Zbrush
– Lighting and Rendering in Zbrush
– Exporting from Zbrush to Photoshop
– Use Photoshop to create a final image of your work
This class is beginner friendly! I explain every step along the way to ensure that you don’t miss a beat. If you have any questions please feel free to reach out to me and I will help as soon as I can!
If you find the Zbrush user interface challenging I recommend you check out my class Zbrush For Beginners! It is a full overview of the main tools and functionality that Zbrush has to offer, and it will help get you up to speed with how to use the program! You will need a working computer that can run Zbrush and a license for the software. If you don’t own a permanent license for Zbrush, I believe they now offer a monthly subscription, making it much more accessible to students and beginners!
01 Intro.
02 Getting Started – Setup & Interface.
03 Setting Up Reference.
04 Sculpting the Base Head.
05 Sculpting the Eyelids.
06 Sculpting The Nose 1.
07 Sculpting the Mouth.
08 Sculpting the Ears.
09 Stylizing Your Character – Part 1.
10 Stylizing Your Character – Part 2.
11 Neck and Torso.
12 Torso Continued.
13 Starting the Hair.
14 Creating a Custom Hair Brush.
15 Drawing The Hair Strands – Part 1.
16 Drawing The Hair Strands – Part 2.
17 Shaping The Hair.
18 Blocking Out The Legs.
19 Blocking Out The Arms.
20 Blocking Out The Hands.
21 Detailing The Hands.
22 Creating The Boots – Part 1.
23 Creating The Boots – Part 2.
24 Sculpting The Body.
25 Armor – Cyber Suit.
26 Armor – Shorts.
27 Armor – Torso.
28 Armor – Upper And Lower Arms.
29 Face And Eyes – Hand Painting.
30 Face – Cybernetic Lines.
31 Armor – Shoulders.
32 Armor – Legs.
33 Armor – Bolts.
34 Hairstyle – Cyberpunk Hair.
35 Armor – Trim And Details – Part 1.
36 Armor – Trim And Details – Part 2.
37 Armor – Cleanup – Reduce Polycount.
38 Transfer High To Low – Uv’s And Textures.
39 High Detail – Shoulders.
40 High Detail – Gauntlets.
41 High Detail – Torso.
42 High Detail – Shorts.
43 High Detail – Legs.
44 Posing Your Character
45 Finishing The Pose
46 Final Details – The Eyes
47 Final Details – The Face
48 Final Details – The Hair
49 Export To Photoshop – Lighting And Rendering
50 Photoshop Final Render
51 Congratulations
1、登录后,打赏30元成为VIP会员,全站资源免费获取!
2、资源默认为百度网盘链接,请用浏览器打开输入提取码不要有多余空格,如无法获取 请联系微信 yunqiaonet 补发。
3、分卷压缩包资源 需全部下载后解压第一个压缩包即可,下载过程不要强制中断 建议用winrar解压或360解压缩软件解压!
4、云桥CG资源站所发布资源仅供用户自学自用,用户需以学习为目的,按需下载,严禁批量采集搬运共享资源等行为,望知悉!!!
5、云桥CG资源站,感谢您的关注与支持!