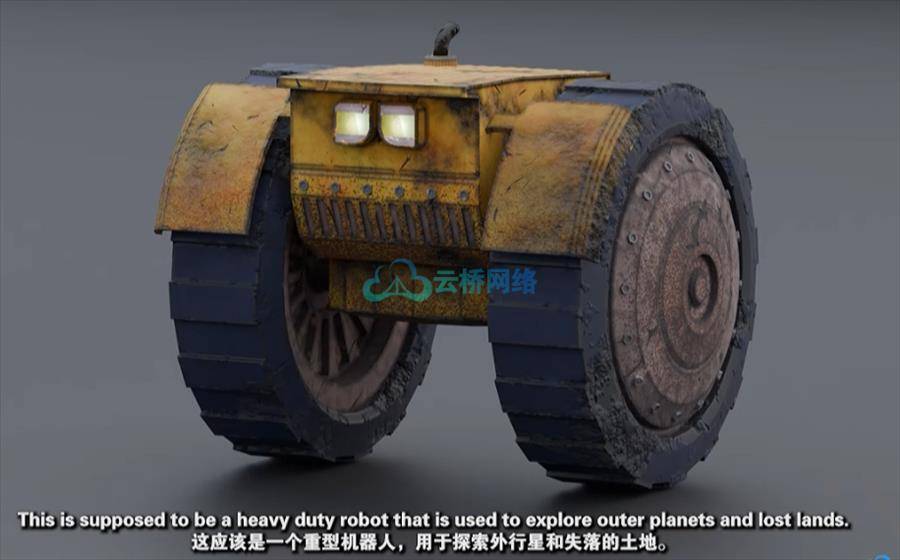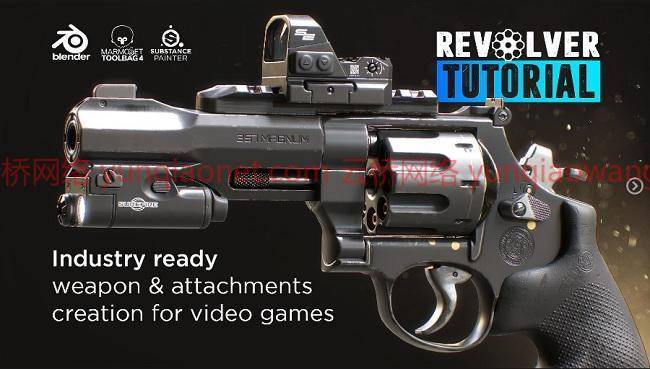
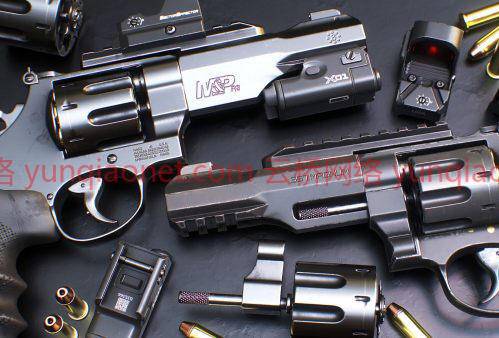
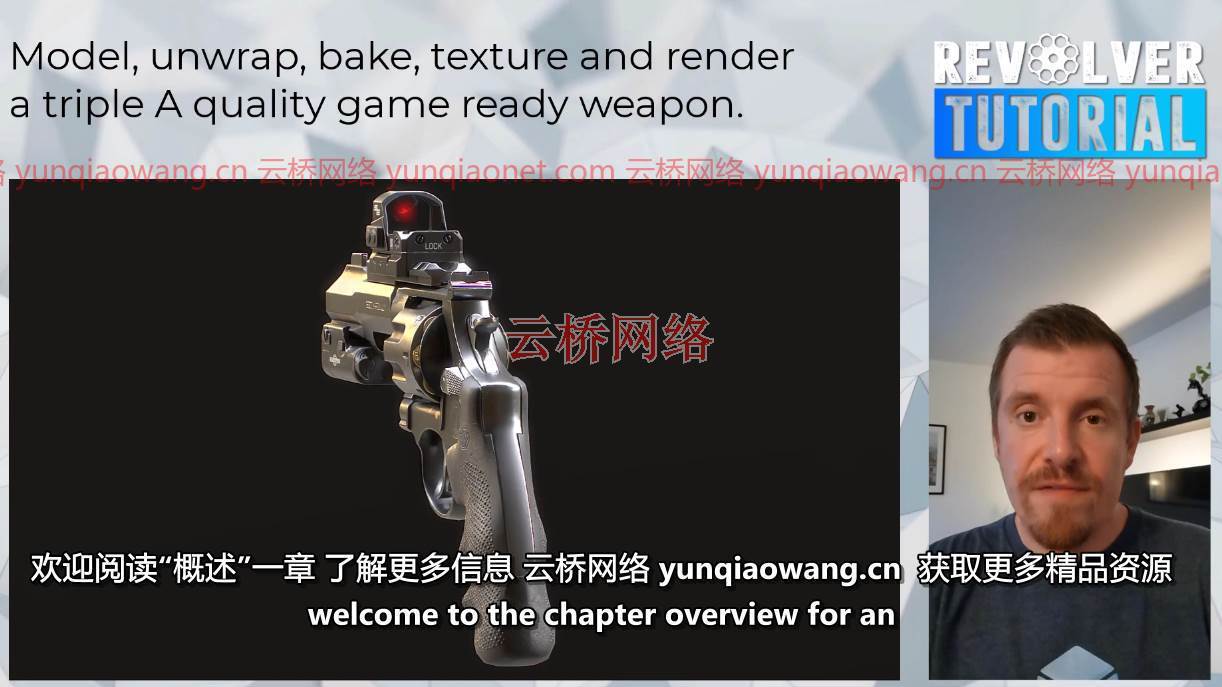
大家好!我很高兴与你分享一个全新的,最先进的武器教程,包括Blender,旱獭工具包4和用于烘焙,纹理和文件夹准备渲染的实体画家。创建一个可定制的左轮手枪连同两个可安装的附件:一个手电筒以及反射镜,因为你会发现现在几乎任何FPS视频游戏。我们制造的左轮手枪是完全可拆卸的:你甚至可以取下栏杆。你不需要任何花费金钱的Blender插件,但是我们会安装一些优秀的免费插件。教程中介绍了文档,如果您想看的话,可以在这里看到。
建议使用我们在整个教程中使用的相同软件来完成课程:Blender、Substance Painter、旱獭工具包4来进行烘焙和渲染。
Artstation – Revolver Tutorial – Industry Ready Weapon & Attachment Creation for Video Games
持续时间19h 包含项目文件 1280X720 MP4
语言:英语+中英文字幕(云桥CG资源站 机译)
大小解压后:16.6G
标题:艺术站-左轮手枪教程-行业就绪的武器和视频游戏附件创作
包括:
19高清转轮教程视频文件~每个视频大约一个小时。
基本参考图像
关于左轮手枪教程
第1章–Blender:建模、展开和烘焙准备
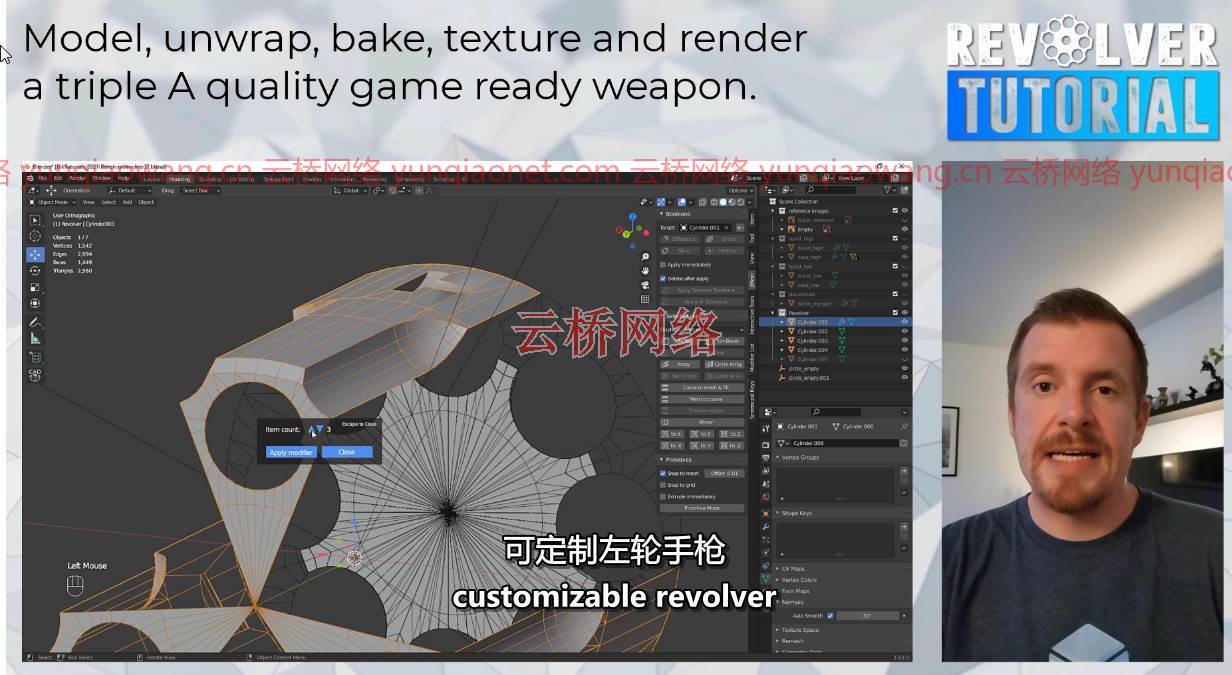
教程从Blender开始,同时依靠成熟的建模技术、修改器、免费插件以及仔细研究参考图像,以确保我们捕捉到哪怕是最小的细节。
一旦我们到达高聚部分,我们将利用blender的记忆功能,这是一种在基于修改器的非破坏性环境中创建高聚模型的惊人方式,并且具有出色的效果。
建模部分完成后,我们将跳转到UV编辑器,并开始展开我们的网格,以便有一个完美的紫外线布局出来以后的纹理。为此,我们利用(免费)插件来最大化我们的纹理空间。不得留下任何像素!在本章的最后,我们将通过确保我们有正确的命名约定、平滑组设置以及指定的材料来准备低和高多边形模型。
第2章–在狨猴中烘焙和在实体油漆工中纹理化
在建模部分之后,我们将高低多边形模型导出到旱獭工具包4中,该工具包拥有最好的烘焙工具。在这里,我们将烘焙我们的基础地图,如法线,物体空间法线,曲率,AO,位置以及厚度图。
当我们这样做的时候,我们会很方便地画出纹理某些部分的任何倾斜。
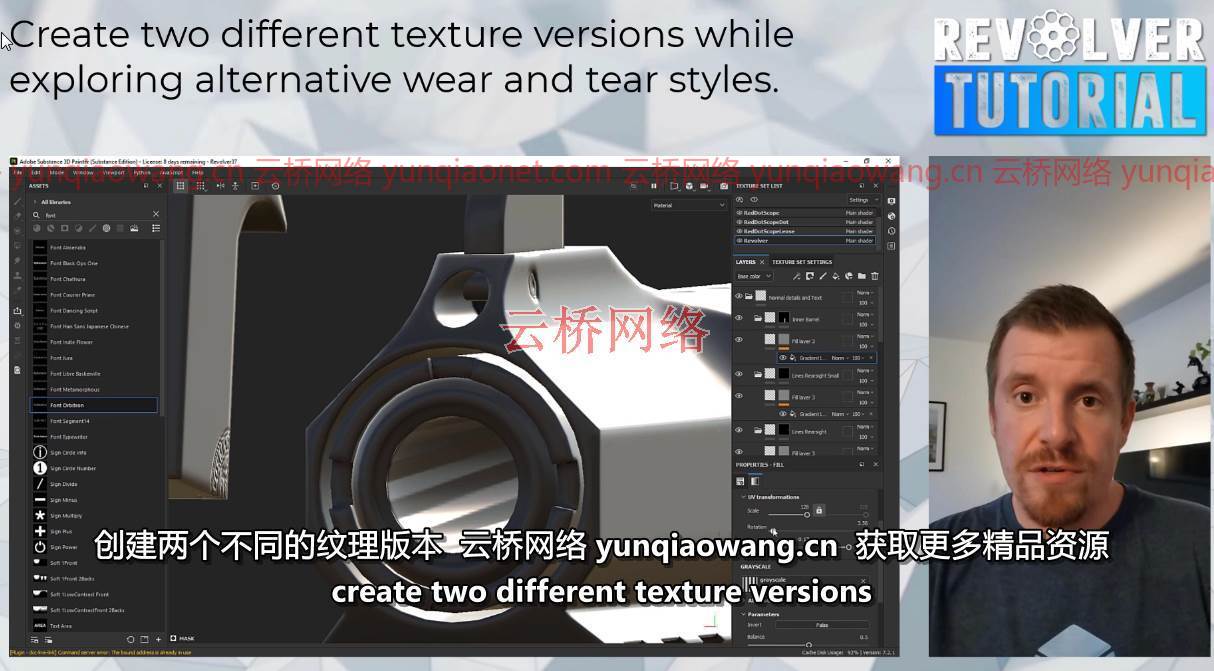
之后,我们将导入我们的地图到实体画家,在那里为左轮手枪创建两个不同的纹理版本:一个镀铬版本以及一个金属漆涂层版本。了解如何创建阿尔法纹理,利用各种材料,智能材料,以及如何使用程序口罩和发电机形成磨损导致照片逼真的外观。
云桥CG资源站 yunqiaowang.cn 获取更多精品资源
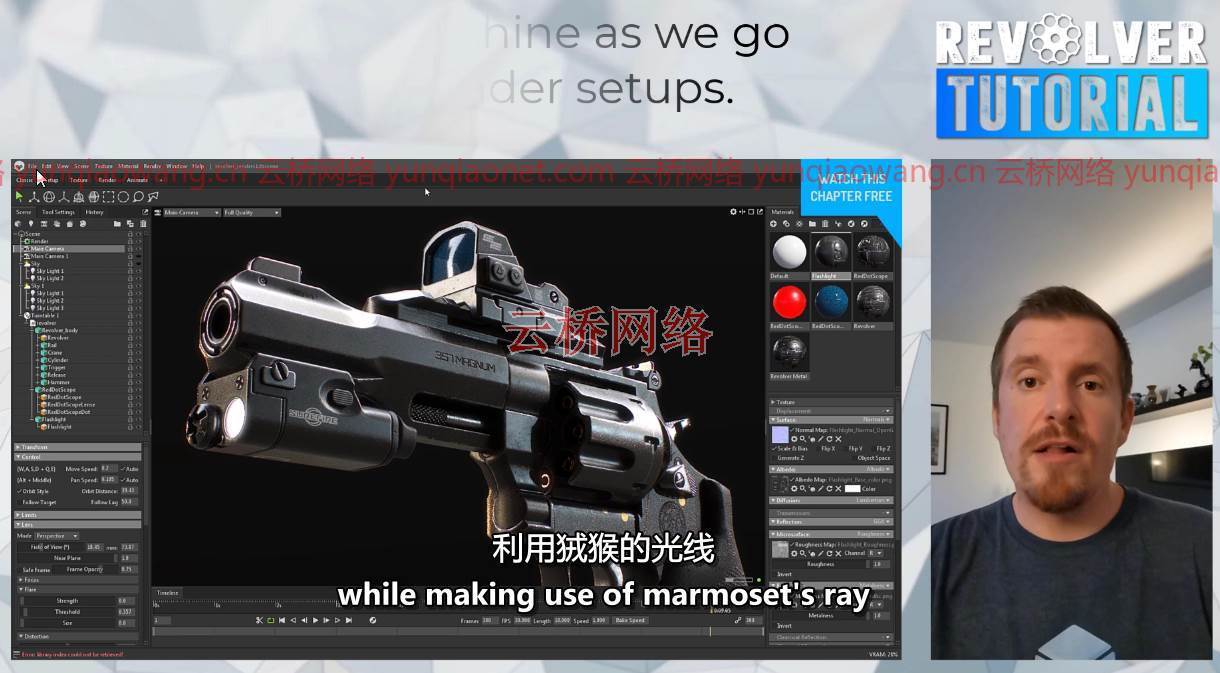
第3章–狨猴工具包中的组合就绪渲染4
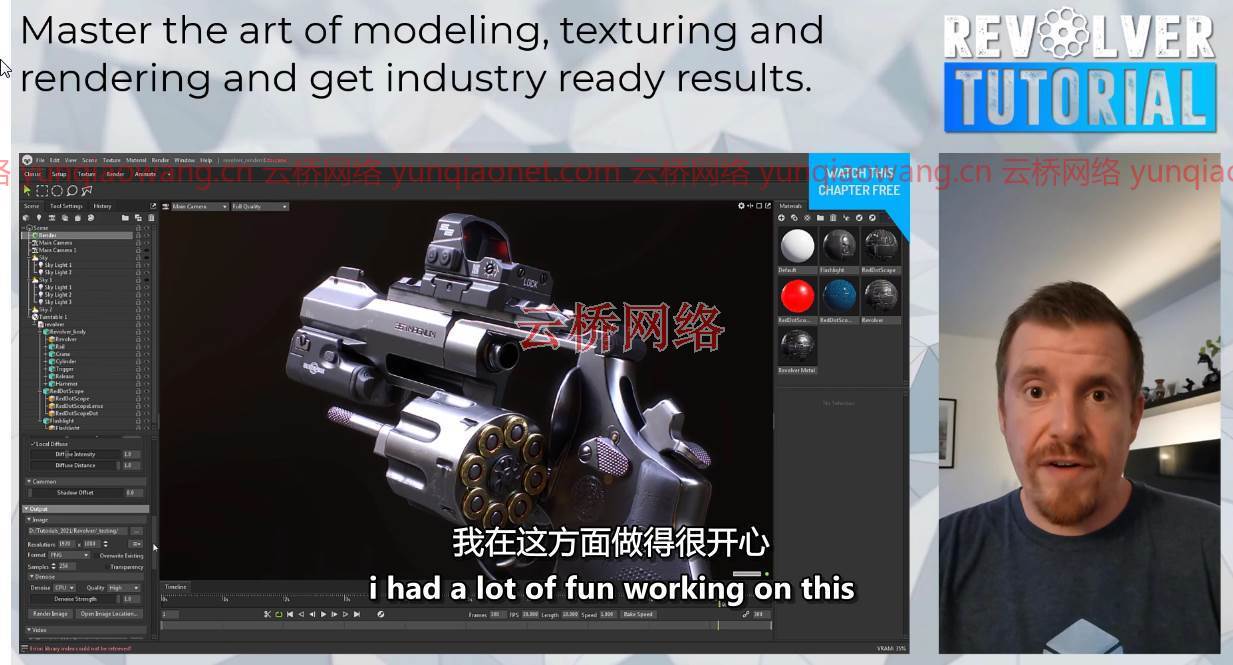
作为最后的润色,我们将短暂访问狨猴工具包4,在那里我们创建文件夹就绪渲染,转盘动画,以及快速查看如何在Blender中安排场景,并将其带回狨猴进行场景合成渲染。这一集将在YouTube上免费观看。
要求是什么?
建议使用我们在整个教程中使用的相同软件来完成课程:Blender、Substance Painter、旱獭工具包4来进行烘焙和渲染。
谁是目标受众?
正如所有倒角区域教程一样,左轮手枪教程针对初学者和中级。我避免大量使用快捷键,这样你就可以看到我使用了哪些动作。除了我解释的每一步,你也可以总是暂停屏幕,你会看到我正在使用的动作,这要归功于我运行的一个关键动作插件。这个插件只对Blender有效,但这是它最重要的地方。
Duration 19h Project Files Included MP4
Title: Artstation – Revolver Tutorial – Industry Ready Weapon & Attachment Creation for Video Games
Info:
INCLUDES:
19 HD Revolver Tutorial Video Files ~ around an hour per video.
+ 1 HD Introduction to Blender Video 2h long (for those completely new to Blender)
Essential reference images
Full audio commentary in English
ABOUT THE REVOLVER TUTORIAL
Hello everyone! I am happy to share with you an all new, state of the art weapon tutorial featuring Blender as well as Marmoset Toolbag 4 and Substance Painter for baking, texturing and portfolio ready renders. Create a customizable revolver together with two mountable attachment pieces for it: a flashlight as well as reflex scope as you would find it almost any FPS video game these days. We built the revolver fully detachable: you can even take the rail off. You won’t be needing any plugins for Blender that cost money but we will install a couple of excellent free plugins. Documentation is covered in the tutorial and can be seen here in case you want to take a look.
CHAPTER 1 – BLENDER: MODELING, UNWRAPPING & BAKING PREPARATION
The tutorial starts in Blender while relying on the proven modeling techniques, modifiers, free plugins as well as careful studying reference images to make sure we catch even the smallest details.
Once we get to the highpoly part we gonna make use blender’s remesher capabilities which is an amazing way to create highpoly models in a modifier based and non destructive environment and with excellent results.
After the modeling part is completed we will jump into the UV Editor and start unwrapping our mesh in order to have the perfect UV layout for out later texture. For that we make use of (free) plugins to max out our Texture Space. No pixel shall be left behind! At the end of this chapter we will prepare the low and highpoly model by making sure we have the right naming convention, smoothing group setup as well as materials assigned.
CHAPTER 2 – BAKING IN MARMOSET AND TEXTURING IN SUBSTANCE PAINTER
After the modeling part we export our high and lowpoly models over to Marmoset Toolbag 4 which has the best baking tools available. Here we will bake our base maps such as Normal, Object Space Normal, Curvature, AO, Position as well as the Thickness Map.
As we do that we will conveniently paint out any skewing that we have on some of the parts of the texture.
After that we will import our maps over to Substance Painter where create two different texture versions for the revolver: a chrome version as well as a metallic paint coated one. Learn how to create alpha textures, making use of various materials, smart materials and how to use procedural masks and generators to form up the wear and tear resulting in a photo realistic appearance.
CHAPTER 3 – PORTFOLIO READY RENDERS IN MARMOSET TOOLBAG 4
As a finishing touch we will make a short visit to Marmoset Toolbag 4 where we create portfolio ready renders, a turntable animation as well as having a quick look on how to arrange a scene in Blender and bringing it back to Marmoset for scene composition renders. This episode will be free to watch on YouTube.
WHAT ARE THE REQUIREMENTS?
It is recommended to follow the course with the same software we use throughout the tutorial: Blender, Substance Painter, Marmoset Toolbag 4 to do our bakes and renders in.
WHO IS THE TARGET AUDIENCE?
As all ChamferZone tutorials the Revolver tutorial is aimed at beginners as well as intermediate. I avoid heavy use of shortcuts so that you can see which actions I use. On top of me explaining every step you can also always pause the screen and you will see which actions I was using thanks to a key action plugin that I have running. This plugin only works for Blender but this is where it matters the most.
1、登录后,打赏30元成为VIP会员,全站资源免费获取!
2、资源默认为百度网盘链接,请用浏览器打开输入提取码不要有多余空格,如无法获取 请联系微信 yunqiaonet 补发。
3、分卷压缩包资源 需全部下载后解压第一个压缩包即可,下载过程不要强制中断 建议用winrar解压或360解压缩软件解压!
4、云桥CG资源站所发布资源仅供用户自学自用,用户需以学习为目的,按需下载,严禁批量采集搬运共享资源等行为,望知悉!!!
5、云桥CG资源站,感谢您的关注与支持!