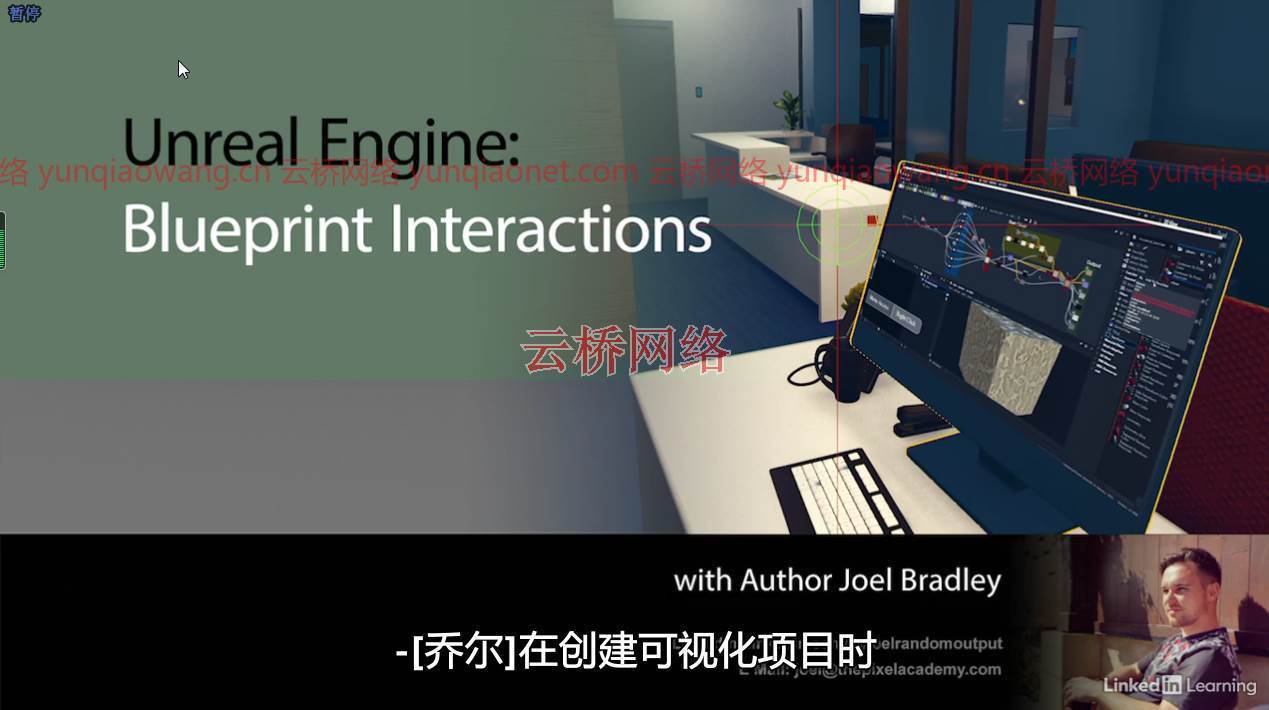
Unreal Engine Blueprint Interaction for ArchViz Projects
时长:1h 40m | MP4 |视频:AVC,1280×720 30 fps |音频:AAC,48 KHz,2 Ch |大小:3.06 GB 含课程素材文件
技能水平:中级|流派:电子学习|语言:英语+机译中文字幕
建筑可视化效果图允许设计师创建令人惊叹的详细虚拟建筑模型,并使设计师与客户的交互比手绘设计的时代轻松得多。随着技术赶上想象力,现在有可能生成极其详细的交互式建筑可视化,创造出比仅仅观看视频或浏览静态图像渲染更吸引人的体验。
在本课程中,乔尔·布拉德利将带领您创建四种关键类型的交互,这将为arch viz艺术家的下一个项目提供广泛的选择。
通过创建交互式项目,如计算机显示器、旋转门和功能灯开关,乔尔展示了添加交互式行为如何给客户演示一种沉浸感,帮助项目在设计阶段顺利进行。
01为什么互动很重要
02创建交互控件
03组装蓝图演员
04通过线路跟踪测试用户在看什么
05计算用户的摄像机位置
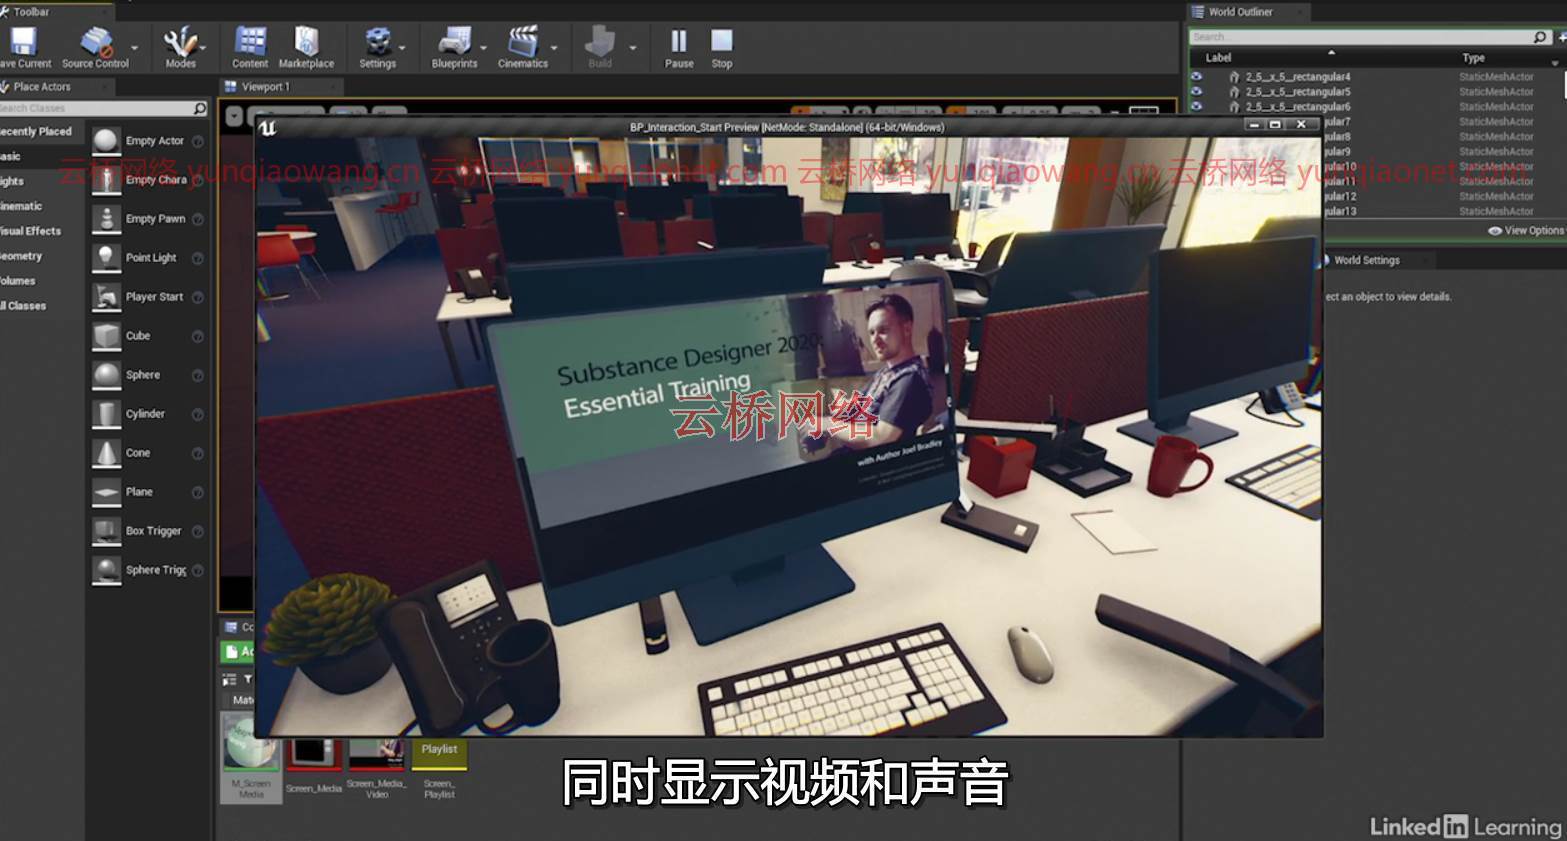
06打开和关闭电视的声音和图像
07触发效果
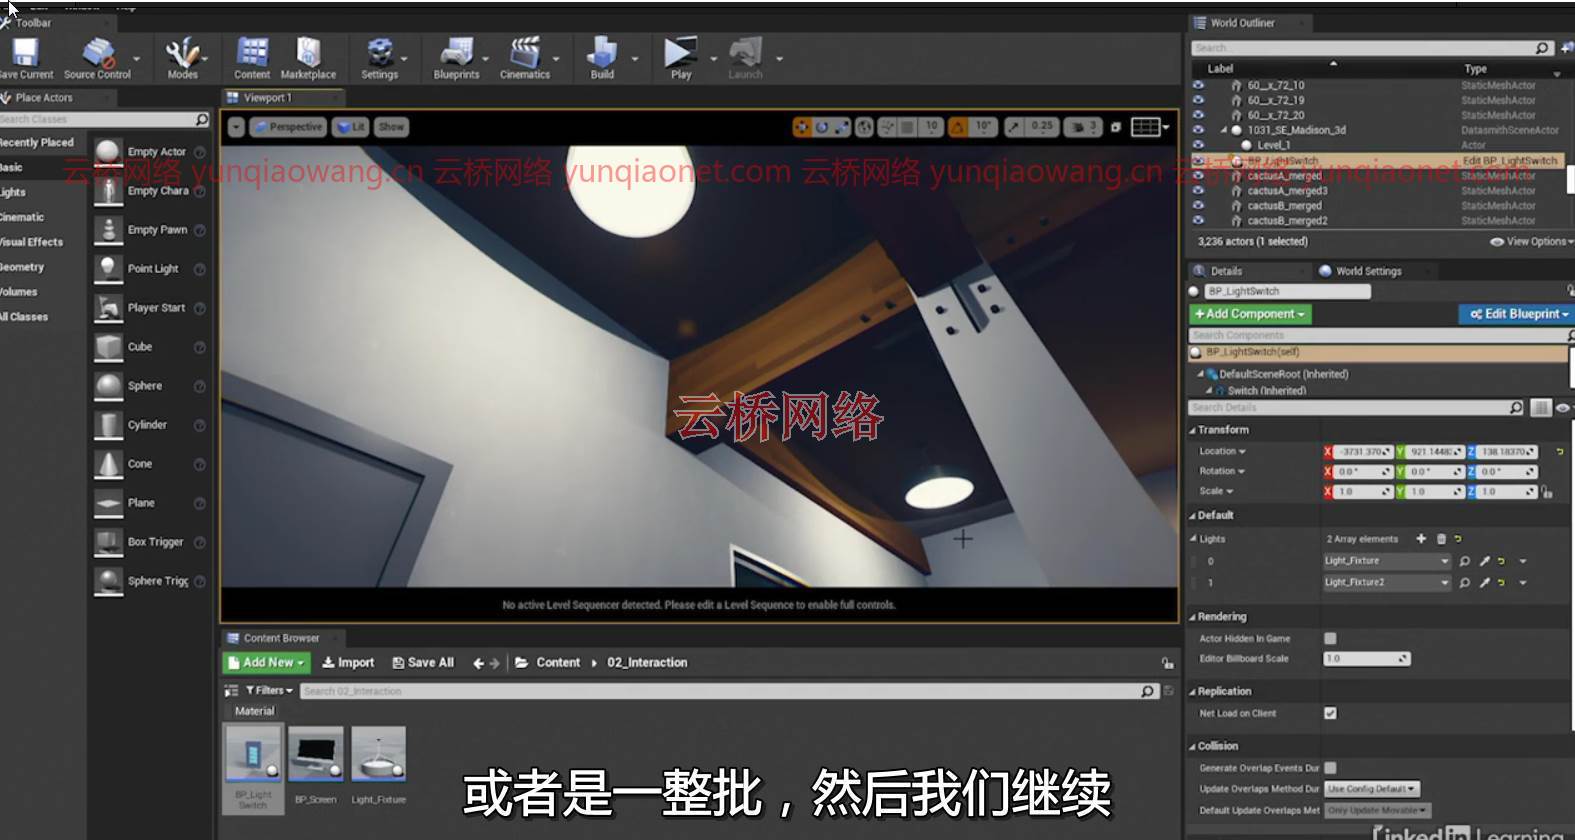
08设置灯光开关演员
09创造灯具演员
10构建交换机蓝图
11添加光蓝图响应
12组装门演员
13添加交互
14确定挥杆方向,第1部分
15确定摆动方向,第2部分
16摆动动作动画
17建立互动大纲
18设置材料
19添加材料大纲蓝图
20测试水平
21后续步骤
Duration: 1h 40m | MP4 | Video: AVC, 1280×720 30 fps | Audio: AAC, 48 KHz, 2 Ch | Size: 3.06 GB
Skill Level: Intermediate | Genre: eLearning | Language: English + Subtitles
Architectural visualization renderings allow designers to create amazingly detailed virtual building models, and make the designer-client interaction much easier than in the days of hand-drawn designs. As technology catches up with imagination, it’s now possible to generate extremely detailed interactive architectural visualizations, creating a more engaging experience than just watching a video or flicking through still image renders. In this course, Joel Bradley walks you through the creation of four key types of interactions that will give arch viz artists a wide range of options on their next project. Through the creation of interactive items like computer monitors, swinging doors, and functioning light switches, Joel illustrates how adding interactive behaviors can give a client presentation a sense of immersion that helps the project move smoothly through the design phase.
01 Why interaction is important
02 Creating the interaction controls
03 Assembling the Blueprint Actor
04 Testing what the user is looking at via line tracing
05 Calculating the user’s camera position
06 Toggling the TV’s sound and picture on and off
07 Triggering the effect
08 Setting up the light switch actor
09 Creating the light fixture actor
10 Building the switch blueprint
11 Adding the light blueprint responses
12 Assembling the door actor
13 Adding the interaction
14 Determining swing direction, part 1
15 Determining swing direction, part 2
16 Animating the swing action
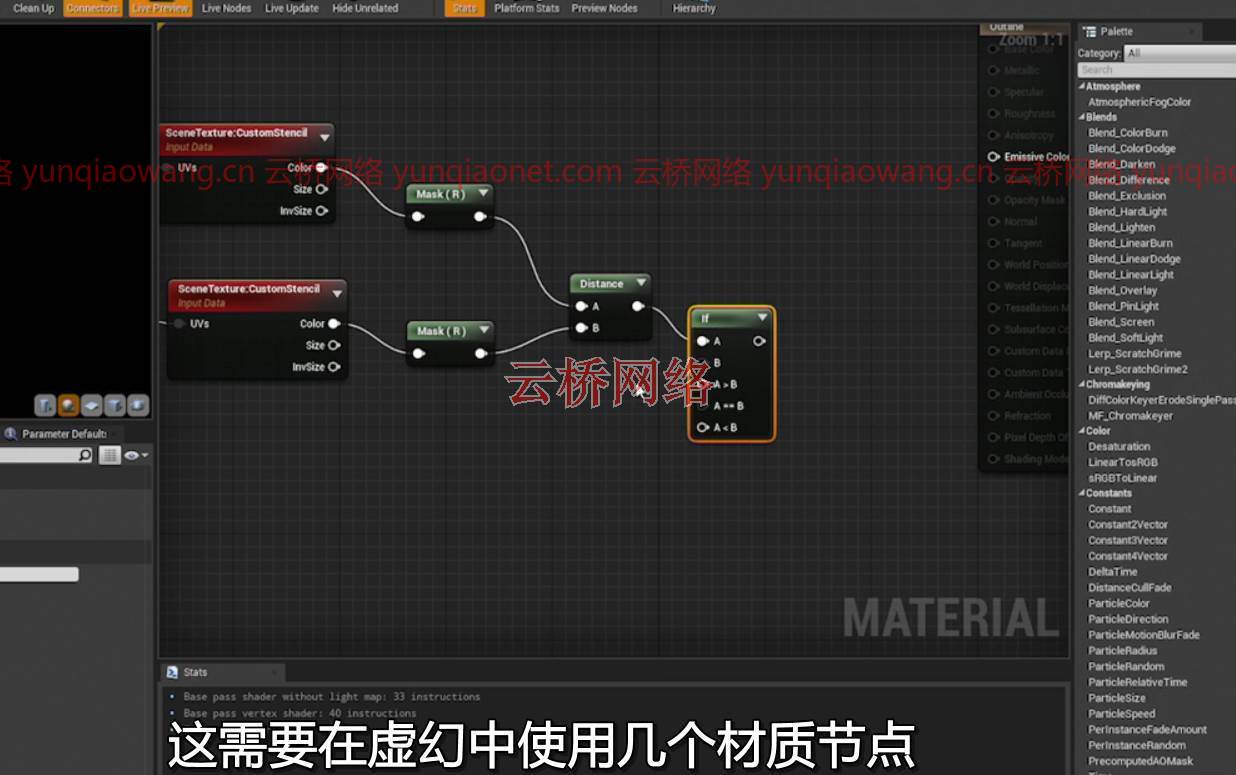
17 Building the outline interaction
18 Setting up the material
19 Adding the material outline blueprint
20 Testing the level
21 Next steps
1、登录后,打赏30元成为VIP会员,全站资源免费获取!
2、资源默认为百度网盘链接,请用浏览器打开输入提取码不要有多余空格,如无法获取 请联系微信 yunqiaonet 补发。
3、分卷压缩包资源 需全部下载后解压第一个压缩包即可,下载过程不要强制中断 建议用winrar解压或360解压缩软件解压!
4、云桥CG资源站所发布资源仅供用户自学自用,用户需以学习为目的,按需下载,严禁批量采集搬运共享资源等行为,望知悉!!!
5、云桥CG资源站,感谢您的关注与支持!