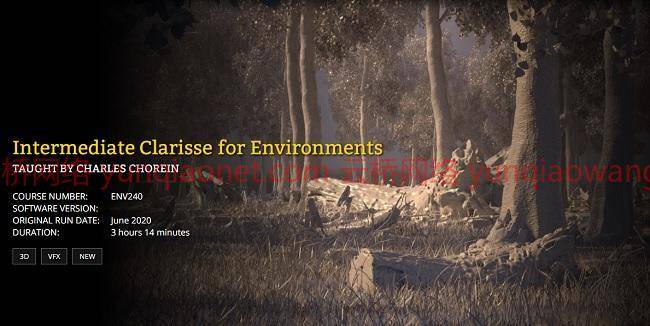
教程大小解压后:5.09G 共10小节课程 含课程工程文件 1920X1080 mp4 语言:英语+中文字幕(机译)
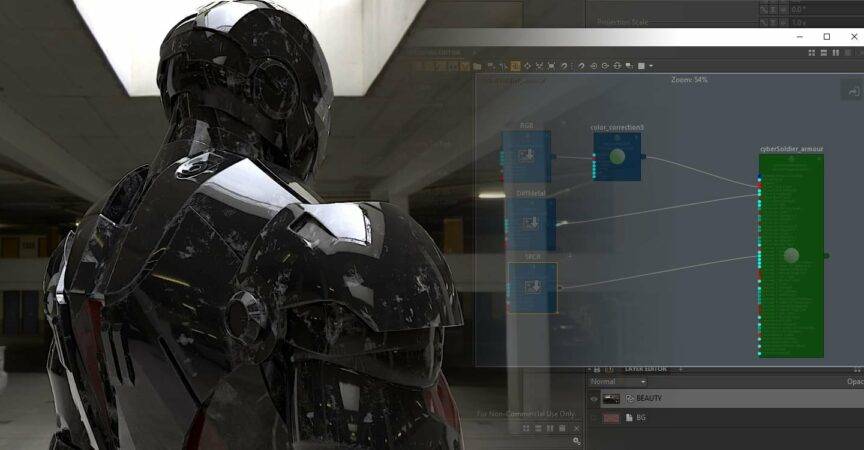
本课程由CG主管Charles Chorein主讲,深入了解Clarisse和散射的力量。课程内容包括Clarisse中散射的不同方面、NVIDIA Optix和去噪器、Cryptomatte和多灯的光路表达。
Charles Chorein是伦敦Dneg公司的CG主管,拥有12年的经验。他从2009年开始在伦敦工作,曾参与过《霍比特人》、《普罗米修斯》、《饥饿游戏2》、《超人:钢铁侠》、《哈利波特7》、《加勒比海盗4》和《卑鄙的我》等电影的制作。在过去的四年里,他一直在从事电视和剧集的制作,最近为Netflix完成了《黑暗水晶》。目前他正在参与更多的Netflix项目,明年年初会有更多的项目。
课程大纲。
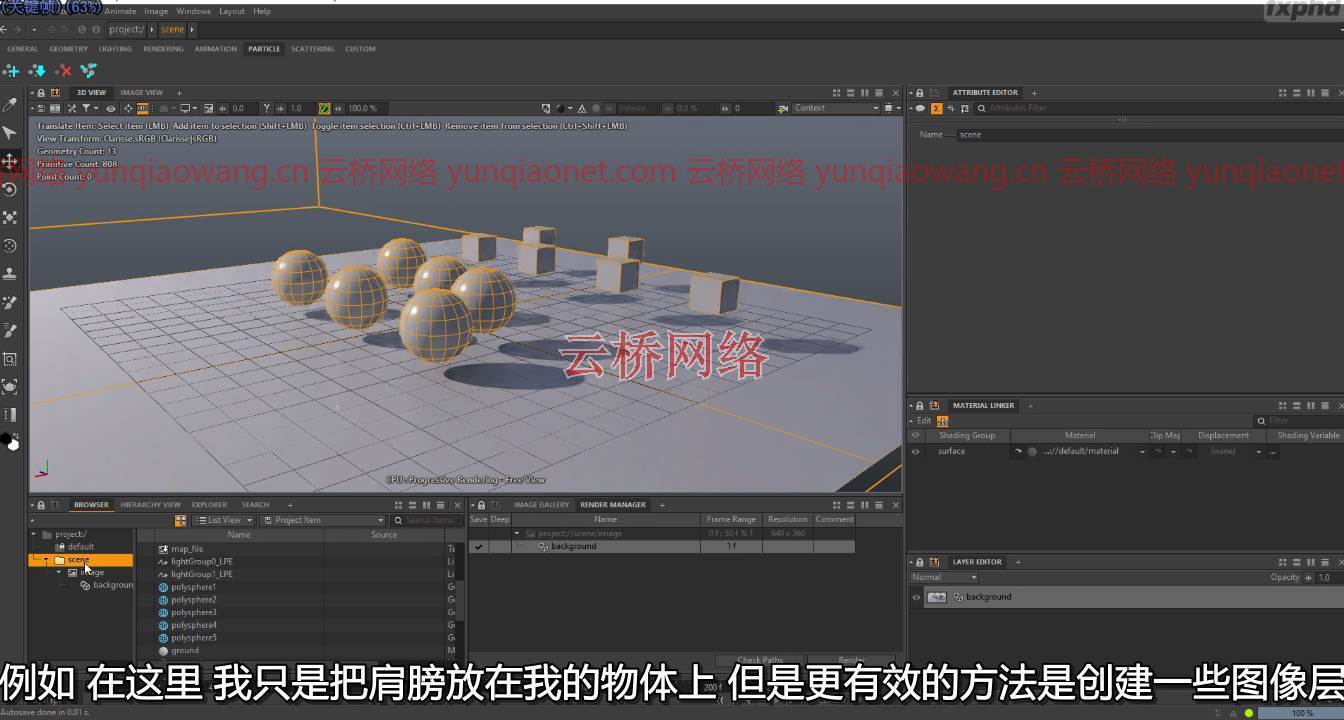
第一课:SCATTER基础
在Clarisse中分散对象的基本设置,以及如何使用Maya中准备的几何体在Clarisse中创建快速布局。
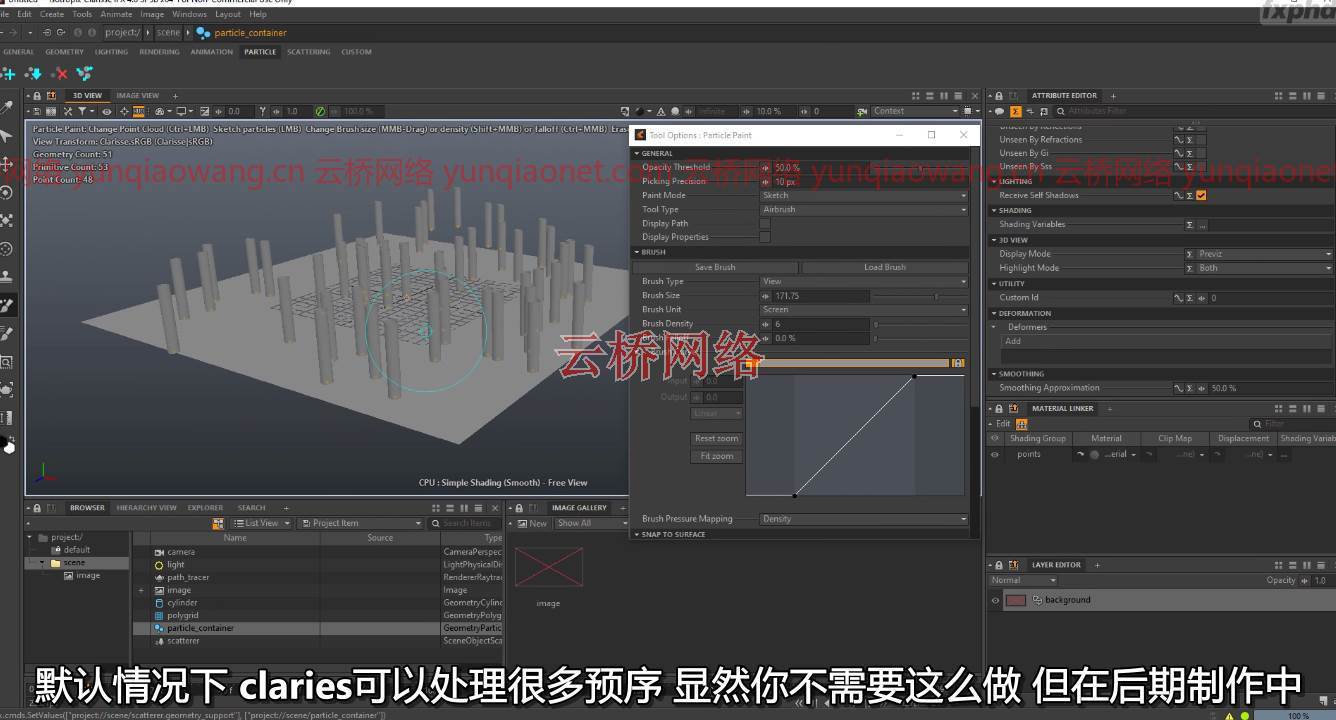
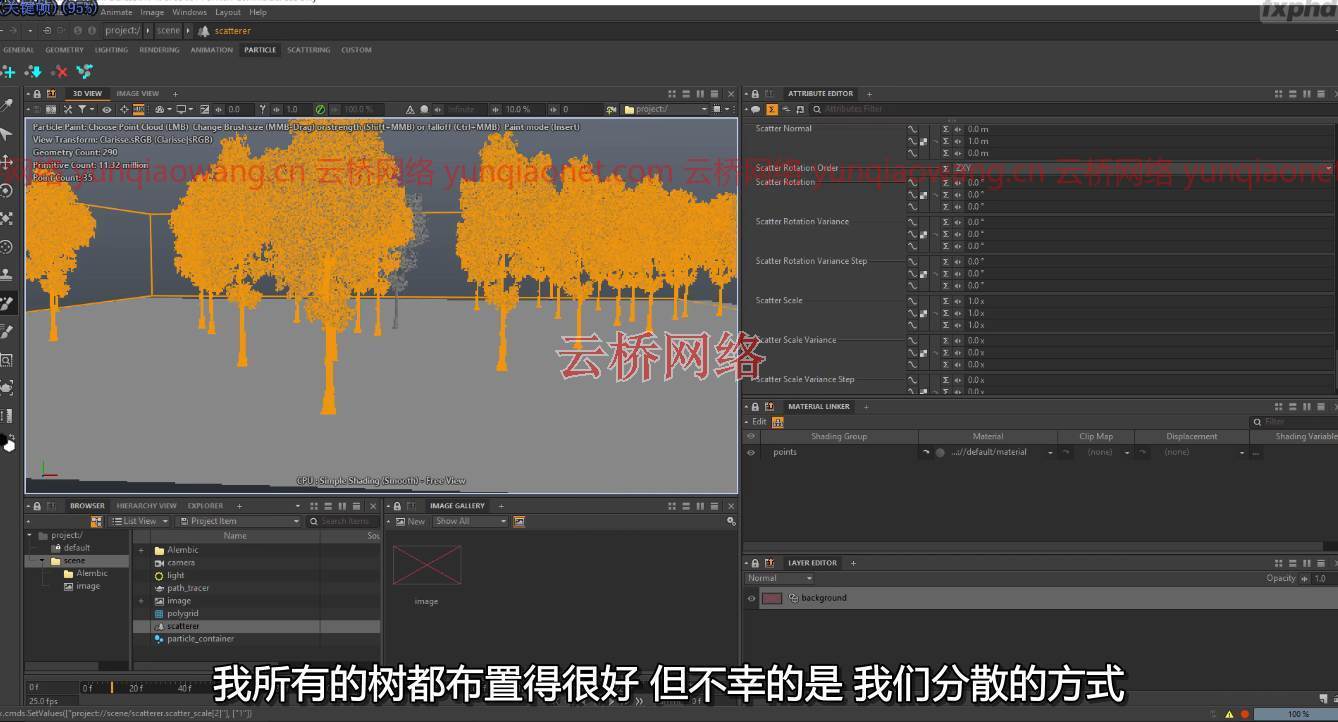
第2课:点云节点(POINT CLOUD NODE
绘制粒子和散射对象是很有用的,但使用点云节点有助于在表面上生成随机点云。
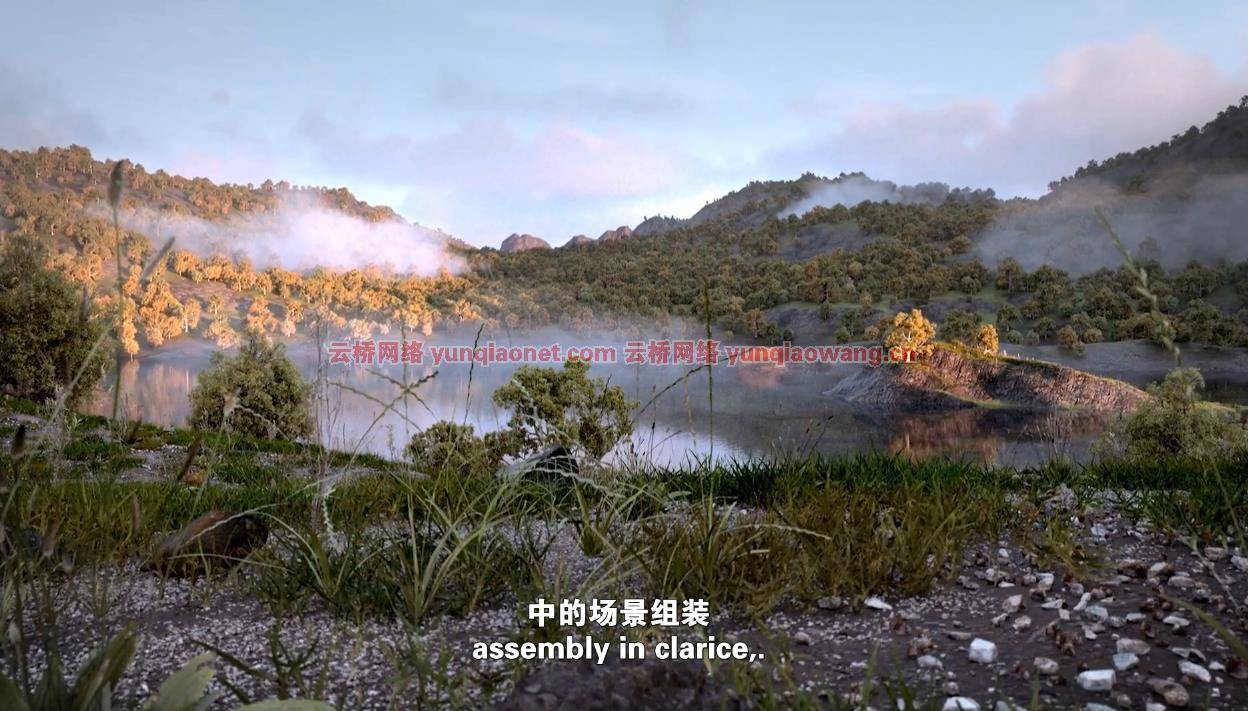
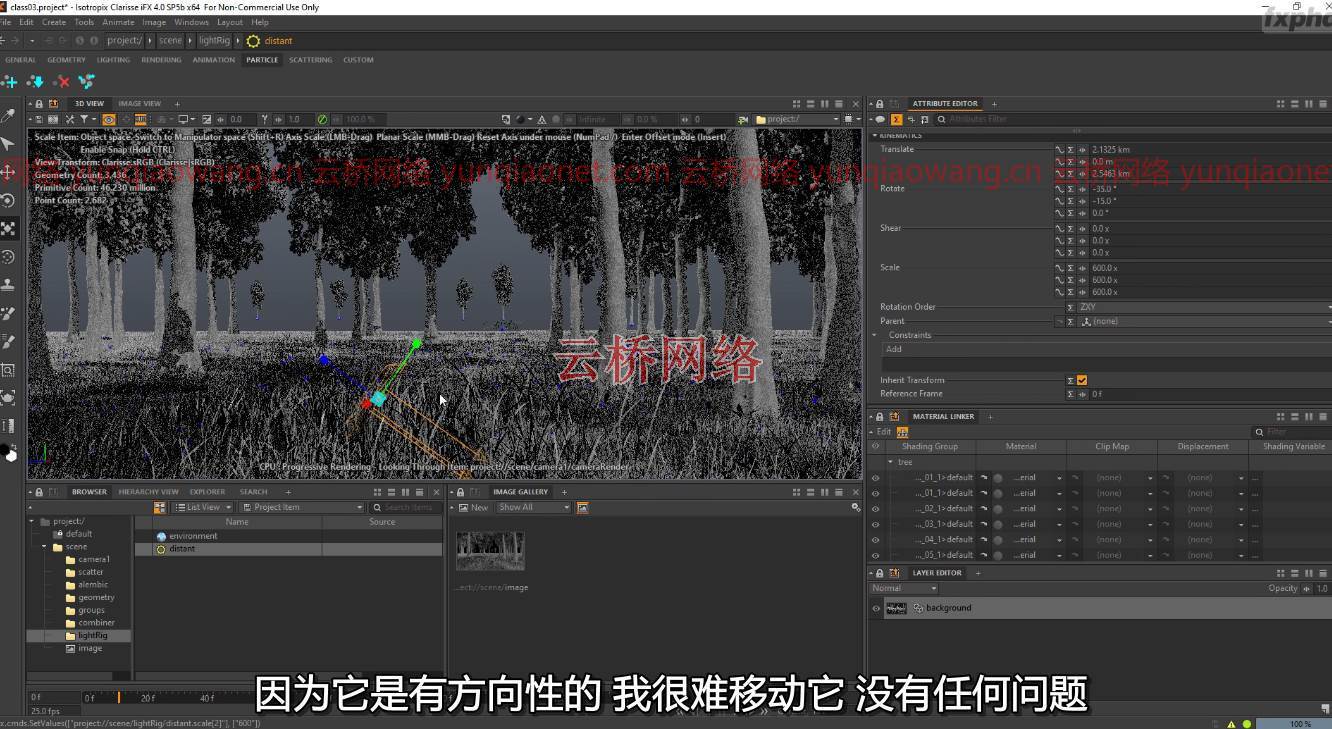
CLASS 3: LAYOUT CONTINUED(布局)
随着粒子和点云设置的完成,我们可以完成我们的布局,并开始创建一个快速的灯光装备和相机。
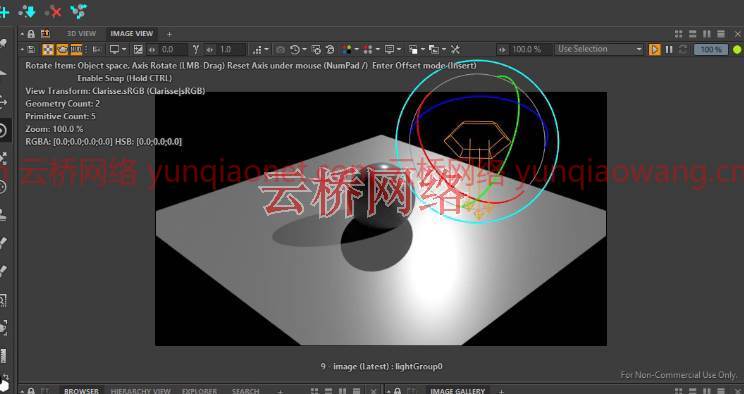
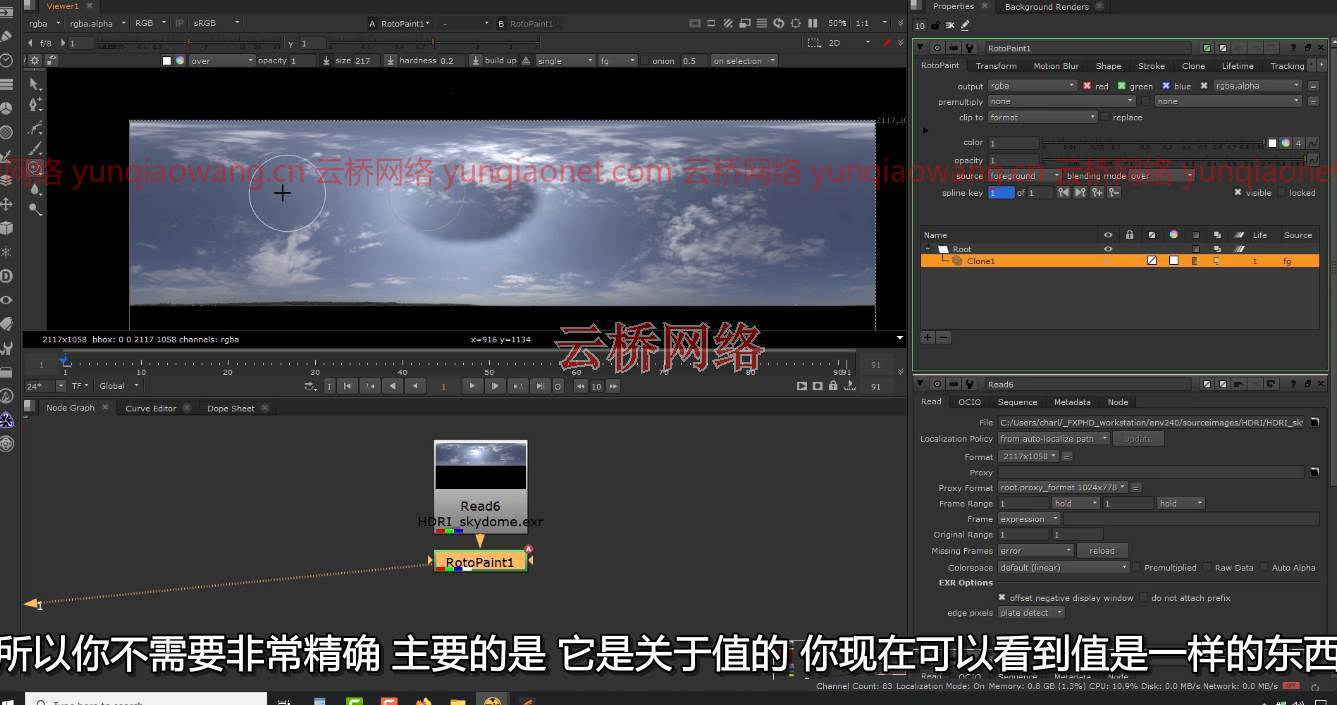
第4课:光圈变化
对我们的HDRI进行修改,需要改变我们创建灯架的方式。使用位移和Clip Maps为我们的卡车和树叶创建着色器。
CLASS 5.LIGHT PATH EXPRESSION, PART 1: 光路表达,第一部分
探索光路表现(LPE)的迷人世界,研究它的作用。用体积盒营造气氛。
课程6: 光路表达,第二部分
让我们在之前创建的LPE基础上改变我们的HDRI。
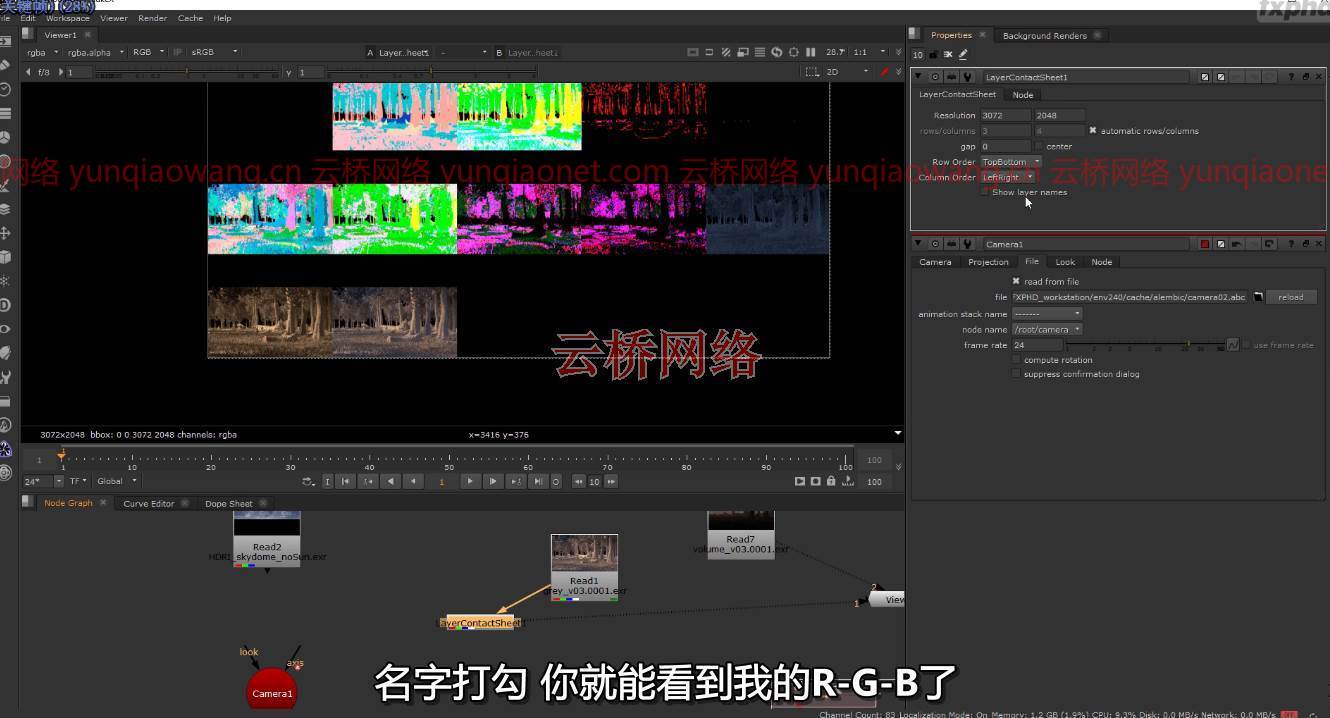
CLASS 7.CRYPTOMATTE CRYPTOMATTE
用红、绿、蓝三种颜色创建和设置ID并不是现在工作的最佳方式。Cryptomatte是一种更好更有效的方法,而且在Clarisse中设置和在Nuke中使用都很方便。
第8类:遮光层与OPTIX的使用方法
着色层是Clarisse中一个非常强大的方法,可以在每个对象的基础上设置场景和管理着色器。如何使用Optix减少噪音而不增加路径追踪器的样本。
第9课:渲染前的准备工作
在最终渲染前设置渲染通道、组、AOV和cryptomatte。
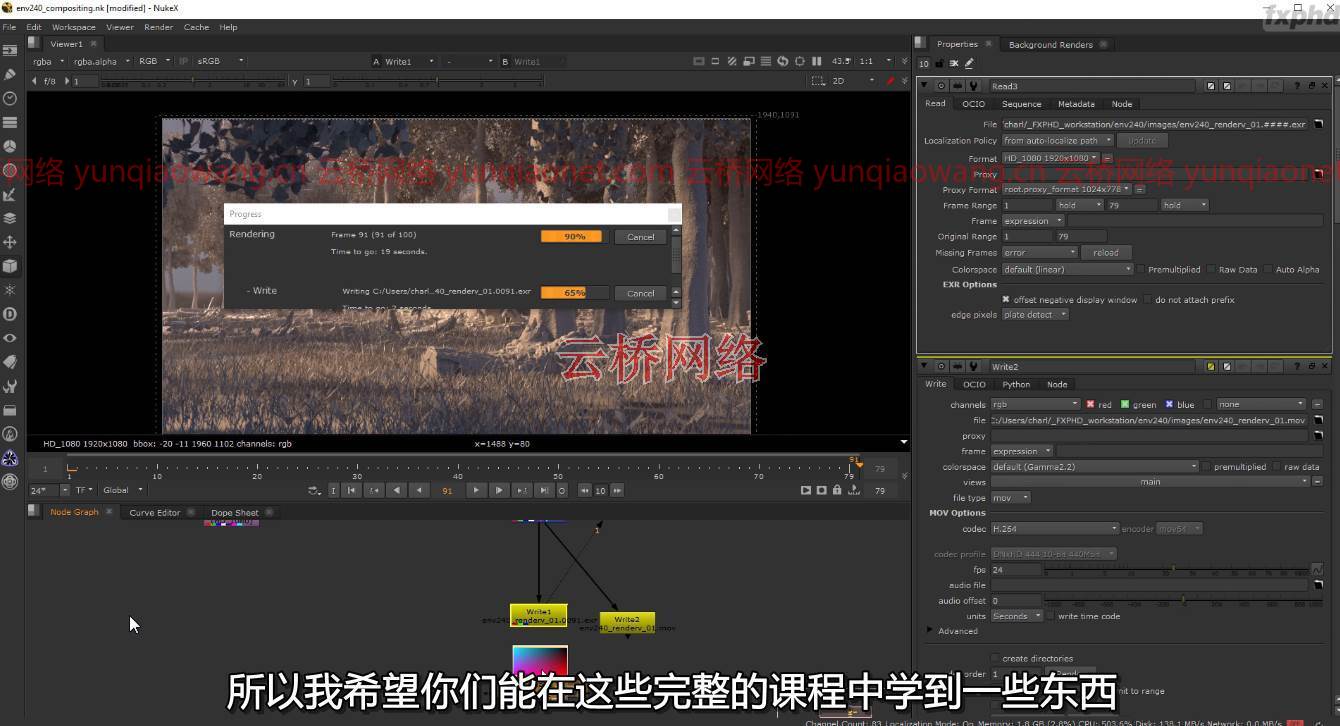
CLASS 10: ROUGH COMP
在Nuke中合成所有通道,并在Nuke的3D环境中使用导出的3D摄像机数据。
This course, from CG Supervisor Charles Chorein, dives into Clarisse and the power of scattering. The course covers the different aspects of scattering in Clarisse, NVIDIA Optix and denoiser, Cryptomatte and Light Path Expression for multi lights.
Charles Chorein is a CG supervisor at Dneg London with 12 years of experience. He has been working in London since 2009 and has worked on movies such as The Hobbit, Prometheus, The Hunger Games 2, Superman: Man of Steel, Harry Potter 7, Pirate of the Caribbean 4, and Despicable Me. For the last four years he has been working on TV and episodics, having recently finished Dark Crystal for Netflix. He is currently involved in more projects for Netflix coming early next year.
course syllabus:
CLASS 1: SCATTER BASICS
A basic setup to scatter objects in Clarisse and how you can use geometry prepared in Maya to create a quick layout in Clarisse.
CLASS 2: POINT CLOUD NODE
Painting particle and scatter objects is useful, but using the Point Cloud node helps generate a random point cloud on a surface.
CLASS 3: LAYOUT CONTINUED
With the particle and point cloud setup complete, we can finish our layout and start creating a quick light rig and camera.
CLASS 4: LIGHT RIG CHANGES
A modification of our HDRI, necessitating a change in the way we have to create our light rig. Creating our shader with displacement and Clip Maps for our truck and leaves.
CLASS 5: LIGHT PATH EXPRESSION, PART 1
An exploration of the fascinating world of Light Path Expression (LPE) and examining how useful it can be. Creation of an atmosphere with a Volume box.
CLASS 6: LIGHT PATH EXPRESSION, PART 2
Let’s change our HDRI base on the previously created LPEs.
CLASS 7: CRYPTOMATTE
Creating and setting up IDs with red, green, and blue colours is not the best way to do work nowadays. Cryptomatte is a better and more efficient way to approach it and it’s easy to set up in Clarisse and use in Nuke.
CLASS 8: SHADING LAYERS & OPTIX
Shading Layers are a very powerful method in Clarisse to set up the scene and manage the shader on a per object basis. How to use Optix to reduce noise without increasing the samples in the path tracer.
CLASS 9: PREPARATION FOR RENDERING
Setting up render passes, groups, AOVs and cryptomatte before the final render.
CLASS 10: ROUGH COMP
Compositing all passes in Nuke and using exported 3D camera data within the 3D environment of Nuke.
1、登录后,打赏30元成为VIP会员,全站资源免费获取!
2、资源默认为百度网盘链接,请用浏览器打开输入提取码不要有多余空格,如无法获取 请联系微信 yunqiaonet 补发。
3、分卷压缩包资源 需全部下载后解压第一个压缩包即可,下载过程不要强制中断 建议用winrar解压或360解压缩软件解压!
4、云桥CG资源站所发布资源仅供用户自学自用,用户需以学习为目的,按需下载,严禁批量采集搬运共享资源等行为,望知悉!!!
5、云桥CG资源站,感谢您的关注与支持!