初学3D游戏角色全流程制作视频教程
流派:电子学习| MP4 |视频:h264,1280×720 |音频:AAC,44.1 KHz
语言:英语+中英文字幕(云桥CG资源站 机译) |大小:22 GB |时长:20小时3分钟 含项目素材
你会学到什么
用于游戏创作的3D角色
Zbrush
Blender基础
Substance Painter基础
描述
你想为游戏制作3d角色?
但是你不知道工作流程?
还是不知道节目?
别担心,Zbrush-Blender-Substance Painter为绝对初学者提供的完整3d游戏角色课程将为您提供帮助。我也在这里等你。
我的名字是尼科,我是一名3D角色艺术家和教师。我14年前开始在游戏行业工作,在经历了无数游戏和角色之后,我现在在ARC学院教游戏艺术,制作在线课程,你可能已经发现了我的YouTube频道——Speedcar。
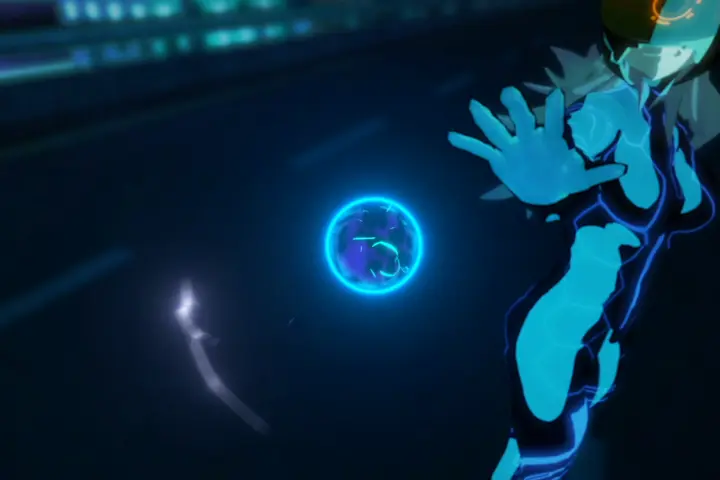
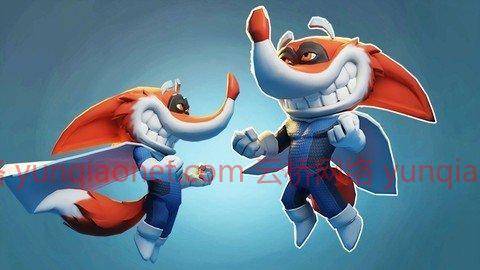
在本课程中,我们将从头开始学习Zbrush、Blender和Substance Painter。您将学习如何从高多边形中制作像这样的角色,通过修图和UV(都在Zbrush中)修复您的网格,并准备在搅拌机中烘焙,然后在实体绘制器中烘焙和制作纹理。
作为奖励,我们将做一个姿势,并渲染高和低多边形,以做出更好的演示。
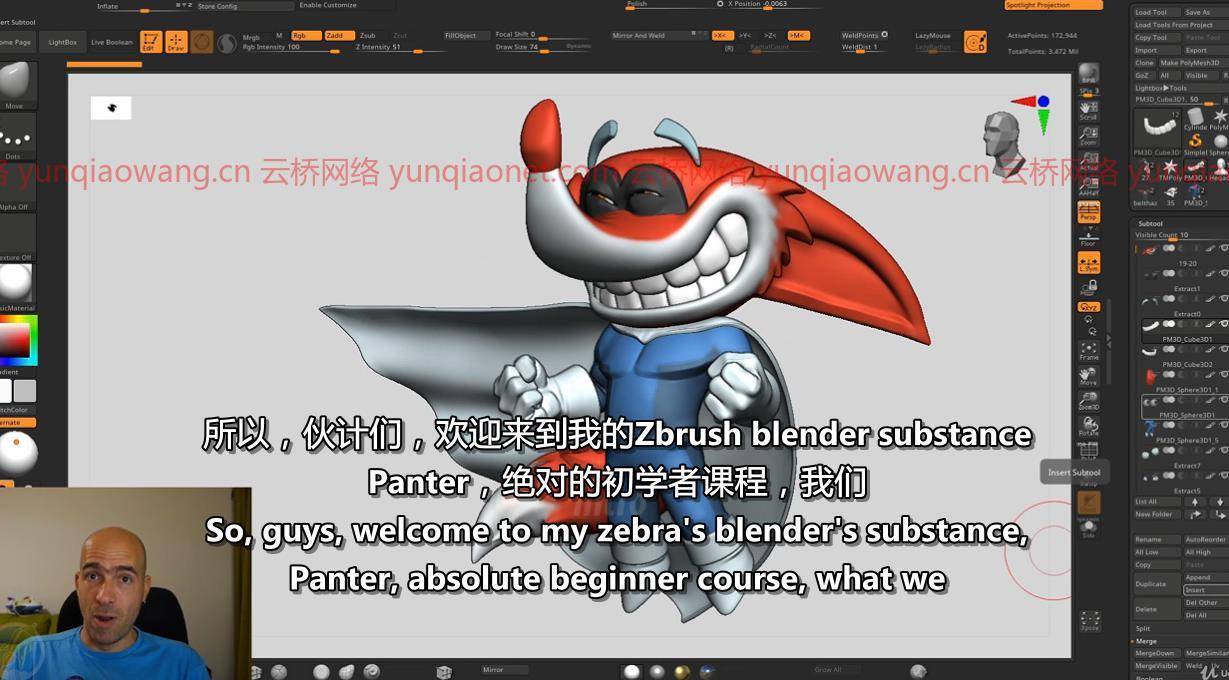
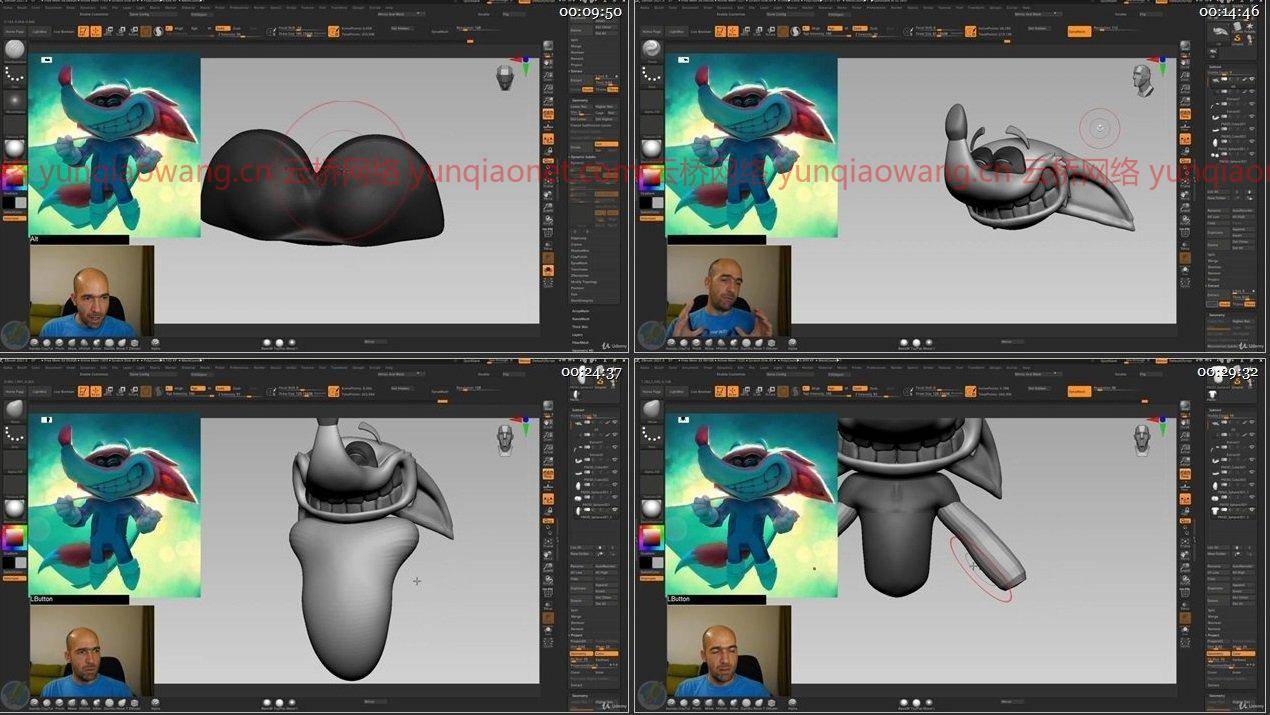
首先,我们将从Zbrush的基础知识开始。然后我们将学习如何通过制作女性头部来雕刻。之后,我们将把最常用的笔刷放在主Ui上,以便更容易使用它们,并且速度至少提高一倍。接下来将把我们的概念引入Zbrush,并开始从球体上雕刻它。我们将详细了解制作这个角色所需的所有雕刻方法和技术。在我们对它进行着色和改进后,我们将在Zbrush中设置我们的超级英雄,制作渲染过程,并在Photoshop中将其组合起来进行组合渲染。
然后我们会拿着t-posed版本,开始在Zbrush中手工修饰它。我会告诉你所有你需要知道的关于我如何以及为什么在兹布鲁什做我的修图。在我们完成重组后,我们将在Zbrush中再次打开角色。
最后,是时候把它放进搅拌机了。我会让你熟悉搅拌机界面和功能,让你开始。然后我们将快速修复我们的网格上的一些问题,并在Blendet中调整和排列我们的Uvs,以充分准备Fenex上尉的纹理。
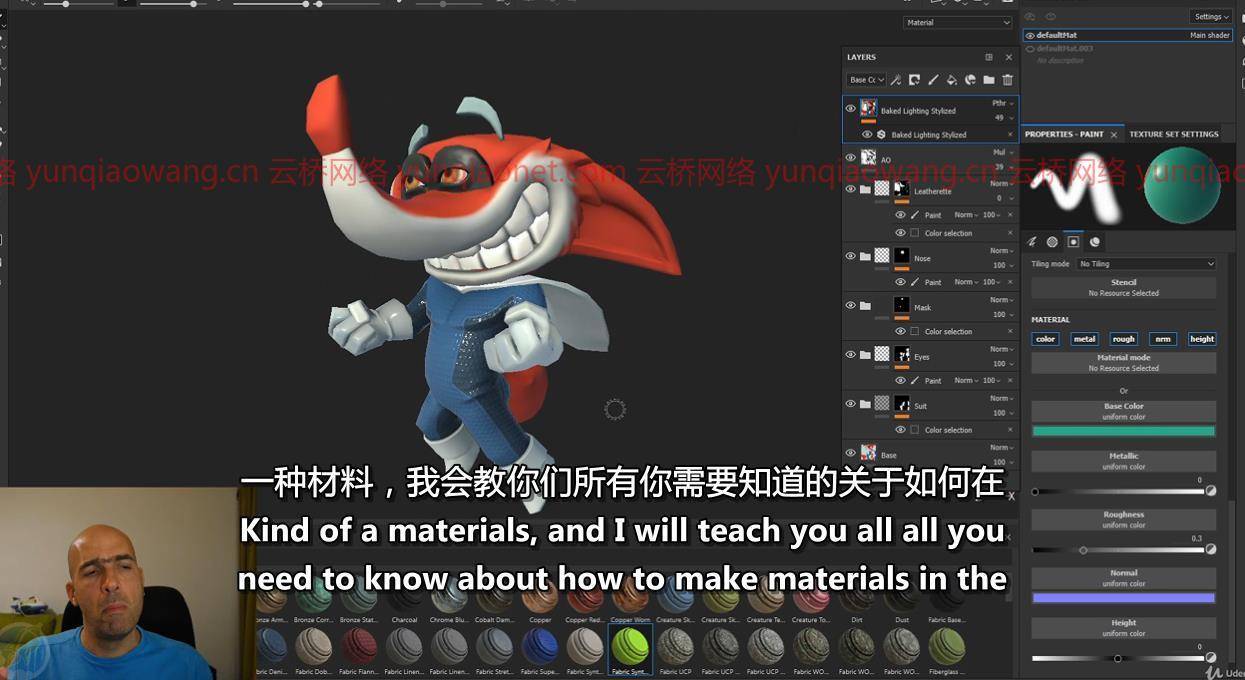
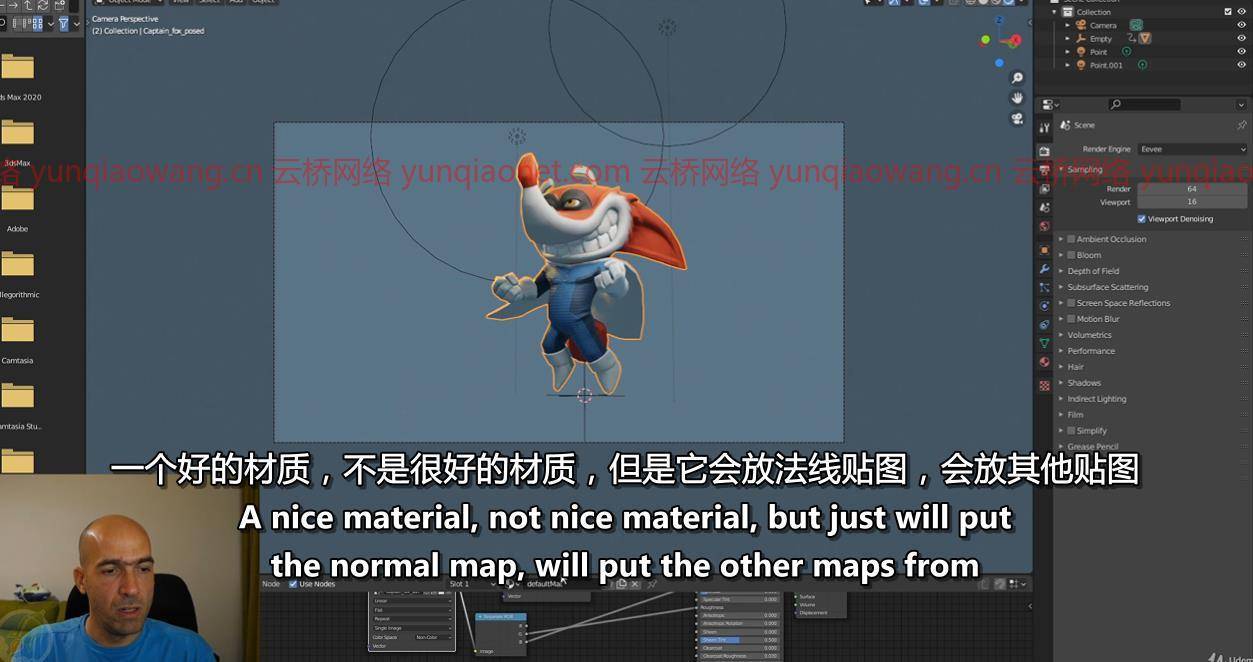
然后我们将从Blender导出我们的英雄,打开Substance Painter,熟悉它的界面和特性。之后,我们将在那里导入模型,烘焙所有必要的地图,并开始制作我们的材料。我们将进行实验,甚至可能会对材料有一点点兴趣。当我们结束乐趣时,我们将集中精力从实体绘制器中导出纹理。
然后是课程的奖金和实验部分。我们将把纹理放在搅拌机里,看看我们的模型是否光彩夺目。然后我将向你展示如何从老式搅拌机中为你的网格准备一个骨架,调整它到我们的模型,并将我们的模型附加到骨架的骨骼上。之后,我们将在骨骼的帮助下移动并摆好模型的姿势。当我们准备好姿势后,我会教你如何在Blender中渲染,甚至制作一个转盘动画来更好地展示。
最后,我们将花30分钟谈论艺术站、作品集和成功的演示,并附上例子和一些实用的建议。
因为这是一门绝对的初学者课程,所以不需要以前的知识。我只是一直建议你在我的课程中练习和做我做的事情,以便获得最好的学习体验。因此,让我们打开Zbrush,进入3D角色的世界。
本课程面向谁:
想为游戏制作第一个3D角色的初学者
课程目录:
1.正式介绍
2.从Zbrush开始
3.开始塑造女性的头部
4.开始雕刻女性头像2
5.提炼,添加眼球和颜色
6.定制Zbrush,加快工作流程
7.在Zbrush中打开我们的概念并开始模型
8.添加眉毛,鼻尖,精修头部
9.制作眼罩,Zemesh, Zmodeler
10.精制面膜,制作身体,启动手臂
11.添加手指和腿
12.合并身体,多边形绘制测试,做尾巴
13.制作手套和靴子
14.弗兰克的反馈,从头到尾
15.回顾我们到目前为止所学的内容,并细化尾部
16.打磨尾巴和身体
17.制作较低的细分,并完成高多边形
18.摆好角色
19.摆披风
20.从Zbrush进行渲染传递并设置尾部
21.在Photoshop中组合渲染过程以获得良好的渲染效果
22.如何在Zbrush开始修图
23.完成头部重组
24.手的修饰
25.躯干的修饰
26.腿和尾巴的修饰
27.斗篷和眼睛的修图
28.完成重组
29.制作UV并为Blender导出物体
30.Blender开始
31.调整UVs并将对象从混合器导出到实体绘制器
32.Substance Painter 开始
33.《Substance Painter》中的人物组合与材料制作
34.《Substance Painter》中的材料实验
35.从SP导出纹理,并在Blender中指定它们
36.在Blender里绑定
37.用绑定制作姿势
38.在Blender中渲染
39.制作转盘动画并在Blender中渲染电影
40.A站、作品集以及如何曝光
Genre: eLearning | MP4 | Video: h264, 1280×720 | Audio: AAC, 44.1 KHz
Language: English | VTT | Size: 22.1 GB | Duration: 20h 3m
What you’ll learn
3D character for games creation
Zbrush
Basics of Blender
Basics of Substance Painter
Description
So you wanna make 3d characters for games?
But you don’t know the workflow?
Or you don’t know the programs?
Don’t worry, Zbrush-Blender-Substance Painter full 3d game character for Absolute beginners course gets you covered. I am also here for you.
My name is Niko and I am a 3D character artist and teacher. I started working in the game industry 14 years ago and after numerous games and characters, I now teach at ARC academy for game art, make online courses and you probably have stumbled upon my YouTube channel – Speedchar.
In this course we will learn Zbrush, Blender and Substance Painter from scratch. You will learn how to make characters like this one from the high poly, through retopology and UVs ( all in Zbrush) fix your mesh and prepare it for baking in Blender and then bake and make textures in Substance Painter.
As a bonus we will make a pose and render both the high and the low poly to make a better presentation.
First we will start with basics of Zbrush. We will then learn how to sculpt by making a female head. After that we will bring the most used brushes on the main Ui, to have easier access to them and at least double our speed. Following will be bringing our concept into Zbrush and start sculpting it from sphere. We will have a detailed look into all sculpting methods and techniques, required for making this character. After we colorize and refine it, we will pose our superhero in Zbrush, make render passes and combine them in Photoshop for portfolio render.
Then we will take the t-posed version and start retopologizing it by hand in Zbrush. I will tell you all you need to know about how and why I do my retopology in Zbrush. After we are done with retopology we will unwrap the character again in Zbrush.
And at last it will be time to bring it into Blender. I will get you familiar with Blender interface and the features to get you started. Then we will quickly fix some problems on our mesh and resize and arrange our Uvs inside Blendet to fully prepare captain Fenex for texturing.
Then we will export our hero from Blender, open Substance Painter and get familiar with its interface and features. After that we will import out model there, bake all necessary maps and start making our materials. We will experiment and even have a little bit of fun with the materials, maybe. When we finish with the fun, we will concentrate on exporting the textures out of Substance Painter.
And then will come the bonus and experiment section of the course. We will put the textures in Blender to see our model there in it’s full glory. Then i will show you how to get a ready skeleton for your meshes from vintage Blender, adjust it to our model and attach our model to the bones of the skeleton. After that we will move and pose the model witht he help of the bones. When we are ready with the pose i will teach you how to render in Blender and even make a turntable animation for better presentation.
At the end we will spend 30 minutes to talk about Artstation, portfolio and successful presentation with examples and some practical advices.
Since this is Absolute beginners course, no previous knowledge of Zbrush, Blender or Substance Painter is required. I just always recommend with my courses that you practice and do the things i do, in order to get the best possible learning experience. So lets open Zbrush and dive in to the world of 3D characters.
Zbrush -Blender -Substance Painter full 3D character course
Who this course is for:
Beginners who wants to make their first 3D character for game
1. Introduction
2. Starting with Zbrush
3. Start sculpting a female head
4. Start sculpting a female head Pt2
5. Refining, adding eyeballs and color
6. Customizing Zbrush for much faster workflow
7. Opening our concept in Zbrush and starting the model
8. Adding eyebrows, nose tip and refining the head
9. Making the eye mask, Zemesh, Zmodeler
10. Refining the mask, making the body and starting the arms
11. Adding fingers and legs
12. Merging the body, polypaint test, making the tail
13. Making the gloves and boots
14. Feedback from Franck, head and tail polish
15. Recap of what we have learned so far and refining the tail
16. Polishing the tail and body
17. Making lower subdivisions, and finishing the high poly
18. Posing the character
19. Posing the cape
20. Making render passes from Zbrush and posing the tail
21. Combining the render passes in Photoshop for a nice render
22. How to start retopology in Zbrush
23. Finishing the head retopology
24. Retopology of the hands
25. Retopology of the torso
26. Retopology of the legs and tail
27. Retopology of the cape and eyes
28. Finishing the retopology
29. Making the UVs and exporting obj-s for Blender
30. Getting started with Blender
31. Adjusting the UVs and exporting obj from Blender to Substance Painter
32. Getting started with Substance Painter
33. Assembling the character and how to make materials in Substance painter
34. Experimenting with materials in Substance Painter
35. Exporting textures from SP and assign them in Blender
36. Rigging Captain Fenex in Blender
37. Struggling with the rig and making a pose
38. Rendering in Blender
39. Making a turntable animation and render a movie in Blender
40. Artstation, portfolio and how to get exposure
1、登录后,打赏30元成为VIP会员,全站资源免费获取!
2、资源默认为百度网盘链接,请用浏览器打开输入提取码不要有多余空格,如无法获取 请联系微信 yunqiaonet 补发。
3、分卷压缩包资源 需全部下载后解压第一个压缩包即可,下载过程不要强制中断 建议用winrar解压或360解压缩软件解压!
4、云桥CG资源站所发布资源仅供用户自学自用,用户需以学习为目的,按需下载,严禁批量采集搬运共享资源等行为,望知悉!!!
5、云桥CG资源站,感谢您的赞赏与支持!平台所收取打赏费用仅作为平台服务器租赁及人员维护资金 费用不为素材本身费用,望理解知悉!