

时长2h 30m 1280X720 MP4 语言:英语+中英文字幕(云桥CG资源站 机译)
大小解压后:2.02 G 含课程文件
渲染一个等距的复古餐厅
信息:
在Autodesk 3ds Max和Corona渲染器中渲染等轴测复古餐车
你会学到什么
Corona渲染介绍——一个基于物理的渲染引擎
使用高清晰度电视的环境照明和设置灯光混合功能
Autodesk 3ds Max和Corona渲染中的材质和纹理基础
风格、规划和灵感+项目管理工具
欧特克3ds Max和Corona渲染器中的深度照明技术
通过Corona灯混合功能中的灯光讲故事
正交相机设置
渲染高分辨率图像
Corona帧缓冲器中的后处理
要求
拥有Autodesk 3ds Max许可证的台式机或笔记本电脑(完整版、学生版或演示版)
对3ds Max界面的基本理解
下载项目文件
描述
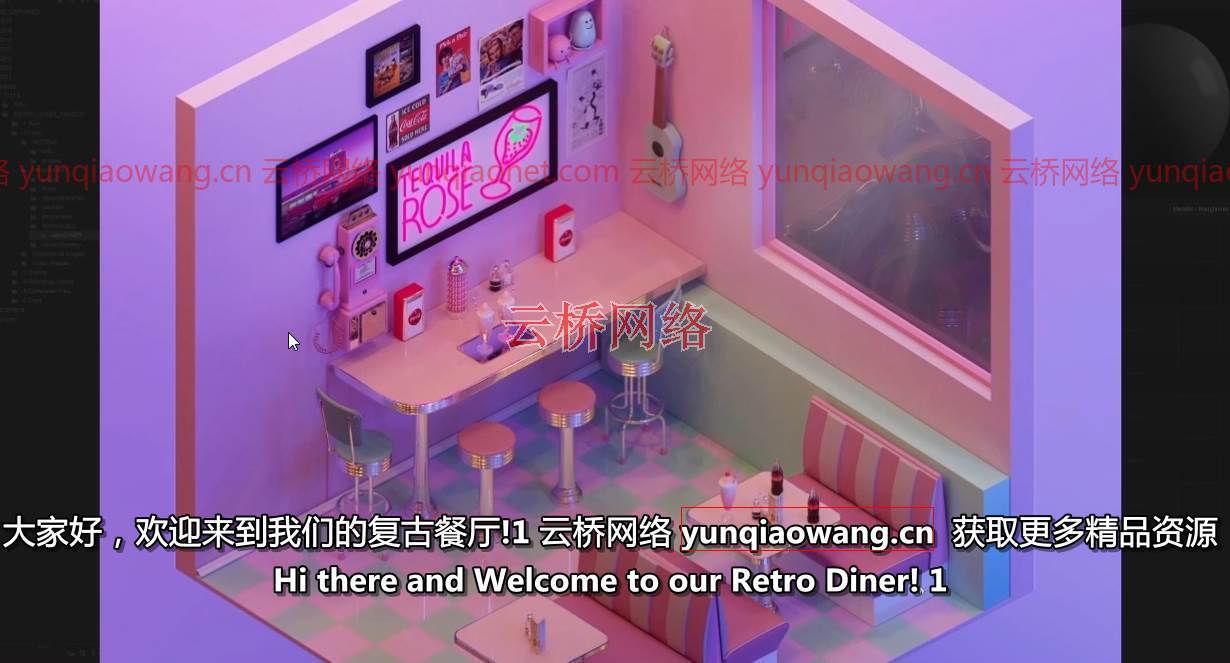
欢迎来到我的复古餐厅!在本课程中,我们将重点放在高性能(无偏差)的物理渲染器上,即Corona渲染器。我们将从工具栏开始介绍这个渲染引擎的基础知识。
这是一门实用的、基于项目的课程,将后续课程与基于视觉的解释相结合。当你订阅我的课程时,你可以下载这个等距复古餐厅场景。

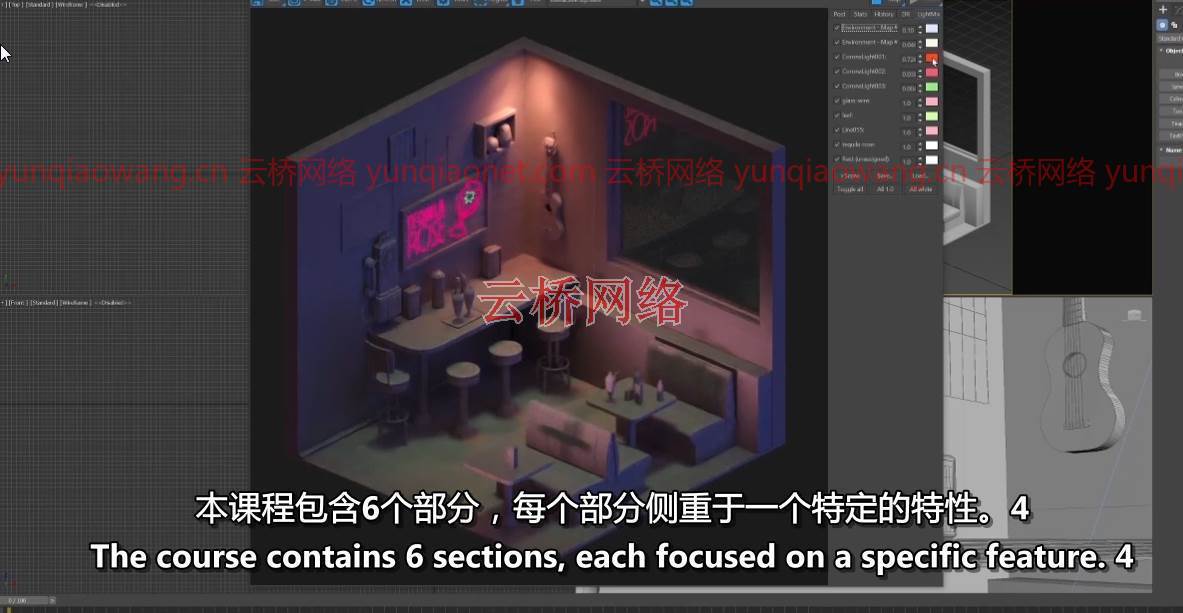
本课程包含6个部分,每个部分侧重于一个特定的功能。
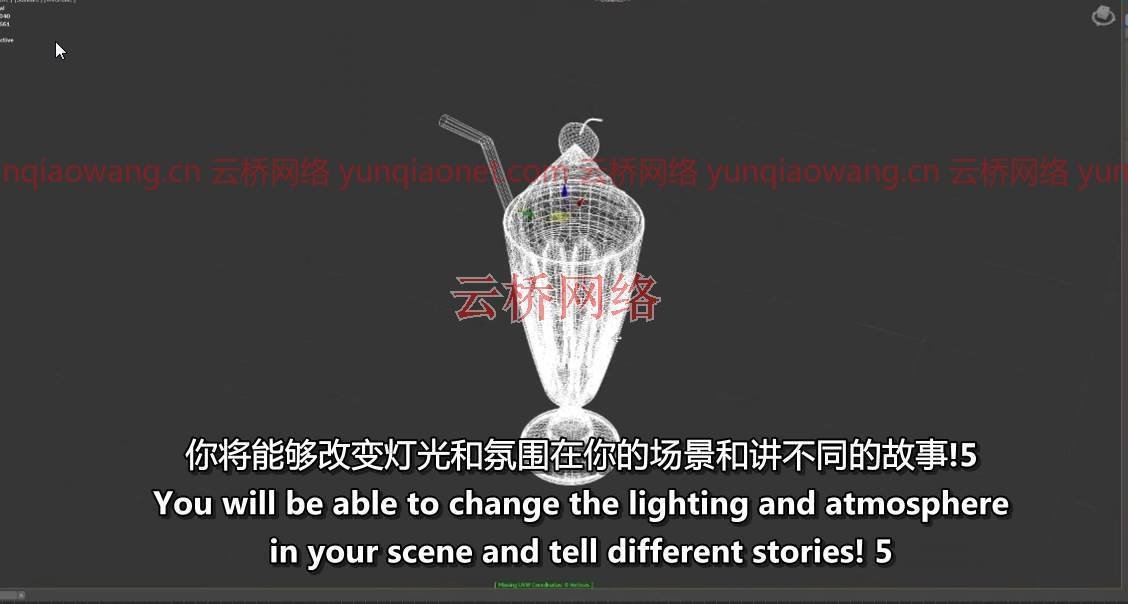
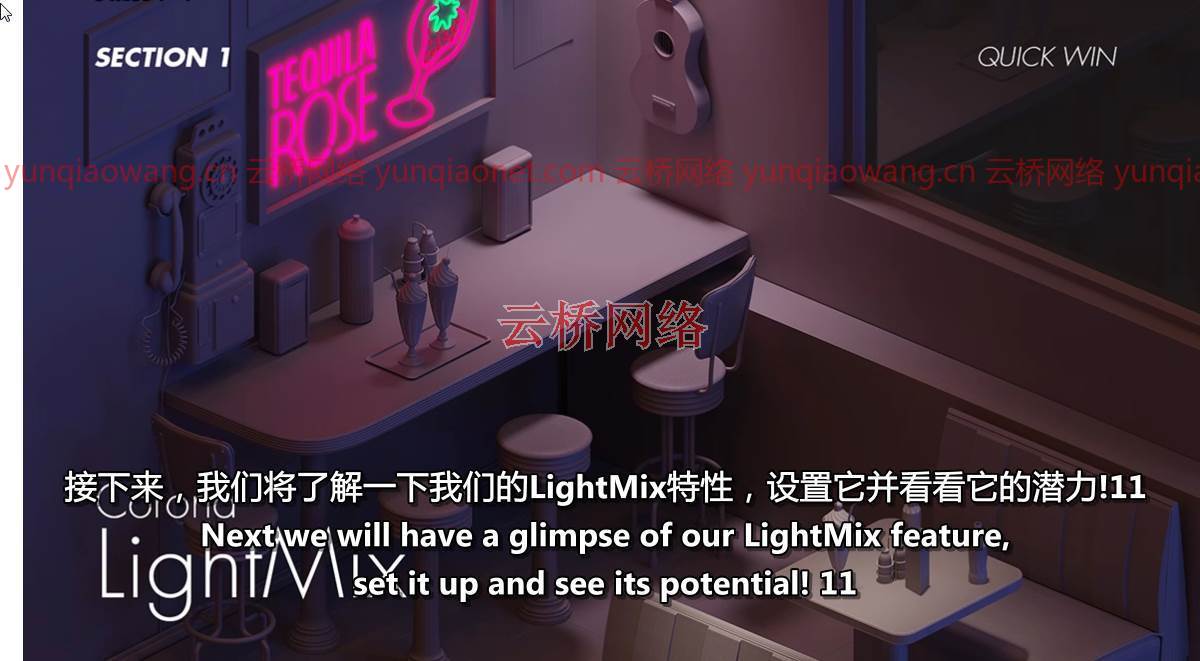
在第1节中,我们将从介绍电晕渲染器开始——这是一个基于物理的渲染引擎。我们将通过电晕渲染工具栏,并解释每个工具做什么。接下来,我们将了解一下我们的LightMix特性,设置它并看看它的潜力!你将能够改变场景中的灯光和气氛,讲述不同的故事!
第二部分是关于获得灵感。我们将为我们的餐厅创建两个不同的moodboards,并向您展示用户友好的项目管理工具,以保持组织有序。
第3节重点介绍了在3ds max材质编辑器中使用不同工作流的电晕材质和纹理。
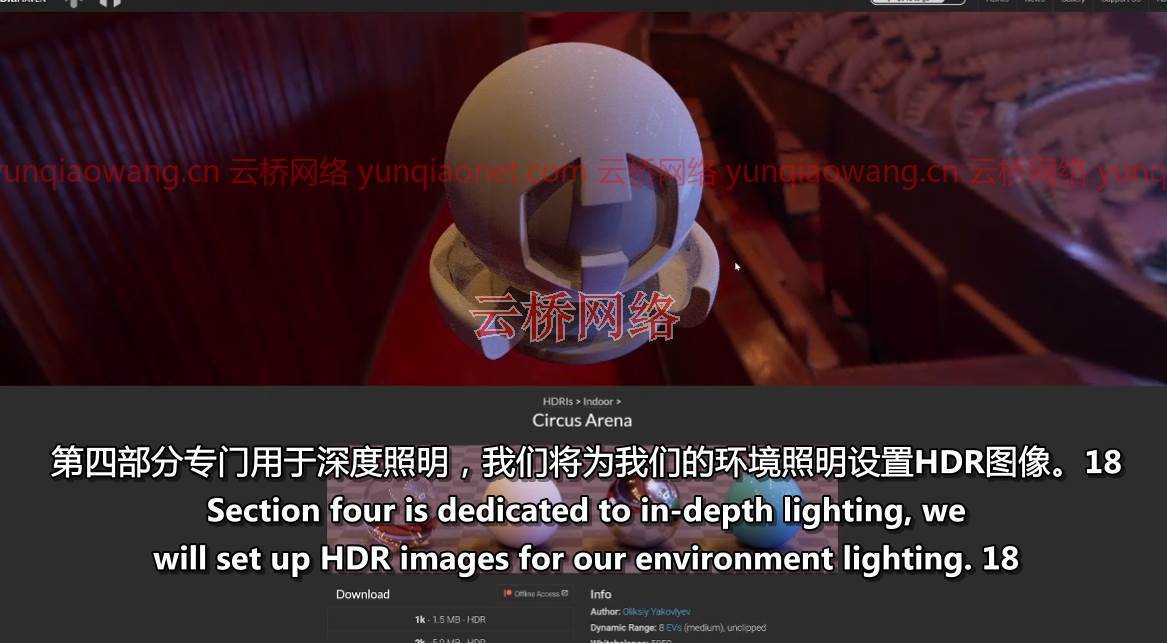
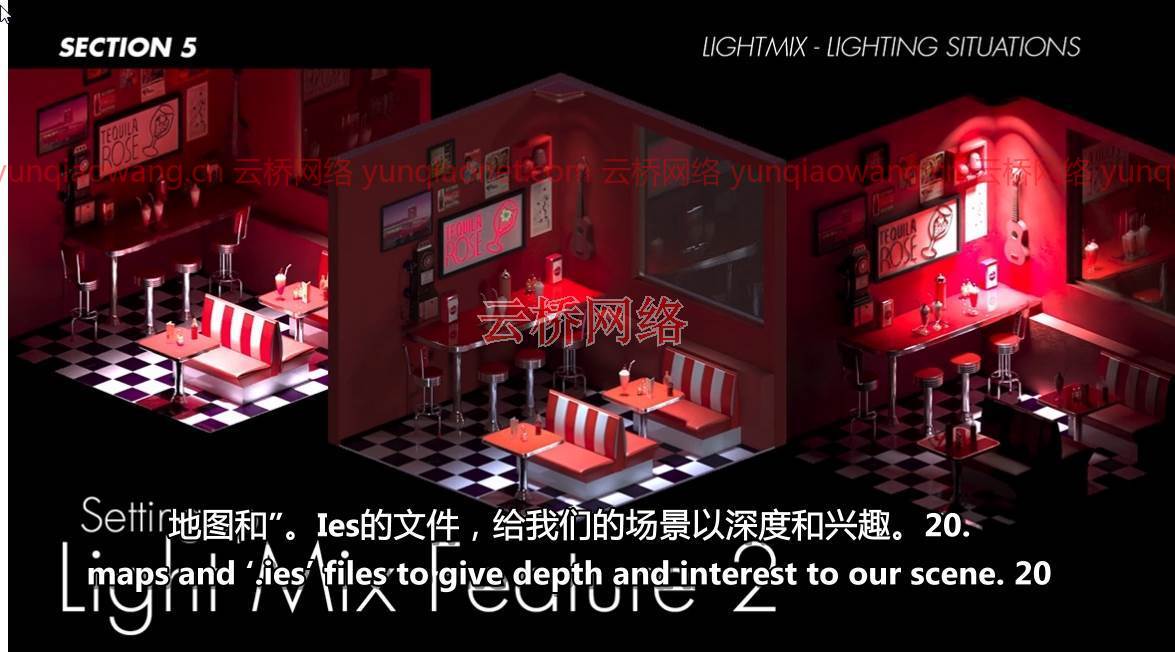
第四节专门讲深度照明。我们将为我们的环境照明设置HDR图像,然后我们学习日冕灯的基础知识,以及如何使用方向性,地图和。让我们的场景更有深度和趣味性。
在第5节中,我们将回到LightMix特性,重点放在设置和练习上。这是一个基于实践的部分,我们将使用灯光为我们的场景创造不同的情绪,以提高我们的讲故事技能。
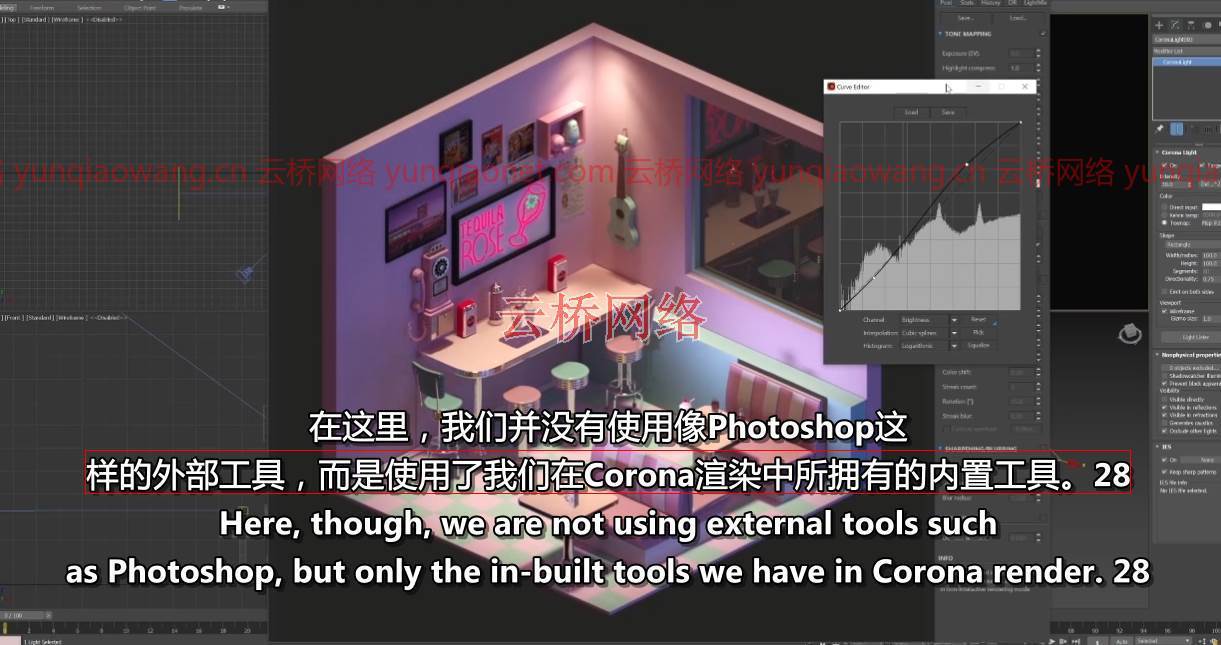
最后,在第6节,我们将处理相机和渲染设置。我们将学习创建高分辨率最终渲染的精确设置。我们的目的是直接从我们的3d文件创建一个生产就绪的图像,但我们也将保存我们的渲染元素,这使我们能够灵活选择不同的后处理工具。在这里,虽然我们没有使用外部工具,如photoshop,但只有内置工具,我们在电晕渲染。
在本课程结束时,我将向您展示如何在自己的工作中应用所学知识,并增强您的作品集。并且请不要忘记写一篇评论,非常感谢您的意见!
本课程面向谁:
初级到中级3d艺术家、建筑观想者、概念艺术家
熟悉3ds Max和V-ray并想切换到Corona渲染的观想者
想要提高照明技能的3d艺术家
想进入3d的2d艺术家
六大板块目录:
1.引入Corona渲染
2.项目管理
3.材料和纹理
4.深度照明技术
5.灯光混合-照明情况
6.渲染和后期制作
Duration 2h 30m MP4
Title:Udemy – Rendering an Isometric Retro Diner
Info:
Rendering an Isometric Retro Diner in Autodesk 3ds Max and Corona Renderer
What you’ll learn
Introduction to Corona Render – a Physical-based render engine
Environment lighting with HDRIs and setting-up the LightMix Feature
Materials and Texturing basics in Autodesk 3ds Max and Corona Render
Style, Planning and Inspiration + Project Management Tools
In-depth lighting techniques in Autodesk 3ds Max and Corona renderer
Storytelling through Lighting in Corona LightMix feature
Orthographic Camera Settings
Render High resolution Images
Post-processing in Corona Frame Buffer
Additional Tips: Storytelling in your Portfolio
Requirements
A desktop computer or a laptop with an Autodesk 3ds Max license (full, student or demo)
Basic understanding of 3ds Max interface
Downloading the Project Files
Description
Welcome to my retro diner! In this course we focus on rendering in a high-performance (un)biased physical renderer which is Corona renderer. We will cover the basics for this render engine starting from its toolbar.
This is a practical, project-based course combining follow along lessons with visual-based explanation. You will work on this isometric retro diner scene available to download when you subscribe to my course.
The course contains 6 sections, each focused on a specific feature.
In Section 1 we’ll start by introducing Corona Renderer – which is a physical-based render engine. We will go through the Corona render toolbar and explain what each tool does. Next we will have a glimpse of our LightMix feature, set it up and see its potential! You will be able to change the lighting and atmosphere in your scene and tell different stories!
Section 2 it’s about getting inspiration. We will create two different moodboards for our diner and show you user-friendly project management tools in order to keep organised.
Section 3 is focused on Corona Materials and texturing using different workflows in 3ds max material editor.
Section 4 is dedicated to in-depth lighting. We will set-up HDR images for our environment lighting, then we learn about the basics of Corona Lights and how to use directionality, maps and ‘.ies’ files to give depth and interest to our scene.
In Section 5 we come back to the LightMix feature focusing more on setting it up and practicing. This is a practice-based section where we’ll use lighting to create different moods for our scene in order to bring forward our storytelling skills.
And finally in Section 6, we’ll tackle camera and rendering set-up. We’ll learn the exact settings to create a high res final render. Our purpose is to create a production-ready image straight from our 3d file but we’ll also save our render elements which gives us the flexibility to choose different post-processing tools. Here though, we are not using external tools such as photoshop, but only the in-built tools we have in Corona render.
At the end of this course I will give you a practical demonstration of how to apply what you learned in your own work and enhance your portfolio. And please don’t forget to write a review, your opinion is highly appreciated!
Who this course is for:
Beginner to Mid-level 3d artists, architectural visualisers, concept artists
Visualisers who are familiar with 3ds Max and V-ray and want to switch to Corona render
3d artists wanting to improve their lighting skills
2d artists who want to get into 3d
1. Introducing Corona Render
2. Project Management
3. Materials and Texturing
4. In-Depth Lighting Techniques
5. LightMix – Lighting Situations
6. Rendering and Post-Production
1、登录后,打赏30元成为VIP会员,全站资源免费获取!
2、资源默认为百度网盘链接,请用浏览器打开输入提取码不要有多余空格,如无法获取 请联系微信 yunqiaonet 补发。
3、分卷压缩包资源 需全部下载后解压第一个压缩包即可,下载过程不要强制中断 建议用winrar解压或360解压缩软件解压!
4、云桥CG资源站所发布资源仅供用户自学自用,用户需以学习为目的,按需下载,严禁批量采集搬运共享资源等行为,望知悉!!!
5、云桥CG资源站,感谢您的赞赏与支持!平台所收取打赏费用仅作为平台服务器租赁及人员维护资金 费用不为素材本身费用,望理解知悉!


