建造任何尺寸的硬面道具!领先的概念艺术家Lars Sowig将指导您完成他的整个专业工作流程,从分块和建模到纹理和渲染,一直到设计您自己的贴纸和贴花。每部电影、电视剧和电子游戏都需要一个道具设计师。为什么不应该是你?
持续时间12小时 包括项目文件 1920X1080 MP4 语言:英语
使用的软件:Maya keyshot Fusion360 ps

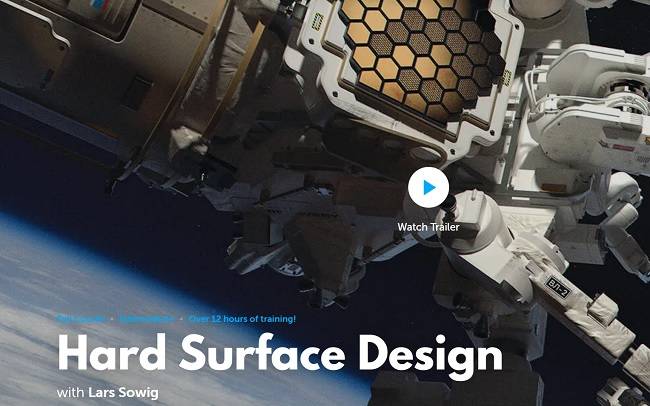
标题:学习广场——拉斯·索威格的硬面设计
第一课
Blocking
第一课会让你马上行动起来。在研究了什么是伟大的道具后,你会产生一个概念,并为自己的设计收集参考。Lars将首先向您展示设计一个简单道具的基础知识,然后指导您完成三个独立的设计。你将把这些最好的元素结合成一个英雄概念,你将在剩下的课程中完善这个概念。
第二课
建模
现在你已经完成了你的设计,你将开始建模和提炼。首先,Lars会带你浏览他喜欢的软件,给你各种建模时要记住的提示和技巧。接下来,您将导入您的选区并开始跟踪其形状,以创建更一致的外观。在此之后,Lars将经历他的三阶段建模过程,在此过程中,他不断构建细节,而不会过度关注任何一个部分。在本课结束时,你将有一个完全建模的设计,为纹理做好准备。
第三课
织构化
这一课将涵盖渲染和纹理模型的各个方面。首先,Lars将带您浏览他首选的渲染软件,并构建一个示例场景来展示基础知识。在这个阶段,你将学习如何将纹理和着色器应用到你的道具,以提高真实感和可读性。Lars还将带您了解他为模型设计和实施标签的过程。在本课结束时,你将有一个完全纹理化的硬表面设计,为上漆阶段做好准备。
第四课
渲染
现在是时候把所有东西放在一起了。在这节课中,Lars将演示如何利用各种视觉技术制作几种不同的图像。然后你将学会用吸引人的用户界面和图形元素来完成你的渲染,这在任何专业环境下都会看起来很棒。在完成你的艺术作品后,Lars还会告诉你如何处理各种各样的客户变化,并帮助你优雅地接受对你的设计的反馈——这是任何一个正在工作的艺术家的关键技能!
Build hard surface props of any size! Leading concept artist Lars Sowig will guide you through his entire professional workflow, from blocking and modeling to texturing and rendering, all the way down to designing your own stickers and decals. Every movie, TV show and video game needs a prop designer. Why shouldn’t that be you?
Lesson 1
Blocking
This first lesson will get you right into the action. After studying what makes a great prop, you will come up with a concept and gather reference for your own design. Lars will first show you the basics of blocking out a simple prop, before guiding you through three separate design blockouts. You’ll combine the best elements of these into one hero concept, which you’ll refine throughout the rest of the course.
Lesson 2
Modeling
Now that you’ve blocked out your design, you will begin modeling and refining. First, Lars will take you through his preferred software and give you various tips and tricks to keep in mind while modeling. Next, you’ll import your blockout and begin tracing its shapes to create a more consistent look. After this, Lars will go through his three-stage modeling process, in which he continuously builds detail without overly focusing on any one part. At the end of this lesson, you will have a fully modeled design, ready for texturing.
Lesson 3
Texturing
This lesson will cover various aspects of rendering and texturing your model. First, Lars will take you through his preferred rendering software and build an example scene to show the basics. At this stage you’ll learn how to apply textures and shaders to your prop to boost realism and readability. Lars will also take you through his process for designing and implementing labels to accompany his models. At the end of this lesson, you will have a fully textured hard surface design, ready for the paintover stage.
Lesson 4
Rendering
Now it’s time to bring everything together. In this lesson, Lars will demonstrate how to make several different kinds of images, utilizing various visual techniques. Then you will learn to finalize your renders with attractive UI and graphical elements, which will look great in any professional setting. After finishing your art, Lars will also show you how to deal with various kinds of client changes, and help you graciously accept feedback about your designs- a critical skill for any working artist!
1、登录后,打赏30元成为VIP会员,全站资源免费获取!
2、资源默认为百度网盘链接,请用浏览器打开输入提取码不要有多余空格,如无法获取 请联系微信 yunqiaonet 补发。
3、分卷压缩包资源 需全部下载后解压第一个压缩包即可,下载过程不要强制中断 建议用winrar解压或360解压缩软件解压!
4、云桥CG资源站所发布资源仅供用户自学自用,用户需以学习为目的,按需下载,严禁批量采集搬运共享资源等行为,望知悉!!!
5、云桥CG资源站,感谢您的赞赏与支持!平台所收取打赏费用仅作为平台服务器租赁及人员维护资金 费用不为素材本身费用,望理解知悉!