

在Maya中学习3D建模、纹理、光照和渲染,以及如何在Photoshop中合成最终图像
你会学到什么
如何使用Maya?
如何学习Maya的建模工具?
如何掌握专业造型技巧?
如何在Photoshop中使用精修技巧?
时长:13h 8m |视频:. MP4,1280×720 30 fps |音频:AAC,48kHz,2ch |大小解压后:13.1 GB 含参考图 hdr素材
语言:英语+中英文字幕(云桥CG资源站 机译)
要求
激情、兴奋和成为专业数字艺术家的愿望。
Autodesk Maya和Adobe Photoshop的副本,
描述
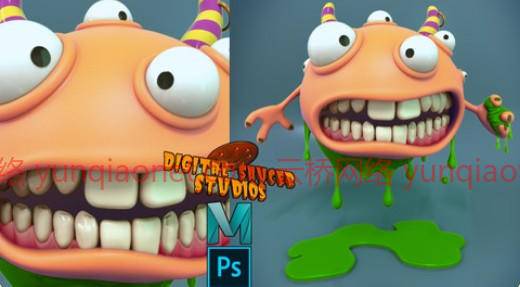
在本教程《在Maya2020中创建卡通怪物》中,您将从一开始就学习如何创建角色。
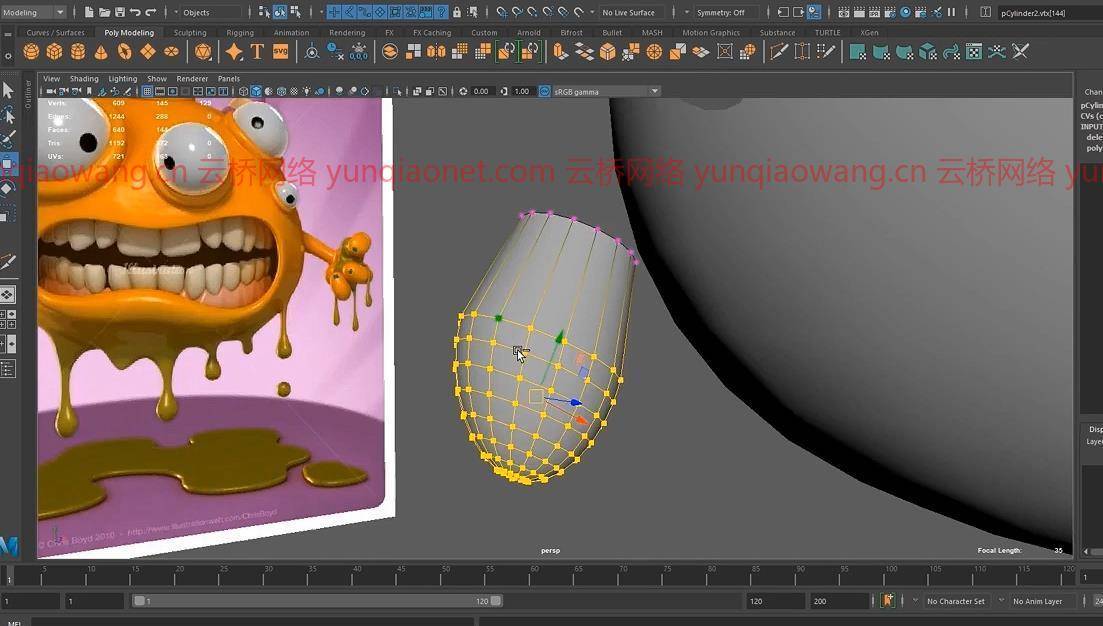
首先,您将学习如何使用建模工具来建模角色。
您将学习的建模工具包括:
多重切割工具
四元绘图工具
桥梁工具
挤压工具
镜像工具
编辑边缘流
在曲面上投影曲线
还有很多很多工具。
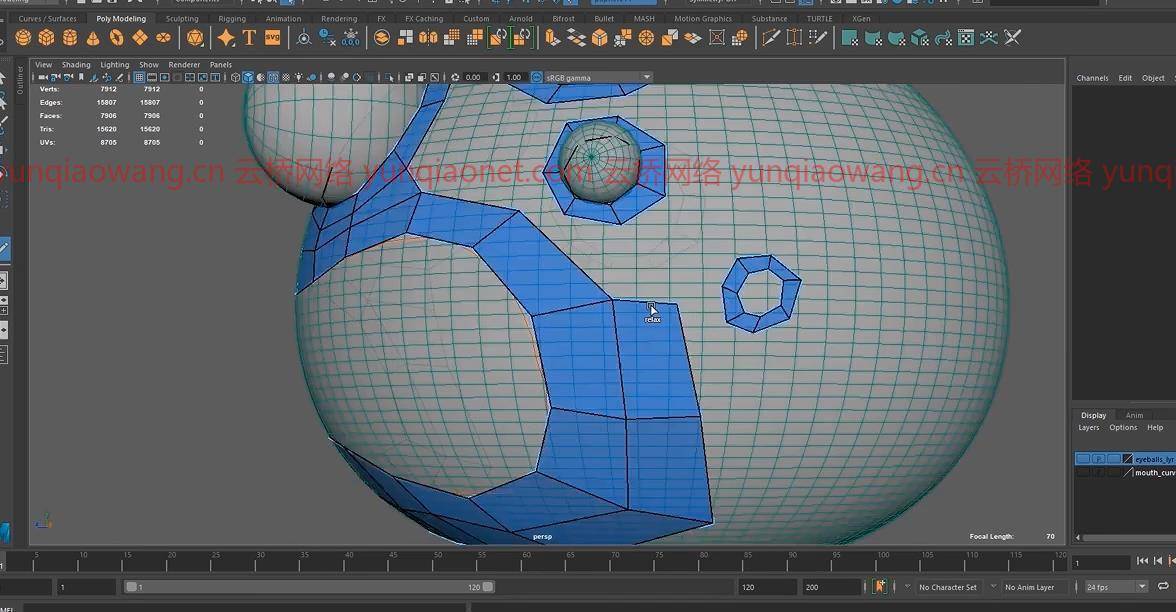
您还将学习如何在建模时创建正确的拓扑。为了创建一个伟大的模型,拥有正确和干净的拓扑结构是很重要的。
您还将了解低分辨率模型和高分辨率模型之间的区别,以及这如何影响您的工作流。
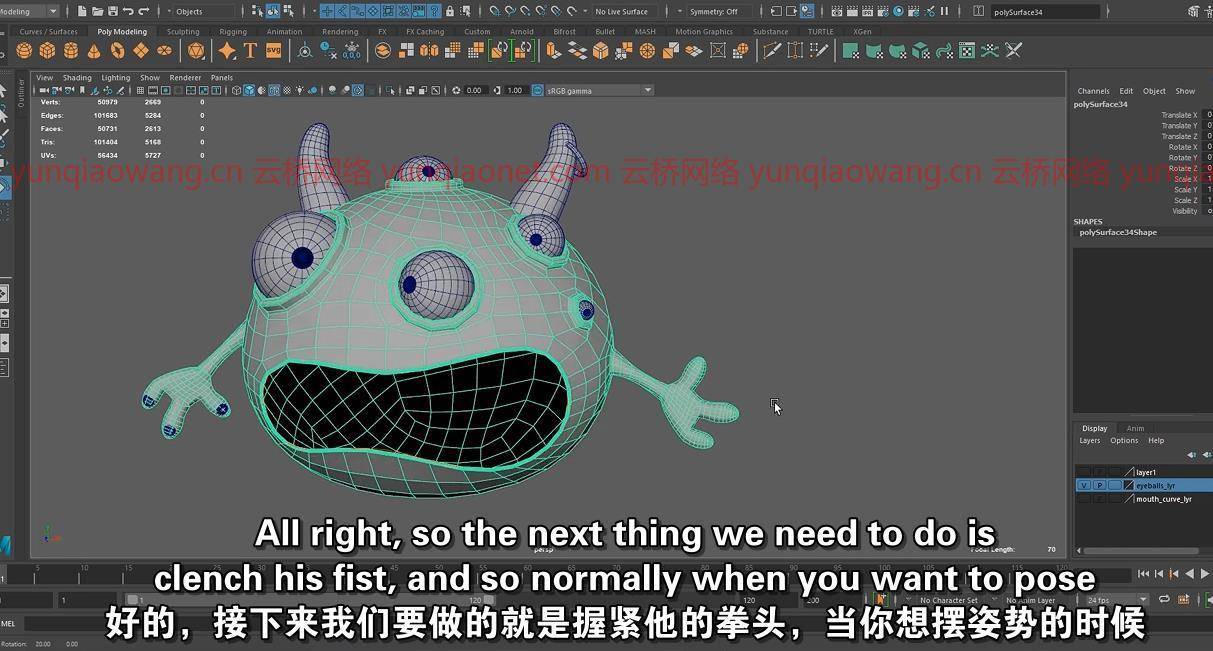
你将学习如何创造角色的身体,然后是他的眼睛,然后是手臂,手和角。最后是黏液。
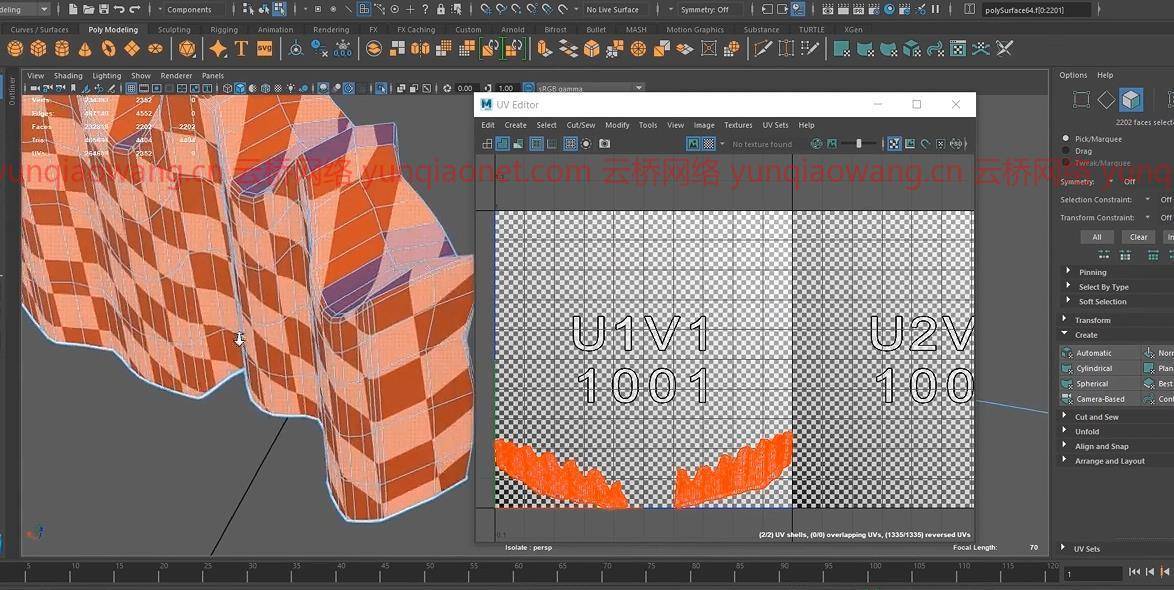
然后我们将继续对角色进行纹理化。您将学习如何创建一个紫外线贴图,以便在模型上放置合适的纹理。
您将学习如何使用HYPERSHADE,这是玛雅保存其所有材质和着色器的地方。
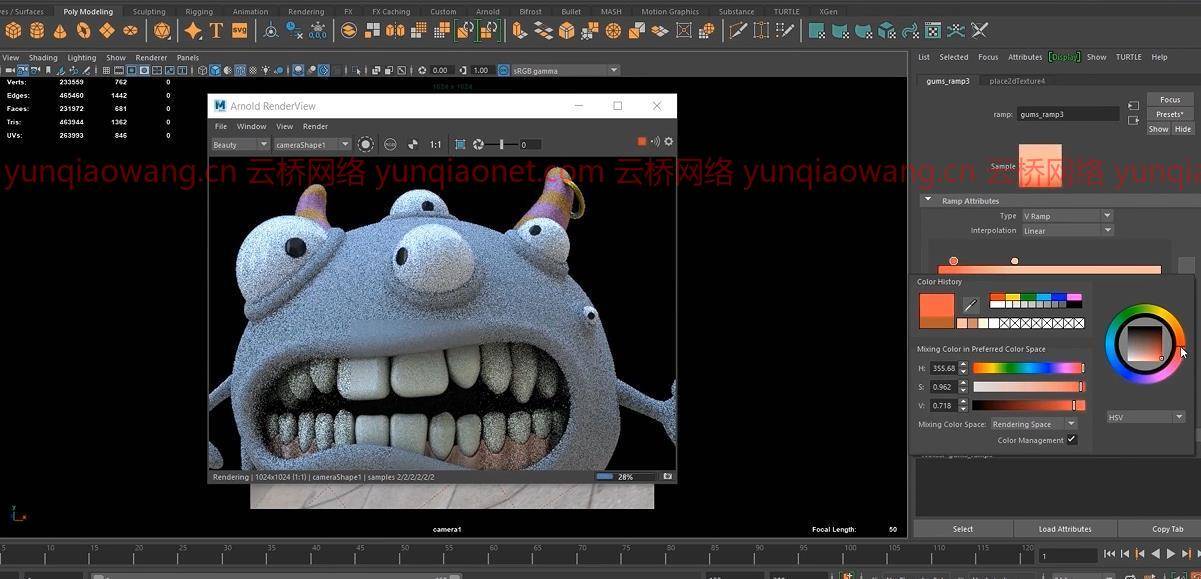
您将学习如何使用阿诺德标准表面着色器,这是一个多功能着色器,允许您创建许多美妙的纹理。
您将学习如何创建皮肤,如何为粘液创建透明度,如何为戒指创建金属金色着色器,以及如何为眼睛和牙齿创建闪亮的反射。
然后你将学习如何创建一个相机,并了解焦距是什么,以及它如何影响角色的比例。
你将学习如何设置灯光。还有天穹照明,作为全球照明。然后我们将使用区域灯,一个用于后面,一个用于前面。最后,在Maya中,您将学习如何使用渲染设置来获得最终的专业渲染图像。
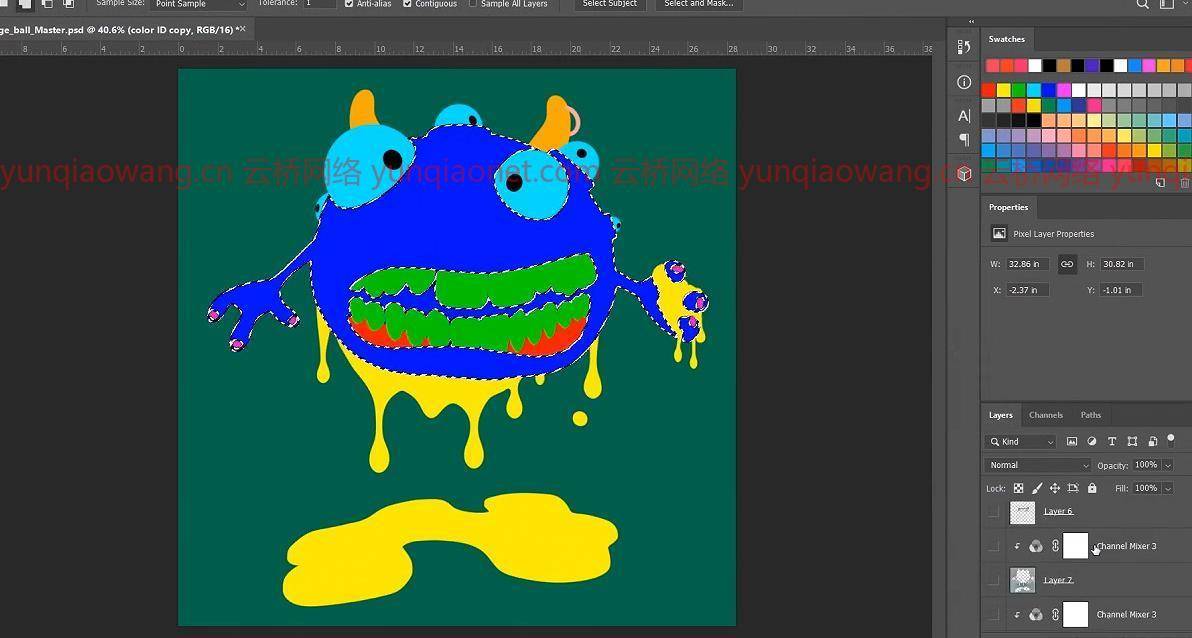
最后,我们将渲染的图像带到Photoshop中,在那里我们将进行一些颜色校正,并为角色创建最终的外观。
Creating a Cartoon Monster in Maya 2020
这门课是给谁上的:
希望成为电影、游戏和娱乐行业专业人士的学生。
课程目录:
1.介绍
2.002.设置图像平面
3.003.挡住身体
4.004.挡住手臂
5.005.挡住第一根手指
6.006.创造指甲
7.007.创造其他手指
8.008.创建手部1
9.009.创建手部2
10.010.定位眼球
11.011.创造号角
12.012.创造号角之环
13.013.曲面上的投影曲线
14.014.使用四边形绘制创建角色第1部分
15.015.用四边形绘制创建角色第2部分
16.016.用四边形绘制创建角色第3部分
17.017.清理漏洞
18.018.创建眼睑第1部分
19.019.创建眼睑第2部分
20.020.增加眼睑深度
21.021.调整眼球大小
22.022.为眼睛创造虹膜
23.023.将右臂连接到车身
24.024.连接左臂
25.025.创造第一部分
26.026.创造第一部分2
27.027.增加口腔深度
28.028.完成嘴
29.029.给眼睑添加最后的修饰
30.030.创建顶齿
31.031.创建底部齿零件1
32.032.创建底部齿零件2
33.033.创造牙龈第1部分
34.034.创造牙龈第2部分
35.035.创造牙龈第3部分
36.036.创造牙龈第4部分
37.037.创造牙龈第5部分
38.038.给皮肤添加凹凸不平的细节
39.039.创造软泥第一部分
40.040.创造软泥第二部分
41.041.创造软泥第三部分
42.042.创造软泥第四部分
43.043.创造软泥第五部分
44.044.创造软泥第六部分
45.045.创造软泥第七部分
46.046.创造软泥第八部分
47.047.创造软泥第九部分
48.048.为手创造软泥第1部分
49.049.为手创造软泥第2部分
50.050.为手创造软泥第3部分
51.051.为手创造软泥第4部分
52.052.清理角色
53.053.设置摄像机
54.054.为角创建紫外线贴图
55.055.给角加纹理
56.056.给喇叭圈加纹理
57.057.赋予眼睛纹理
58.058.给牙齿加纹理
59.059.为牙龈创建紫外线图
60.060.给牙龈纹理
61.061.纹理化皮肤
62.062.给指甲加纹理
63.063.给软泥加纹理
64.064.微调纹理第1部分
65.065.微调纹理第2部分
66.066.添加更多灯光
67.067.最终渲染设置
68.068.Photoshop中的最终合成
69.概述。在玛雅创建新渲染
70.概述070。在Photoshop中完成新渲染
Duration: 13h 8m | Video: .MP4, 1280×720 30 fps | Audio: AAC, 48kHz, 2ch | Size: 12.9 GB
Genre: eLearning | Language: English
Learn 3D modeling, Texturing, Lighting and Rendering in Maya and how to composite the final image in Photoshop
What you’ll learn
How to use Maya.
How to learn Maya’s modeling tools.
How to master professional modeling techniques.
How to use finishing techniques in Photoshop.
Requirements
Passion, excitement and the desire to become a professional digital artist.
A copy of Autodesk Maya and Adobe Photoshop,
Description
In this tutorial, Creating a Cartoon Monster in Maya 2020, you will learn how to create a character from the beginning.
First, you will learn how to use the modeling tools to model the character.
Modeling tools you will learn include:
Multi-Cut Tool
Quad Draw Tool
Bridge Tool
Extrude Tool
Mirror Tool
Edit Edge Flow
Project Curve on Surface
And many, many more tools.
You will also learn how to create the correct topology when modeling. It is important to have correct and clean topology in order to create a great model.
You will also learn the difference between a low resolution model and a high resolution model and how that affects your workflow.
You will learn how to create the character’s body, then his eyes, then arms, and hands, and his horns. And finally, the slime.
We will then move on to texturing the character. You will learn how to create a UV map in order to place the proper texture onto the model.
You will learn how to use the HYPERSHADE, which is the place where Maya keeps all of its materials and shaders.
You will learn how to use the Arnold Standard Surface Shader, an all-in-one-purpose shader that allows you to create many wonderful textures.
You will learn how to create skin, how to create transparency for the slime, how to create a metallic gold shader for the ring, and how to create shiny reflections for the eyes and teeth.
Then you will learn how to create a camera, and understand what the focal length is, and how that affects the proportion of the character.
You will learn how to set the lighting. There is the Skydome lighting, which acts as a global illumination. Then we will use area lights, one for the back and one for the front. Then finally, in Maya, you will learn how to use the render settings to get a final, professional looking rendered image.
Finally, we will bring the rendered image into Photoshop where we will do some color correcting and create a final look for the character.
Who this course is for:
Students who want to become industry professionals in the film, game, and entertainment business.
1. Introduction
2. 002. Setting Up the Image Plane
3. 003. Blocking Out the Body
4. 004. Blocking Out the Arm
5. 005. Blocking Out the First Finger
6. 006. Creating the Fingernail
7. 007. Creating the Other Fingers
8. 008. Creating the Hand Part 1
9. 009. Creating the Hand Part 2
10. 010. Positioning the Eyeballs
11. 011. Creating the Horn
12. 012. Creating the Horn Ring
13. 013. Projecting Curve on Surface
14. 014. Creating the Character with Quad Draw Part 1
15. 015. Creating the Character with Quad Draw Part 2
16. 016. Creating the Character with Quad Draw Part 3
17. 017. Cleaning Up the Holes
18. 018. Creating the Eyelids Part 1
19. 019. Creating the Eyelids Part 2
20. 020. Adding Depth to the Eyelids
21. 021. Resizing the Eyeballs
22. 022. Creating the Iris for the Eyes
23. 023. Attaching the Right Arm to the Body
24. 024. Attaching the Left Arm
25. 025. Creating the Fist Part 1
26. 026. Creating the Fist Part 2
27. 027. Adding Depth to the Mouth
28. 028. Finishing the Mouth
29. 029. Adding Finishing Touches to the Eyelids
30. 030. Creating the Top Teeth
31. 031. Creating the Bottom Teeth Part 1
32. 032. Creating the Bottom Teeth Part 2
33. 033. Creating the Gums Part 1
34. 034. Creating the Gums Part 2
35. 035. Creating the Gums Part 3
36. 036. Creating the Gums Part 4
37. 037. Creating the Gums Part 5
38. 038. Adding Lumpy Detail to the Skin
39. 039. Creating the Ooze Part 1
40. 040. Creating the Ooze Part 2
41. 041. Creating the Ooze Part 3
42. 042. Creating the Ooze Part 4
43. 043. Creating the Ooze Part 5
44. 044. Creating the Ooze Part 6
45. 045. Creating the Ooze Part 7
46. 046. Creating the Ooze Part 8
47. 047. Creating the Ooze Part 9
48. 048. Creating Ooze for the Hand Part 1
49. 049. Creating Ooze for the Hand Part 2
50. 050. Creating Ooze for the Hand Part 3
51. 051. Creating Ooze for the Hand Part 4
52. 052. Cleaning Up the Character
53. 053. Setting Up the Camera
54. 054. Creating a UV Map for the Horns
55. 055. Texturing the Horns
56. 056. Texturing the Horn Ring
57. 057. Texturing the Eyes
58. 058. Texturing the Teeth
59. 059. Creating a UV Map for the Gums
60. 060. Texturing the Gums
61. 061. Texturing the Skin
62. 062. Texturing the Nails
63. 063. Texturing the Ooze
64. 064. Fine Tuning the Textures Part 1
65. 065. Fine Tuning the Textures Part 2
66. 066. Adding More Lights
67. 067. Final Render Settings
68. 068. Final Composite in Photoshop
69. OVERVIEW 069. Creating a New Render in Maya
70. OVERVIEW 070. Finishing the New Render in Photoshop
1、登录后,打赏30元成为VIP会员,全站资源免费获取!
2、资源默认为百度网盘链接,请用浏览器打开输入提取码不要有多余空格,如无法获取 请联系微信 yunqiaonet 补发。
3、分卷压缩包资源 需全部下载后解压第一个压缩包即可,下载过程不要强制中断 建议用winrar解压或360解压缩软件解压!
4、云桥CG资源站所发布资源仅供用户自学自用,用户需以学习为目的,按需下载,严禁批量采集搬运共享资源等行为,望知悉!!!
5、云桥CG资源站,感谢您的赞赏与支持!平台所收取打赏费用仅作为平台服务器租赁及人员维护资金 费用不为素材本身费用,望理解知悉!


评论(7)
非常有用!
好耶
gx
感谢分享!
非常有用!