

流派:电子学习| MP4 |视频:h264,1280×720 |音频:AAC,44.1 KHz
语言:英语+中英文字幕(云桥CG资源站 机译) |大小:15.8 GB |时长:19.5小时 包含项目文件
使用软件:Blender+ Substace Painter.
描述
你会学到什么
从头到尾塑造铁巨人
从头到尾展开整个模型
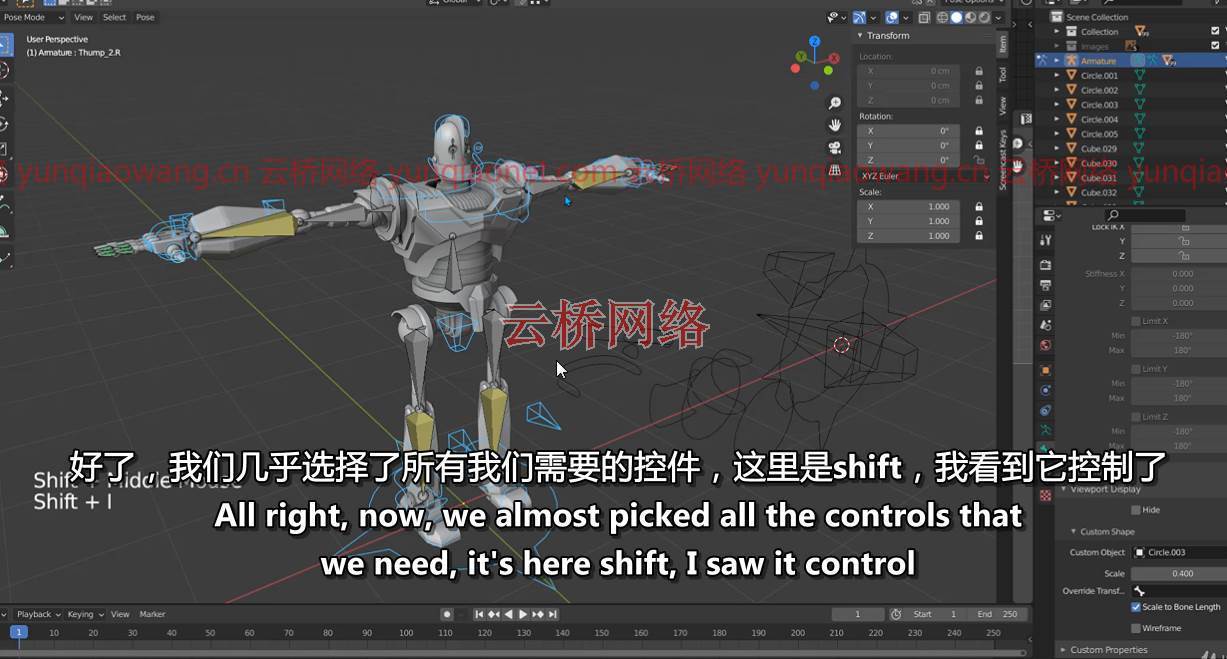
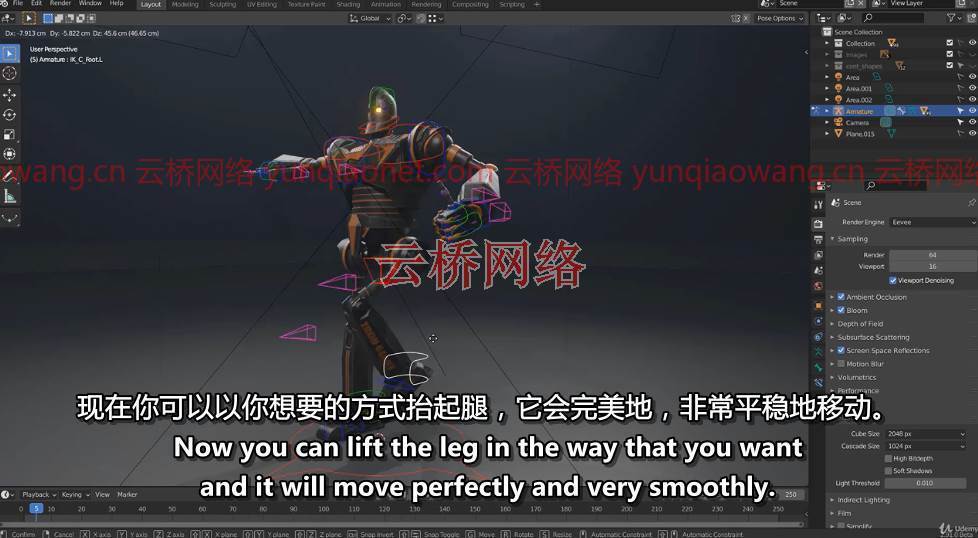
绑定,我们将学习如何绑定机器人,这样你就可以让它准备动画
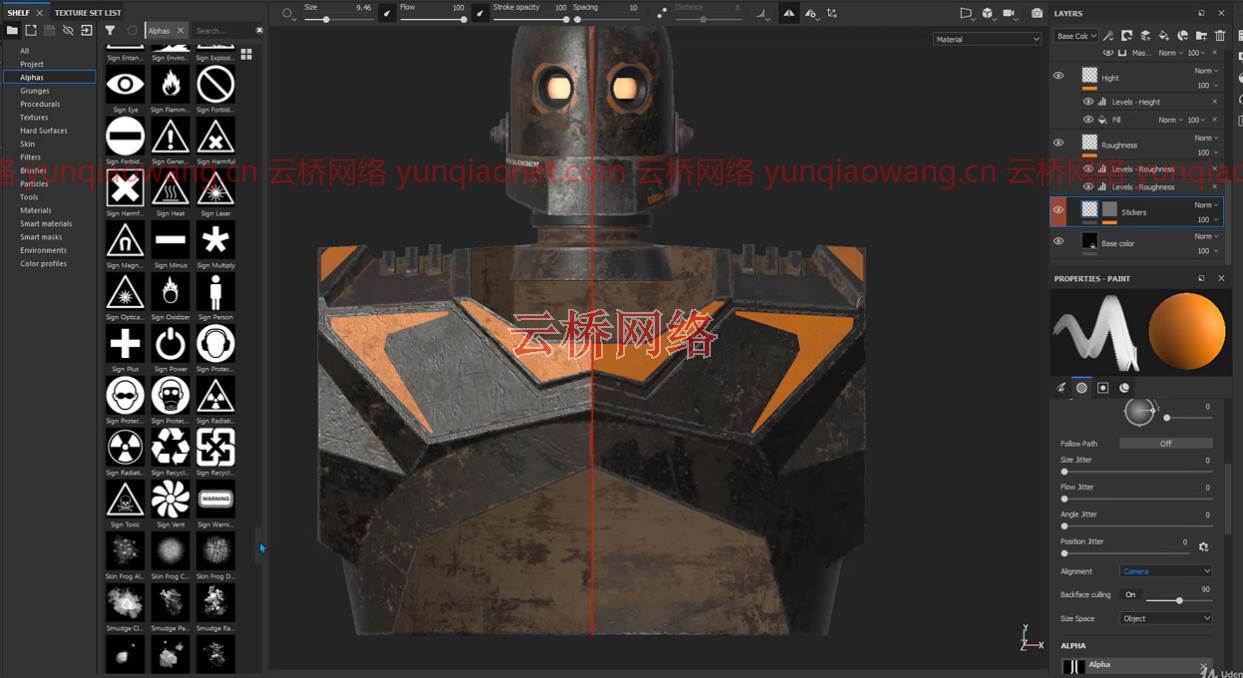
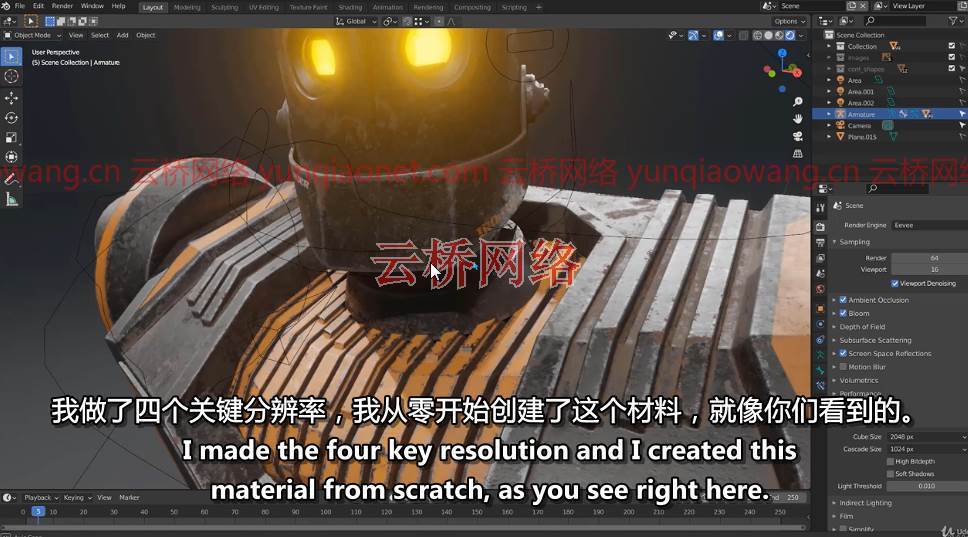
纹理化,我们将使用PBR材质,通过使用替代空间绘制器使机器人看起来很逼真。
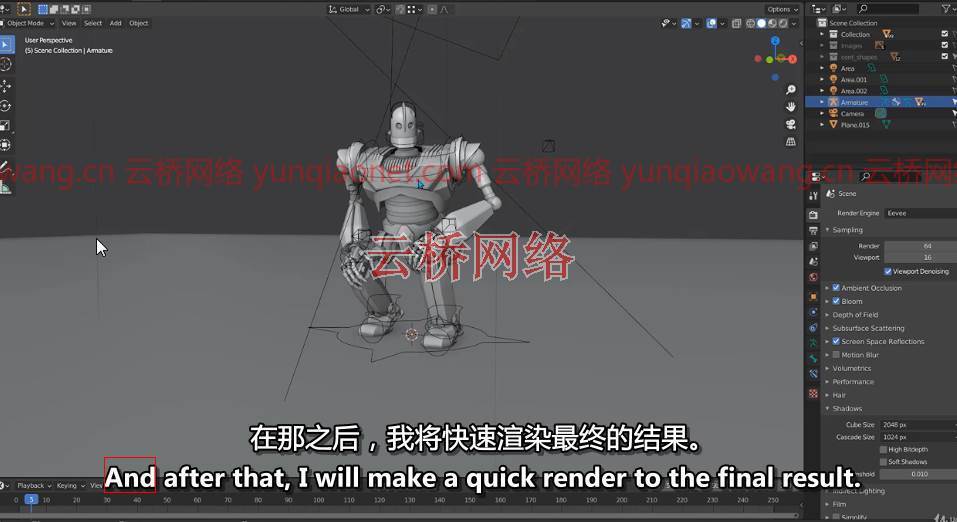
渲染,我们将使用循环和Eevee快速渲染到最终结果。
大家好,我叫马尔万·侯赛因,我是一名3D艺术家。我开设了一门关于钢铁巨人的新课程,但这门课程不同于我在Udemy平台上的其他课程,在这门课程中,我将教你如何制作索具,我们将从头到尾学习如何装配这个机器人。
在我们开始之前,让我们先来谈谈我们开始要做什么,
在开始,我们将学习如何从头到尾为整个机器人建模,这种建模称为硬表面,这很有趣,我们将学习如何正确地为模型着色,如何使用斜角修改器对称性,以及其他修改器,
直到我们在这一节(建模)的最后得到一个平滑的结果
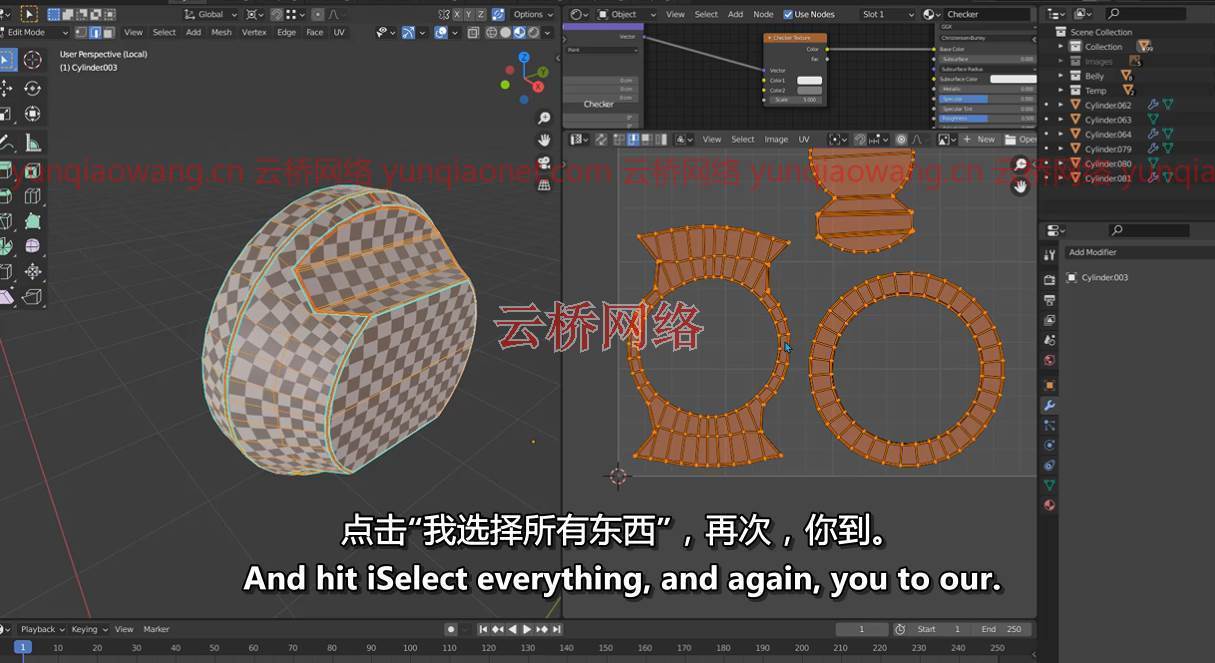
之后,我们将跳转到下一部分,我将称之为展开,我们将学习如何正确地展开硬表面建模,并将紫外线失真降至最低
我会一个一个地打开所有的部分,这样你就可以学习如何做,让你更容易。
在展开部分之后,我们将开始装配旅程,在这个旅程中,我们将学习如何使用电枢以及如何装配所有必要的关节,以便您能够移动您的机器人,并为一些动画做准备。
最后一部分是纹理和渲染,这是非常重要的一部分,因为最终的结果取决于它。
我们将把这个项目导出到实体画家那里,我们将在那里开始纹理之旅,我们将一步一步地学习如何用划痕制作逼真的PBR材料,我们将学习如何添加像铁锈和灰尘这样的天气效果,使它看起来又旧又脏,
所有这些都将在我们完成纹理之旅后用实体绘制完成,我们将把PBR纹理导入Blender来制作渲染。
我将用Cycles和Eevee渲染场景,之后,我们将使用合成器进行一些快速的后处理。
课程目录:
1.02 _课程概述
2.03 _搅拌机界面简介
3.04 _设置场景并添加蓝图图像
4.05 _开始创建头部
5.06 _在头部增加眼睛
6.07 _创建头帽
7.08 _添加眼睛细节
8.09 _创建护口器和连接
9.10 _打造颈部
10.11 _创造盔甲
11.12 _制造盔甲2
12.13 _制造盔甲3
13.14 _制造盔甲4
14.15 _制造盔甲5
15.16 _创建颈基
16.17 _从手臂部分1开始
17.18 _从手臂部分2开始
18.19 _从手臂部分3开始
19.20 _从手臂部分4开始
20.21 _创建手指部分1
21.22 _完成创建手指
22.23 _固定肘关节
23.24 _创造肚皮
24.25 _创建髋关节
25.26 _完成髋关节
26.27 _从腿部开始
27.28 _从腿部2开始
28.29 _创建脚部细节
29.30 _完成脚
30.31_添加最终细节以完成建模部分
1.32 _快速打开介绍
2.33 _展开_从头部开始_1
3.34 _展开_从头部开始_2
4.35 _展开_从头部开始_3
5.36 _展开_从胸部开始_1
6.37 _展开_从胸部开始_2
7.38 _展开_从胸部开始_3
8.39 _展开_从腹部开始
9.40 _展开_从臀部开始
10.41 _展开_从腿部开始
11.42 _展开_从脚开始
12.43 _展开_从手臂部分开始_1
13.44 _展开_从手臂部分开始_2
14.45 _展开_从手臂部分开始_3
15.46 _展开_统一模型零件尺寸纹理
1.47 _索具_第1部分_从腿部开始
2.48 _索具_零件2 _添加名称并进行IK控制
3.49 _索具_第3部分_将手鼓与腿连接,并创建新的手鼓
4.50 _索具_零件3 _创建手臂骨并将其与身体连接
5.51 _索具_第4部分
6.52 _索具_第5部分
7.53 _索具_第6部分_将骨骼复制到右侧
8.54 _装配_第7部分_将骨骼更改为形状
9.55 _装配_零件8 _将骨骼显示为形状_2
10.56 _装配_第9部分_为控制器添加颜色
11.57 _纹理化_准备模型向每个零件添加材料
12.58 _纹理化_将项目发送给实体绘制者并烘焙纹理
13.59 _纹理_从实体油漆工开始,创建第一个材质
14.60 _纹理_在头部添加一些文字和贴纸
15.61 _纹理化_为眼睛添加灯光材质
16.62 _纹理_从胸部开始
17.63 _纹理_增加颈部和臀部的纹理
18.64 _纹理_向手臂添加材料
19.65 _纹理_从左腿开始
20.66 _纹理化_将材料添加到右腿
21.67 _纹理化_向模型添加硬表面细节
22.68 _纹理_将纹理从物质桶导出到搅拌机
23.69 _渲染_用循环和Eevee渲染模型
Genre: eLearning | MP4 | Video: h264, 1280×720 | Audio: AAC, 44.1 KHz
Language: English | VTT | Size: 15.9 GB | Duration: 19.5 hours
Description
What you’ll learn
modeling the Iron giant from start to finish
unwrapping the whole model from start to finish
Rigging, we will learn how to rig the robot so you can make it ready to animation
Texturing, we will use PBR mterial to make the robot looks realistic by using Substace Painter.
Rendering, we will make quick render to the final result with Cycles and Eevee.
Hi everyone, my name is Marwan Hussain, I’m a 3D artist I made a new course about Iron Giant but this course is different from my other courses on the Udemy platform, in this course I will teach you how to make rigging, we will learn how to r rig this robot from start to finish.
Before we jump to that let’s talk about what we will do in the beginning,
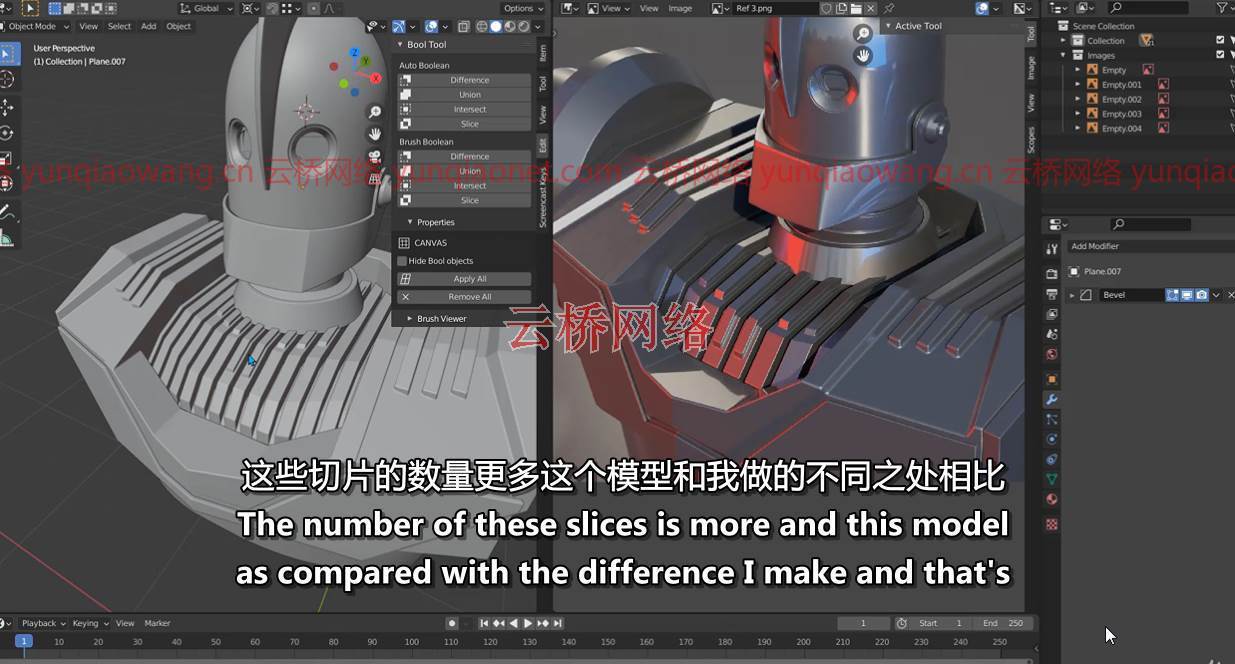
in the beginning, we will learn how to model the whole robot from start to finish, this kind of modeling call Hard surface, it’s a lot of fun we will learn how to shade your model correctly, how to use Bevel modifier symmetry, and other modifiers,
until we got a nice smooth result at the end of this section ( modeling )
After that we will jump to the next section I will call it Unwrapping, we will learn how to unwrap hard surface modeling correctly and reduce the UV distortion at the minimum
I will unwrap all the pieces one by one so you could learn how to do that and make it easier for you.
After the unwrapping section, we will start with the rig journey, in this journey, we will learn how to use armature and how to rig all necessary joint so you could be able to move your robot and make it ready for some animation.
the last section will be the Texturing and Rendering, this is very important section because the final result depends on it.
we will export the project to Substance Painter and we will start the texture journey there, we will learn how to make realistic PBR material from scratches step by step and we will learn how to add the wether effect like rust and dust so it looks old and dirty,
all of that will done with Substance Painter after we finish texturing journey we will import the PBR texture back to Blender to make the render.
I will render the scene with Cycles and Eevee, and after that, we will make some quick post-processing with the compositor.
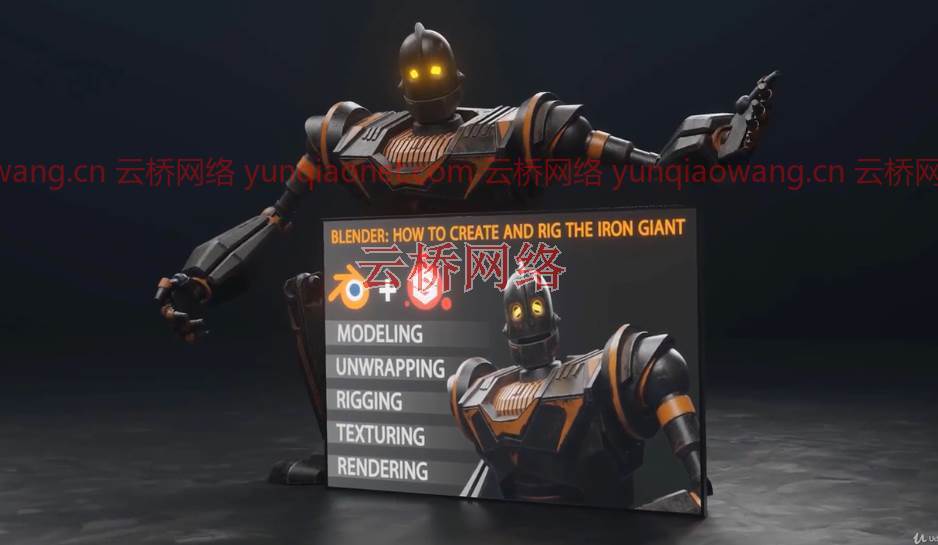
BLENDER: How to create and rig the Iron Giant
1. 02_course overview
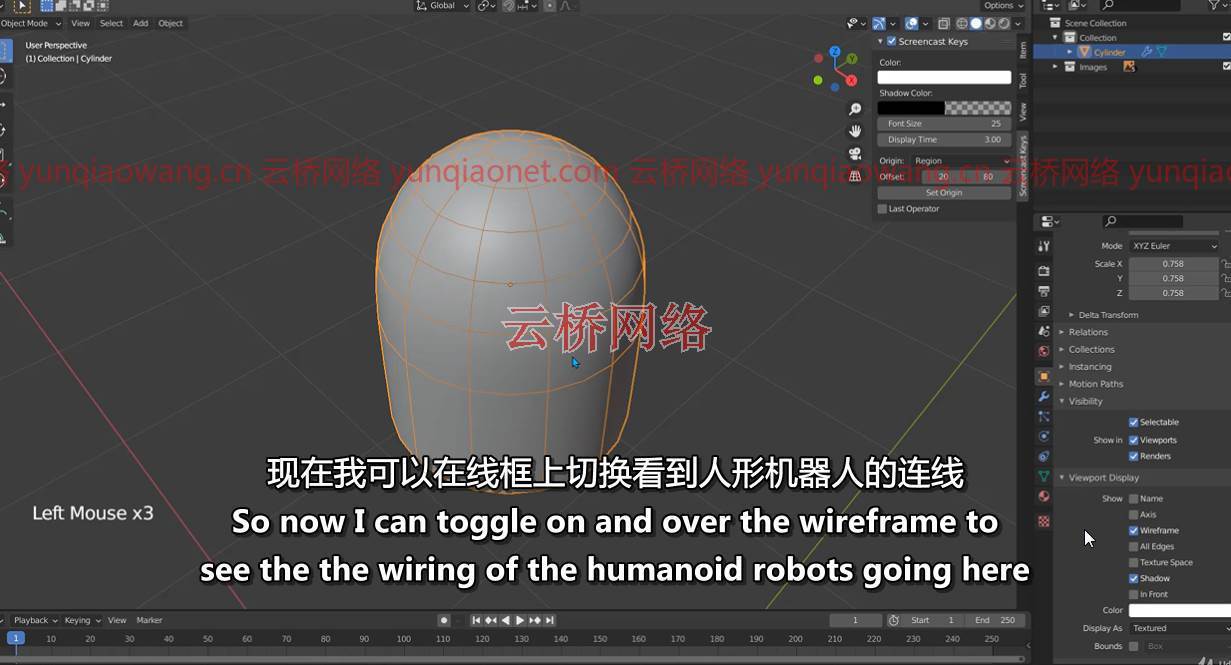
2. 03_Brief introduction to Blender interface
3. 04_Set Up the scene and add the Blueprint images
4. 05_Start creating the head
5. 06_Adding eye to the head
6. 07_Creating the head hat
7. 08_Adding eye details
8. 09_Create the mouth shield and joins
9. 10_Creating the neck
10. 11_Creating the armor
11. 12_Creating the armor 2
12. 13_Creating the armor 3
13. 14_Creating the armor 4
14. 15_Creating the armor 5
15. 16_Create the neck base
16. 17_Starting with the arm part 1
17. 18_Starting with the arm part 2
18. 19_Starting with the arm part 3
19. 20_Starting with the arm part 4
20. 21_Creating the fingers part 1
21. 22_Completing creating the fingers
22. 23_Fixing the elbow joint
23. 24_Creating the Belly
24. 25_Create the hips joint
25. 26_Completing the hips joint
26. 27_Starting with the leg
27. 28_Starting with the leg part 2
28. 29_Creating foot details
29. 30_Completing the foot
30. 31_ Adding the final detail to finish modeling section
1. 32_quick intro to unwrap
2. 33_Unwrapping_starting with the head part_1
3. 34_Unwrapping_starting with the head part_2
4. 35_Unwrapping_starting with the head part_3
5. 36_Unwrapping_starting with the chest part_1
6. 37_Unwrapping_starting with the chest part_2
7. 38_Unwrapping_starting with the chest part_3
8. 39_Unwrapping_starting with the belly
9. 40_Unwrapping_starting with the hips
10. 41_Unwrapping_starting with the legs
11. 42_Unwrapping_starting with the foot
12. 43_Unwrapping_starting with the arm part_1
13. 44_Unwrapping_starting with the arm part_2
14. 45_Unwrapping_starting with the arm part_3
15. 46_Unwrapping_Unify the model parts size texture
1. 47_Rigging_part1_starting with the leg
2. 48_Rigging_part2_Add names and make IK control
3. 49_Rigging_part3_connect the bons with the Leg and create new bons
4. 50_Rigging_part3_create the arm bons and connect them with the body
5. 51_Rigging_part4
6. 52_Rigging_part5
7. 53_Rigging_part6_ copy the bones to the right side
8. 54_Rigging_part7_change the bones to shapes
9. 55_Rigging_part8_display bones as shapes_2
10. 56_Rigging_part9_Adding colors to the controllers
11. 57_Texturing_ preparing the model adding material to each parts
12. 58_Texturing_sending the project to substance painter and bake the texture
13. 59_Texturing_Start with substance painter and create first material
14. 60_Texturing_Adding some text and stickers to the head
15. 61_Texturing_Adding Light material to the Eye
16. 62_Texturing_starting with chest
17. 63_Texturing_adding mterial to the neck and the hips
18. 64_Texturing_ adding material to the arms
19. 65_Texturing_starting with the left Leg
20. 66_Texturing_adding mterial to the right leg
21. 67_Texturing_ adding hard surface detail to the model
22. 68_Texturing_export texture from substance paitner to Blender
23. 69_Rendering_render the model with cycle and Eevee
1、登录后,打赏30元成为VIP会员,全站资源免费获取!
2、资源默认为百度网盘链接,请用浏览器打开输入提取码不要有多余空格,如无法获取 请联系微信 yunqiaonet 补发。
3、分卷压缩包资源 需全部下载后解压第一个压缩包即可,下载过程不要强制中断 建议用winrar解压或360解压缩软件解压!
4、云桥CG资源站所发布资源仅供用户自学自用,用户需以学习为目的,按需下载,严禁批量采集搬运共享资源等行为,望知悉!!!
5、云桥CG资源站,感谢您的赞赏与支持!平台所收取打赏费用仅作为平台服务器租赁及人员维护资金 费用不为素材本身费用,望理解知悉!
6、For users outside China, if Baidu Netdisk is not convenient for downloading files, you can contact WeChat: yunqiaonet to receive a Google Drive download link.


