
Ultimate character creation in Blender: From beginner to pro
流派:电子学习| MP4 |视频:h264,1280×720 |音频:AAC,48.0 KHz
语言:英语+中英文字幕(云桥CG资源站 机译) |大小解压后:24.8 GB 含建模参考图 |时长:30h 53m
如何用Blender建模、纹理和装配专业3D角色的完整指南!
你会学到什么
如何在Blender中导航并识别工作空间。
能够识别不同的三维建模技术。
如何放置参考图像,作为三维角色建模的指南。
使用方块建模技术创建具有基本形状的硬表面角色。
使用多边形建模技术创建一个简单的有机字符。
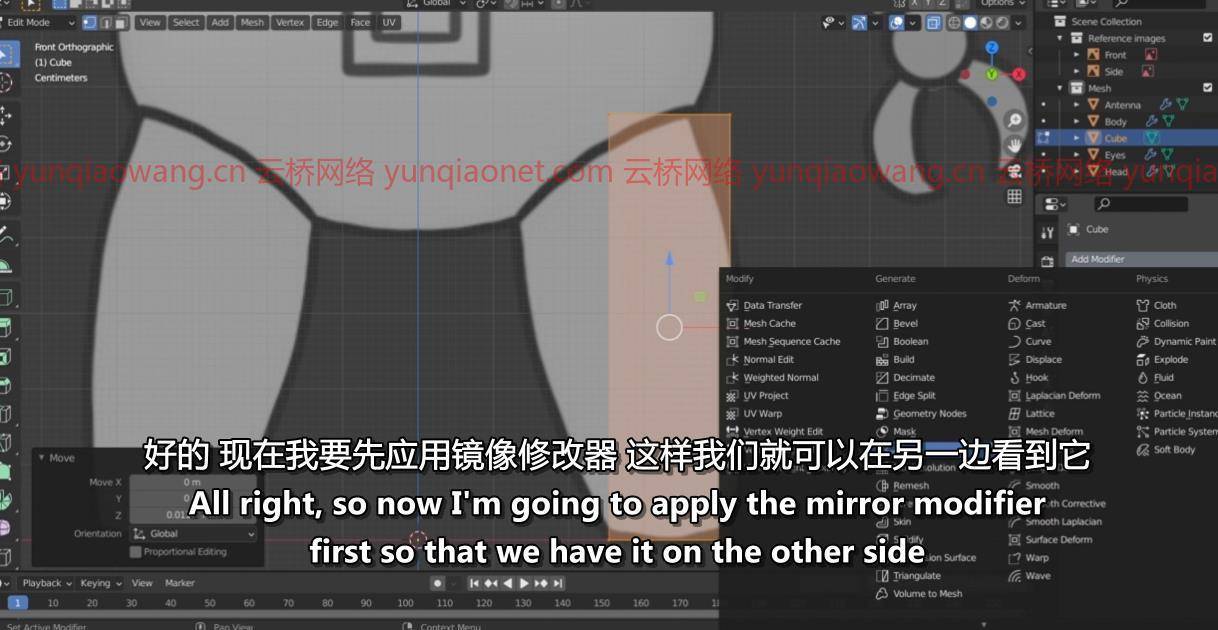
如何使用修改器以非破坏性方式影响对象的几何图形。
如何用多边形建模技术和曲线建模方法来建模一个看起来很专业的人物?
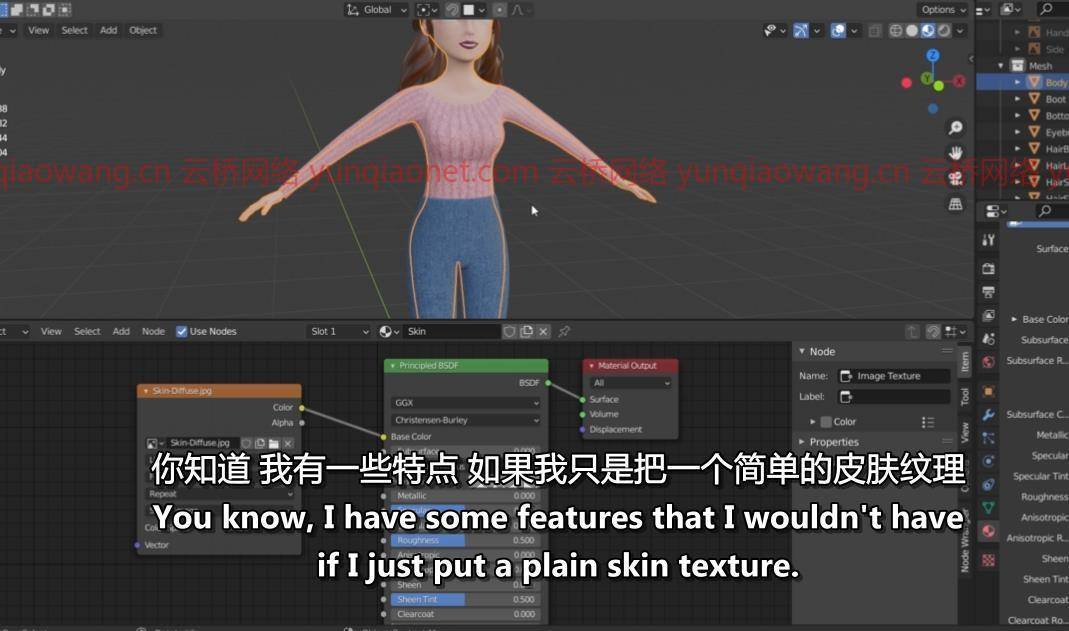
创建材料并将其指定给模型。
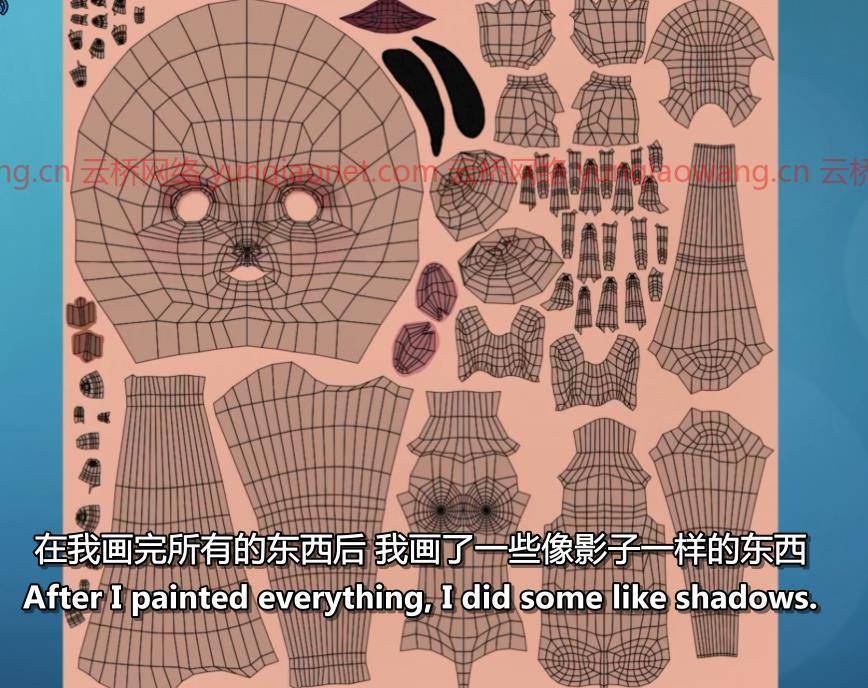
了解如何将三维网格展开为UV贴图。
如何组织和导出UV布局,以便以后将其用作绘制纹理的指南。
了解如何使用着色器编辑器并识别某些节点。
应用纹理图像和PBR贴图来创建不同的材质。
生成结合节点的程序纹理以组成新的着色器。
使用形状键修改三维网格,以便为角色提供面部表情。
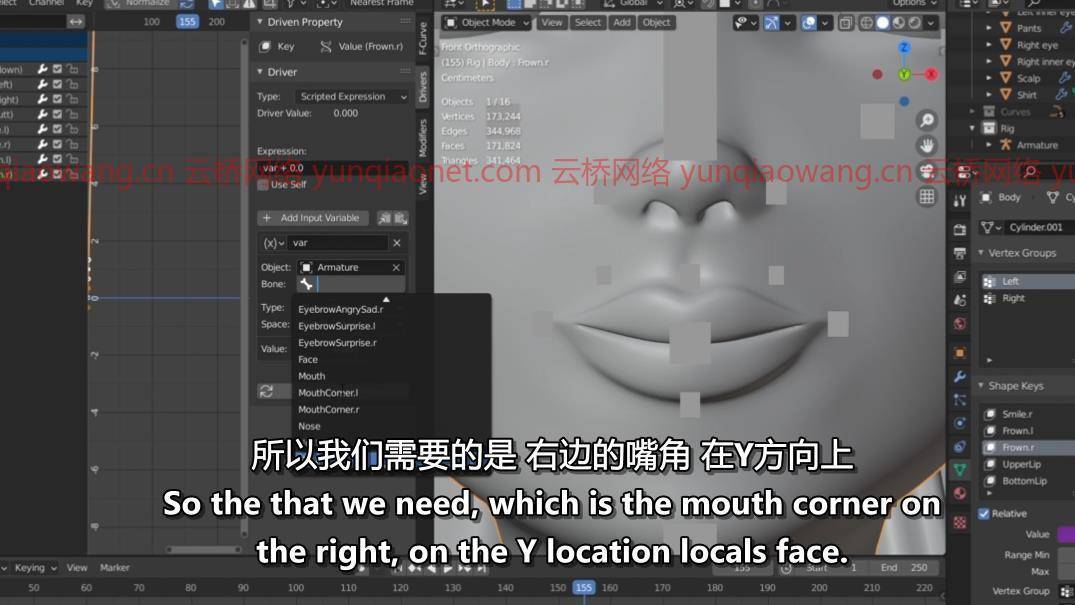
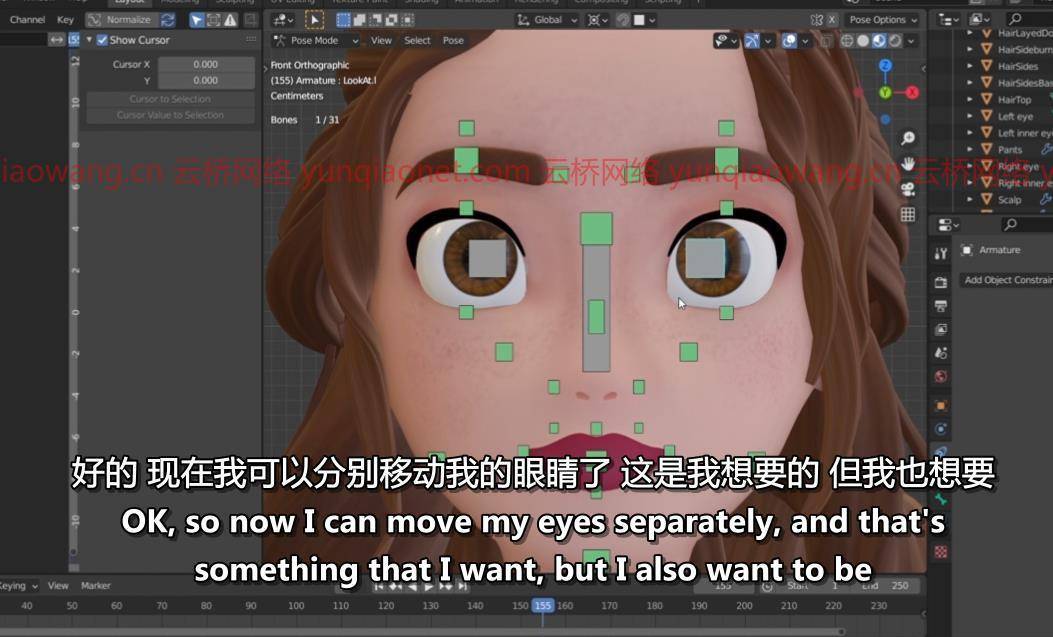
开发一个装备(添加骨骼),允许角色移动。
使用驱动程序来调整形状关键点的值,并给骨骼控制器一些约束。
识别正向运动学和反向运动学之间的区别。
设计形状,使控制骨骼更加吸引人和直观。
如何为网格指定自动权重,以及如何手动绘制权重。
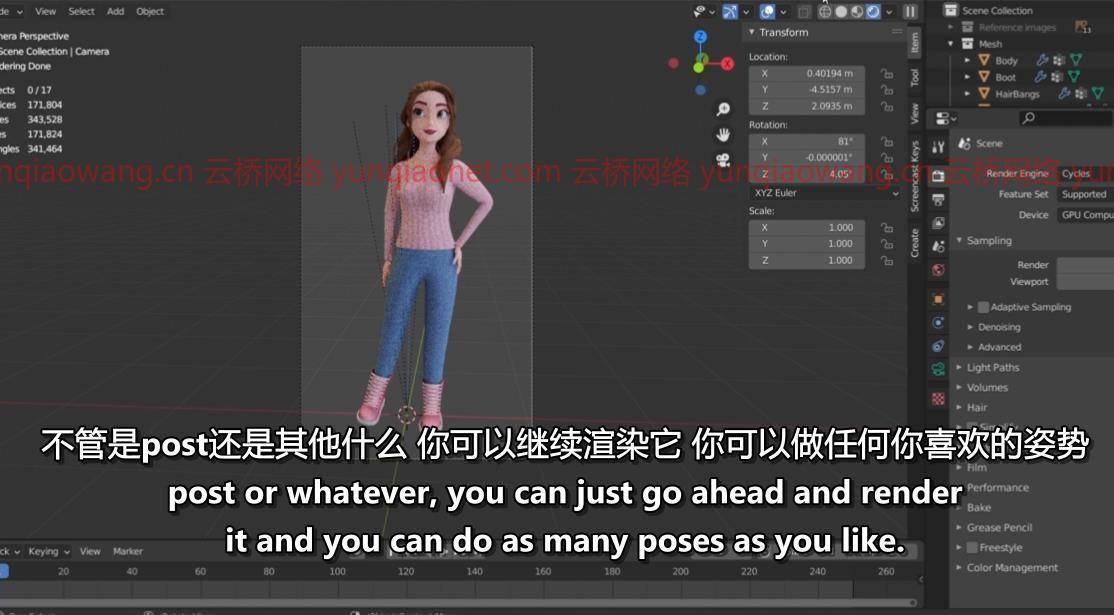
装备完成后,能够给角色摆姿势并制作动画。
描述
欢迎来到“Blender中的终极角色创造:从初学者到专业人士”。
在本课程中,我们将使用开源的3D软件Blender来学习如何用专业的外观来建模、纹理和装配3D角色。
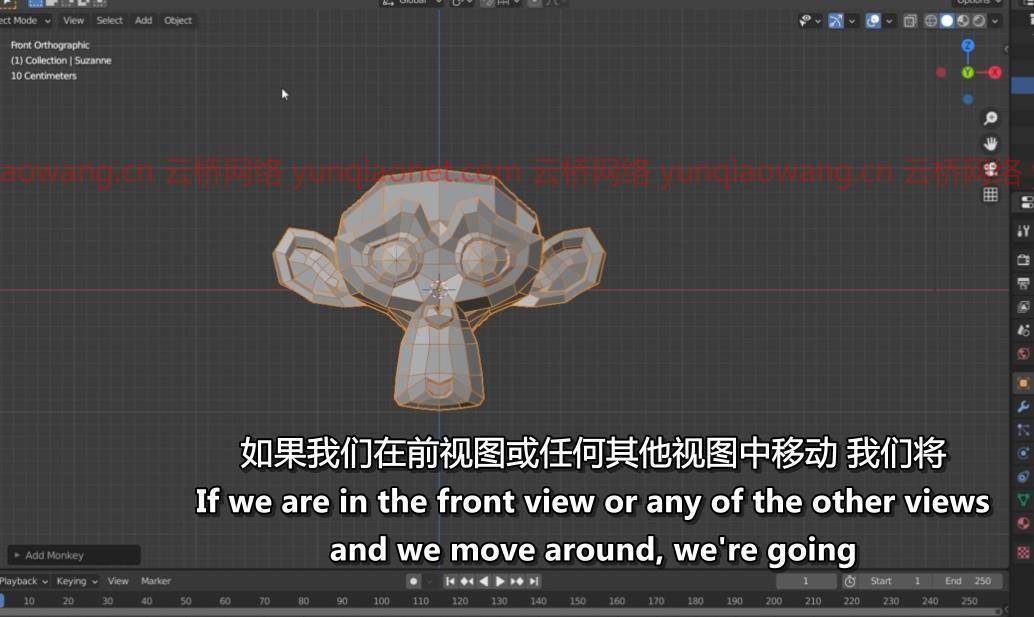
我们将从获得Blender界面的概述开始,这样我们就可以熟悉它以及课程开发所需的所有工具。我们将了解所有的基础知识,如何在视窗中导航,操作场景中的对象,并学习一些快捷方式,这样我们就可以更有效地使用软件。
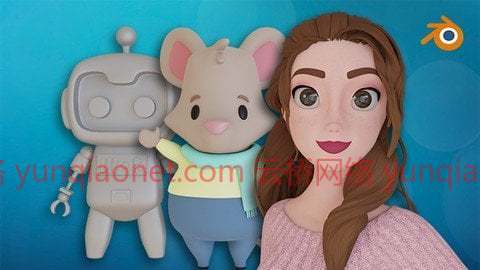
当我们完成对Blender基础知识的快速浏览后,我们实际上将开始创建一些角色。我们的第一个三维建模方法是使用盒子建模技术,这将允许我们建模一个硬表面角色,我们将使用参考图像和一些原始的三维形状来创建一个机器人。
然后我们将创建我们的第二个角色,它是一只老鼠。在这里,我们将使用多边形建模技术,让我们模拟有机字符。
对于我们最后也是最大的项目,我们将创造一个人类角色。我们将使用两种技术,多边形建模和曲线建模方法。我们将确保使用适当的边缘流来制作动画,并且我们将从头开始制作脸部、身体、手、脚、头发、衣服和鞋子的模型。
当我们完成对人类的建模后,我们将继续展开角色的所有部分,创建其UV贴图,这样我们就可以稍后对其进行纹理处理。对于着色阶段,我们将学习不同的方法来创建材质,例如在其他数字绘画软件中绘制纹理,应用在互联网上找到的纹理,创建和应用PBR贴图,创建程序纹理以及使用Blender自己的纹理绘制工具。
稍后,我们将继续绑定部分。我们将能够使用形状键、带有驱动程序和约束的骨骼来创建面部装备,因此我们的人类角色可以获得一些面部表情。然后,我们将通过添加骨骼并遵循正确的方法使它们移动来创建身体装备,我们将理解正向和反向运动学之间的区别,我们将使用控制器来让我们设置角色的姿势。之后,我们会给骨骼一个更好的外观,这样装备会变得更吸引人,使用起来更直观。
最后,我们将从装备向网格分配自动权重,我们还将学习如何使用Blender中的权重绘制工具手动绘制权重,这样我们就可以根据需要更改骨骼的影响。
最后,当所有这些都完成时,我们将能够摆出我们的角色,我们将准备好将我们的人类角色用于动画目的!
所以,如果你想能够为动画创作自己的3D角色,这是适合你的课程!
在课程结束时,你将被完全训练,并将拥有在Blender中构建自己角色的所有必要技能。
这门课程有30多个小时的内容,200多个视频,还有一个老师只是想和其他3D艺术家分享她的知识。
你还在等什么?加入我,我们用Blender创建专业外观的3D角色!
这门课是给谁上的:
对3D建模和动画世界充满好奇的人。
愿意学习如何创作专业外观的3D角色的人。
Genre: eLearning | MP4 | Video: h264, 1280×720 | Audio: AAC, 48.0 KHz
Language: English | Size: 24.8 GB | Duration: 30h 53m
The complete guide on how to model, texture and rig professional 3D characters with Blender!
What you’ll learn
How to navigate in Blender and recognize the workspace.
Be able to identify the different 3D modeling techniques.
How to place reference images which will serve as a guide to model 3D characters.
Use the box modeling technique to create a hard surface character with primitive shapes.
Use the polygon modeling technique to create a simple organic character.
How to use modifiers that will affect an object’s geometry in a non-destructive way.
How to model a professional looking human character with the polygon modeling technique and the curves modeling method.
Create and assign materials to the model.
Understand how to unwrap a 3D mesh into a UV map.
How to organize and export a UV layout to later use it as a guide for painting textures.
Recognize how to use the shader editor and identify certain nodes.
Apply texture images and PBR maps in order to create different materials.
Generate procedural textures combining nodes to compose new shaders.
Modify the 3D mesh with shape keys in order to give facial expressions to the character.
Develop a rig (add bones) which will allow the character to move.
Use drivers to adjust the values of the shape keys and give some constraints to the bone controllers.
Identify the difference between forward kinematics and inverse kinematics.
Design shapes to make the control bones more appealing and intuitive.
How to assign automatic weights to the mesh and how to manually paint weights.
Be able to pose and animate the character once the rig is finished.
Description
Welcome to the “Ultimate character creation in Blender: From beginner to pro”.
In this course we will be using the open-source 3D software, Blender, to learn how to model, texture and rig 3D characters with a professional look.
We will start by getting an overview of the Blender interface, so we can get familiar with it and with all the tools that will be needed for the development of the course. We will get to know all of the very basics, how to navigate around the viewport, manipulate objects on the scene and learn some shortcuts so we can work more efficiently with the software.
When we finish getting the quick run-through of the Blender basics, we will actually start creating some characters. Our first approach to 3D modeling will be by using the box modeling technique which will allow us to model a hard-surface character, we will be using reference images and some primitive 3D shapes to create a Robot.
Then we will create our second character which is a Mouse. Here we will be using the polygon modeling technique which lets us model organic characters.
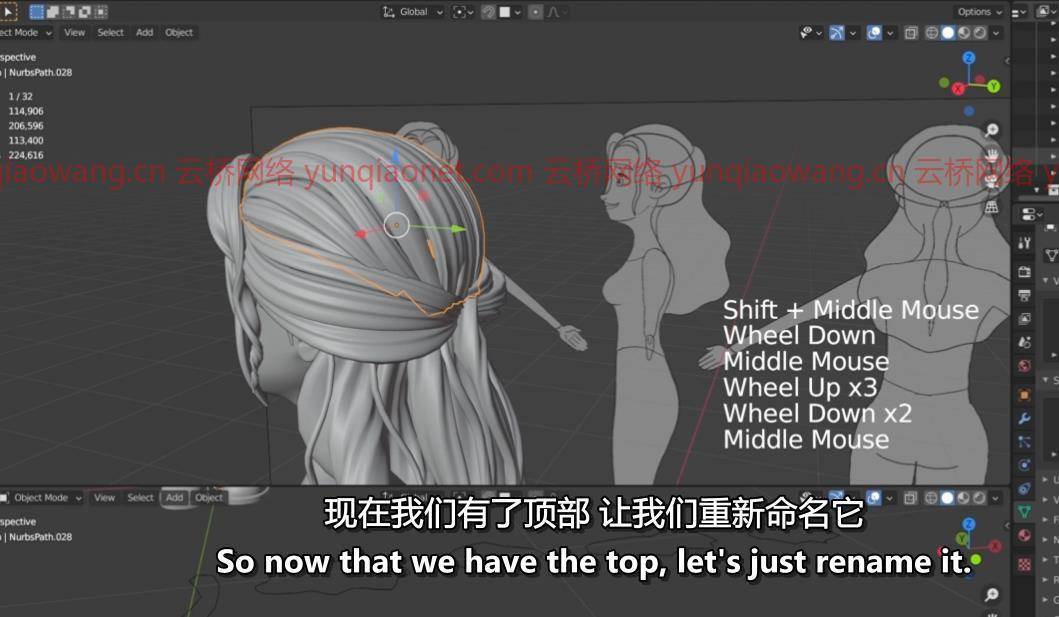
For our last and biggest project we will be creating a human character. We will use two techniques, the polygon modeling and the curves modeling method. We will make sure to work with the proper edge-flow for animation and we will model the face, body, hands, feet, hair, clothes and shoes, all from scratch.
When we finish modeling the human, we will continue by unwrapping all of the parts of the character creating its UV maps, so we can texture it later. For the shading phase, we will learn different methods that we can use to create materials, such as painting textures in other digital painting softwares, applying textures found in the internet, creating and applying PBR maps, creating procedural textures and using Blender’s own Texture Paint tool.
Later on, we will continue with the rigging section. We will be able to create a facial rig using shape keys, bones with drivers and constraints, so our human character can get some facial expressions. Then we will create the body rig by adding bones and following the right method to make them move, we will understand the difference between forward and inverse kinematics and we will be using controllers that will let us pose the character. Afterwards, we will give the bones a nicer look so the rig turns more appealing and intuitive to use.
Lastly, we will assign automatic weights from the rig into the mesh and we will also learn how to paint weights manually with the Weight Paint tool within Blender, so we can change the influence of the bones according to our needs.
In the end, when all of that is done, we will be able to pose our character and we will be ready to use our human character for animation purposes!
So, if you want to be able to create your own 3D characters for animation, this is the right course for you!
By the end of the lessons, you will be completely trained and will have all the necessary skills to build your own characters in Blender.
This course has over 30 hours of content, more than 200 videos and one teacher who just wanted to share her knowledge with fellow 3D artists.
What are you waiting for? Join me as we create professional looking 3D characters with Blender!
Who this course is for:
People who are curious about the world of 3D modeling and animation.
People who are willing to learn how to create professional looking 3D characters.
1、登录后,打赏30元成为VIP会员,全站资源免费获取!
2、资源默认为百度网盘链接,请用浏览器打开输入提取码不要有多余空格,如无法获取 请联系微信 yunqiaonet 补发。
3、分卷压缩包资源 需全部下载后解压第一个压缩包即可,下载过程不要强制中断 建议用winrar解压或360解压缩软件解压!
4、云桥CG资源站所发布资源仅供用户自学自用,用户需以学习为目的,按需下载,严禁批量采集搬运共享资源等行为,望知悉!!!
5、云桥CG资源站,感谢您的赞赏与支持!平台所收取打赏费用仅作为平台服务器租赁及人员维护资金 费用不为素材本身费用,望理解知悉!
6、For users outside China, if Baidu Netdisk is not convenient for downloading files, you can contact WeChat: yunqiaonet to receive a Google Drive download link.


