

要求
下载并安装Blender。免费下载和免费用于任何目的。
描述
加入我的动画课程。
在本课程中,我将从头开始讲述在Blender中创建动画场景的过程。
从第一步到最终渲染。在这个课程中,我们将使用blender 3.0。您将学习将自己的3D动画带入生活的所有步骤。
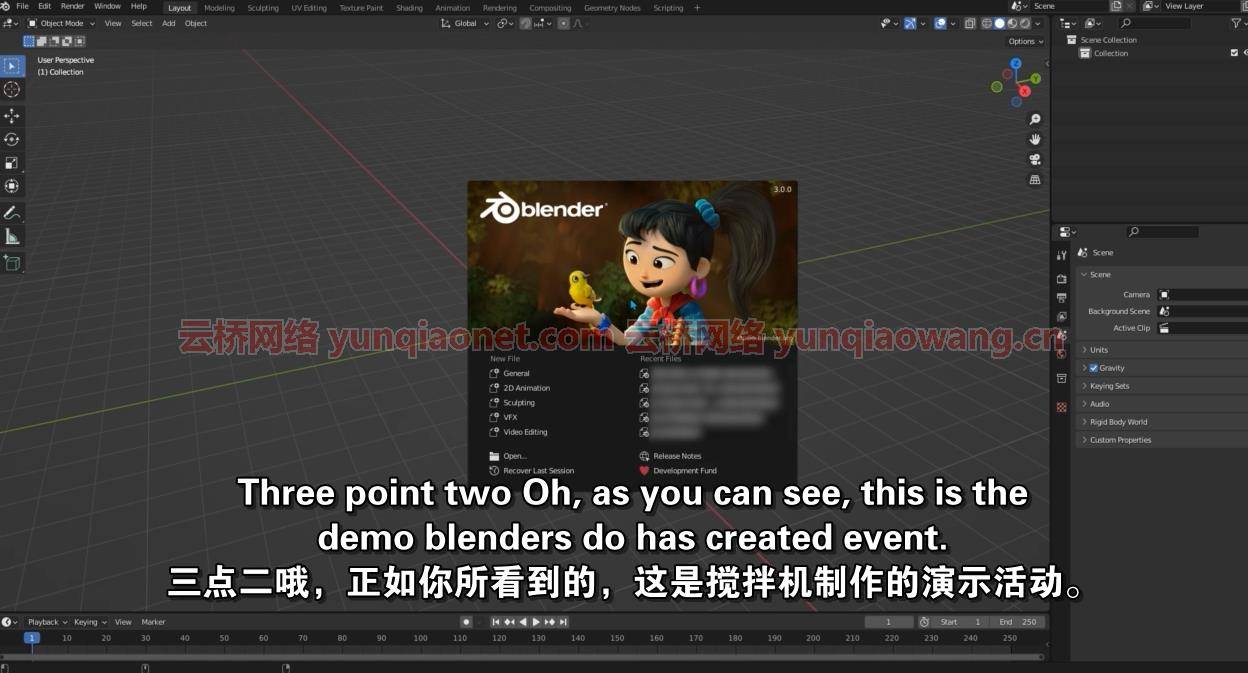
我们将从Blender用户界面和导航工具开始,在继续之前为您提供坚实的基础。
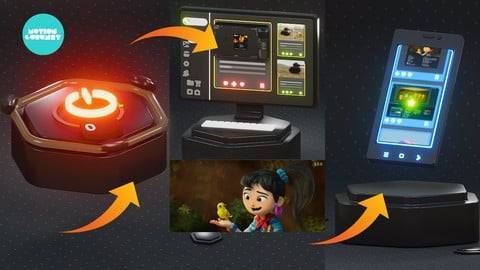
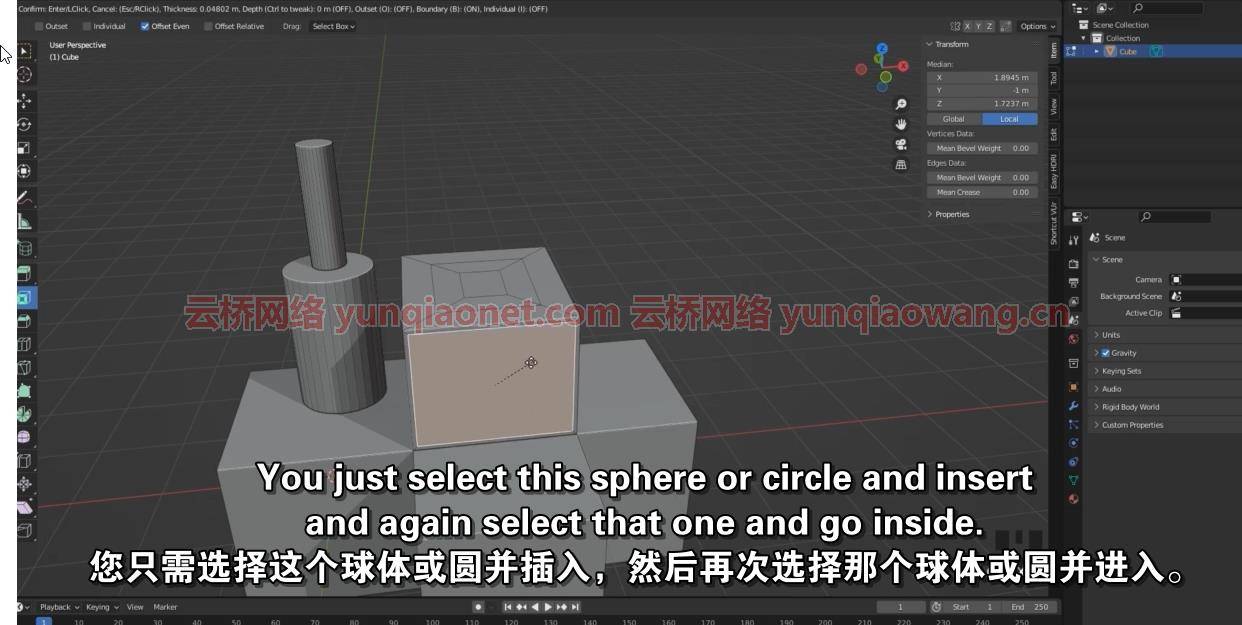
我们将开始建模,三个不同的对象
打开/关闭图标
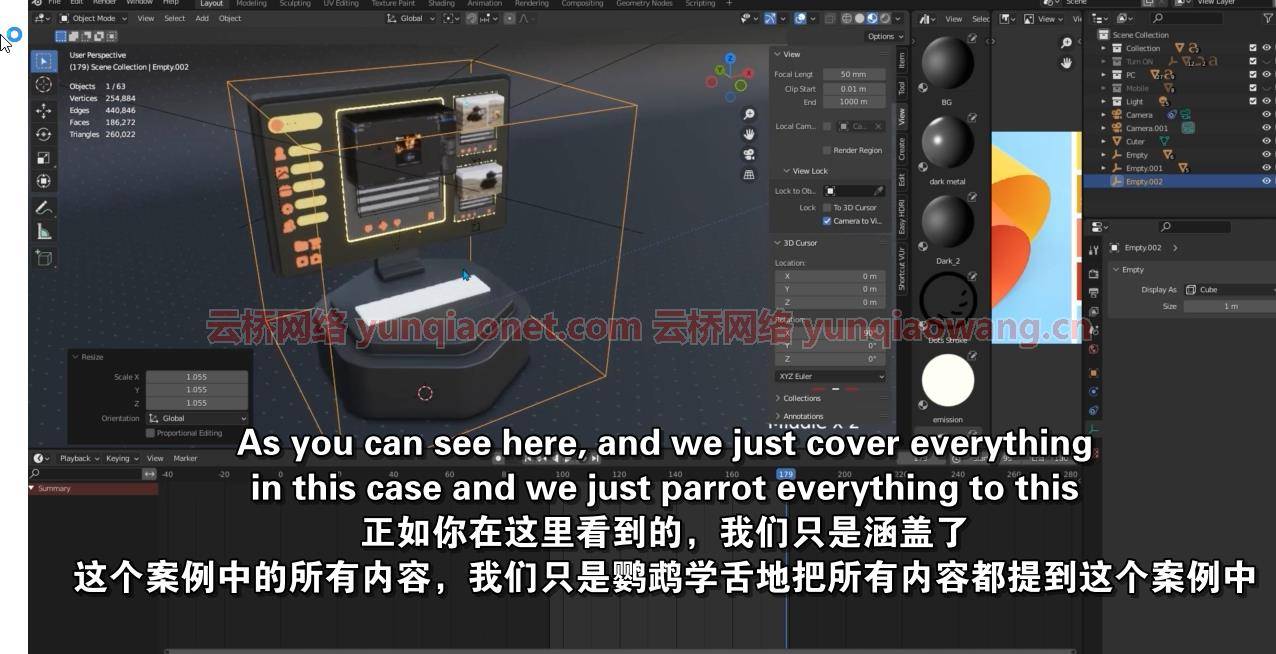
监控
电话
从头开始。在这里,我们将合作所有必要的建模技术。
然后我们使用几何节点Blender 3.0中的一些新节点为文本创建一个数字动画,这非常酷。
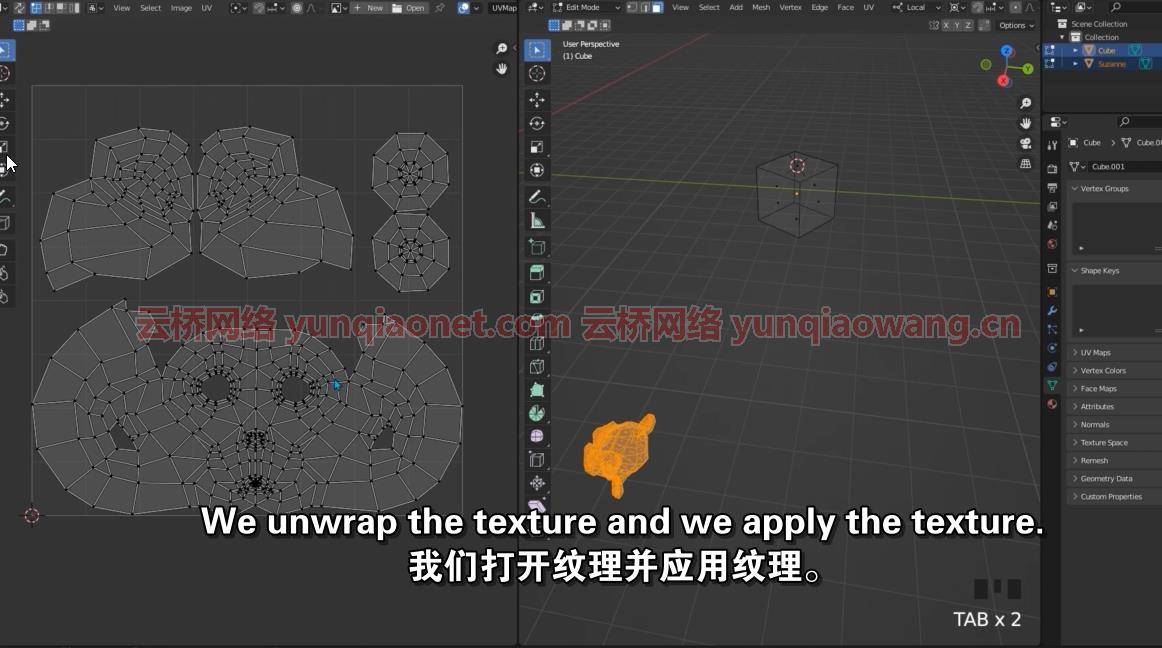
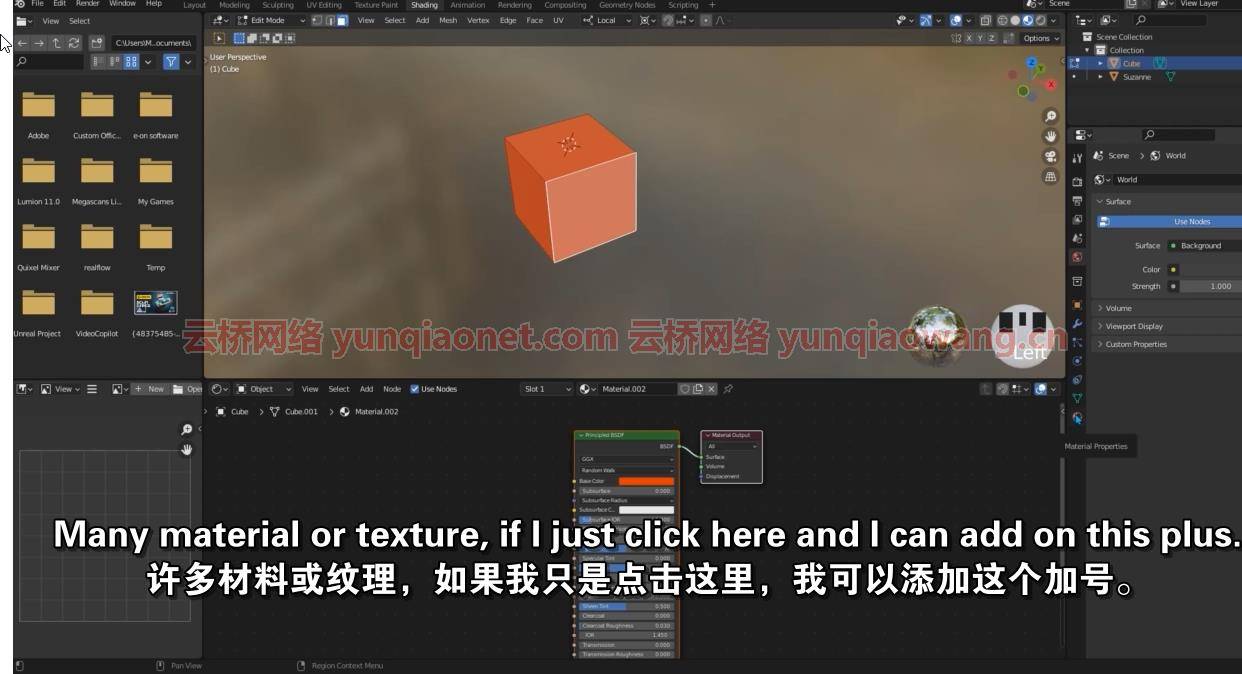
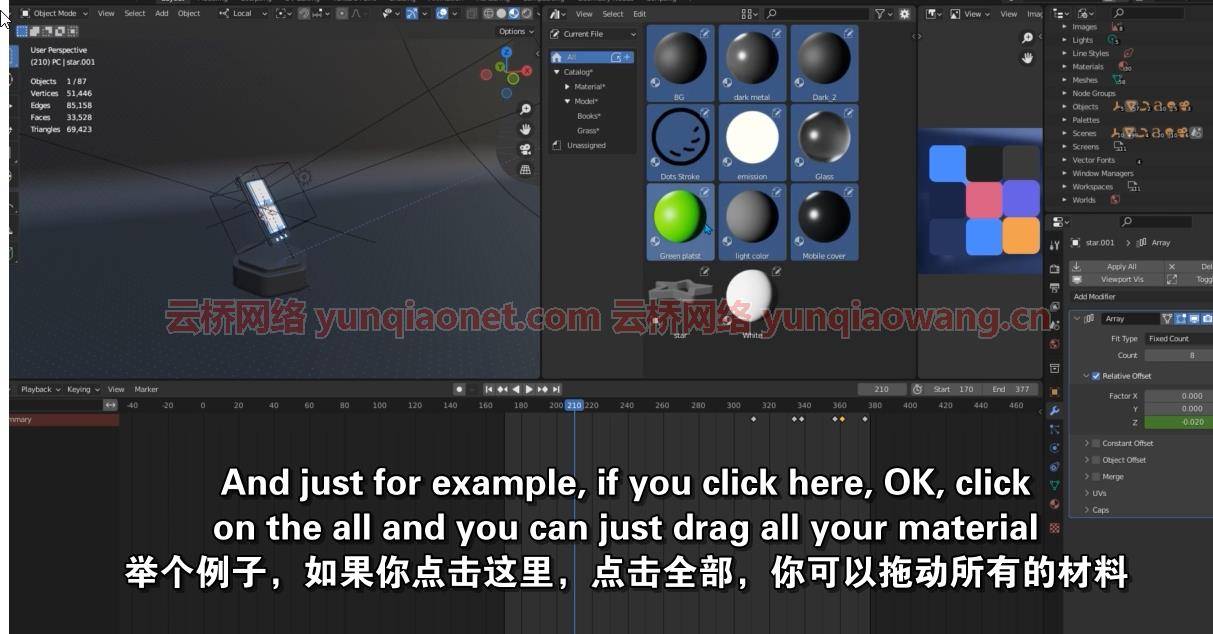
在这一节中,你将学习一些修改器,然后我们准备下一步,也就是纹理化。在这里,我们讨论了如何应用已经在Photoshop中制作的纹理或任何图像,以及如何以简单的方式打开纹理,我们还将添加其他材质。
这里最酷的事情是,我们将使用blender的一个名为:资产库的新部分,它允许我们将我们的材料标记为资产,并通过将它们拖放到一个对象上来保存它们以备将来使用。
之后,我们跳到照明部分,我们玩搅拌机灯,我们带来了一个HDRI。接下来是最重要的部分,那就是动画。在这里,我们将为我们建模的三个3d对象制作动画。
我们解释了图形编辑器和时间线,以及如何使用插值模式和一些手柄来获得非常自然的动画。然后,我们将每个部分的父项设置为空,并为空设置动画。
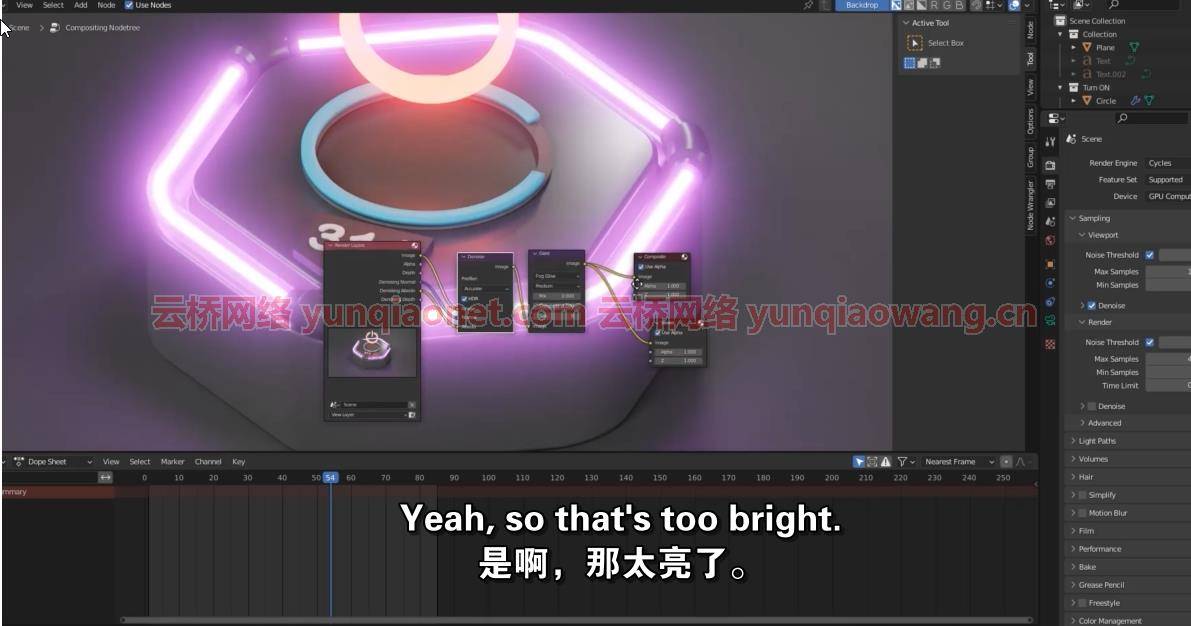
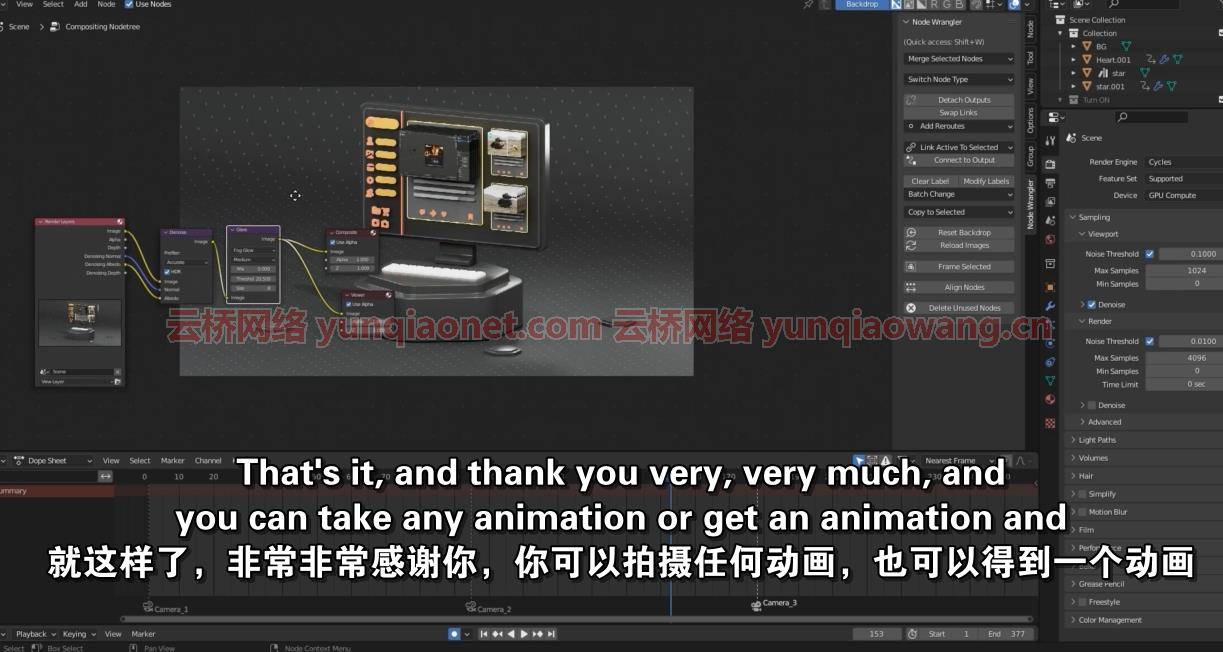
在渲染的下一步,我们将通过循环和Eve的设置,并采取渲染,在合成部分,我们将添加一些节点,使其更好。
这门课是给谁的
本课程面向那些刚开始学习Blender和3D动画的人。不需要以前的经验。
MP4 |视频:h264,1280×720 |音频:AAC,44.1 KHz,2 Ch
语言:英语+中英文字幕(云桥CG资源站 机译) |时长:37节课(7h 6m) |大小解压后:5.71 GB
MP4 | Video: h264, 1280×720 | Audio: AAC, 44.1 KHz, 2 Ch
Genre: eLearning | Language: English + srt | Duration: 37 lectures (7h 6m) | Size: 5.63 GB
Use Blender 3.0 to create your own amazing 3d animations
What you’ll learn
Blender’s Interface and Navigation
Modeling
UV Map
Texturing & Materials
Animation
Lighting
Rendering
Compositing
Requirements
Download and install Blender. Free to download and free to use for any purpose.
Description
Join me for this curse for animation.
In this course, I will go through the process of creating an animated scene in Blender from scratch.
From the first step to the final render. In this curse, we will using blender 3.0. You’ll learn all the steps involved in bringing your own 3D animations to life.
We’ll start with the Blender user interface and navigation tools, providing you with a solid foundation before moving forward.
We are going to start modeling, three different objects
• the turning on/off icon
• monitor
• the phone
from scratch. Here we will work together all necessary techniques for modeling.
Then we create a number animation using some of the new node in geometry node Blender 3.0 for text, which is very cool.
During this section, you will learn some of the modifiers and then we prepare for the next step, which is texturing. There we discuss how to apply a texture that you already made in Photoshop or any image you have and how we unwrap textures in an easy way and we will going to add other material as well.
The coolest thing here is that we are going to using new section of blender called: Assets library, which allow us to mark our material as an assets and save them for the future use by jut drag and drop them on an object.
After that we jump to the lighting part, we play around with blender lights, and we bring in a HDRI. Next is the most important part, which is animating. Here we will animate each of those three 3d objects that we modeled.
We explain the graph editor and timeline and how to play with interpolation mode and play around with some handle to get a very natural looking animation. Then we will parent each part to an empty and animate the empty as well.
The next step in rendering we will go through the setting for cycle and Evee and take a render and in compositing section, we will add some node to make that much nicer.
Who this course is for
This course is intended for those just starting out in Blender and 3D animation. No prior experience is needed.
1、登录后,打赏30元成为VIP会员,全站资源免费获取!
2、资源默认为百度网盘链接,请用浏览器打开输入提取码不要有多余空格,如无法获取 请联系微信 yunqiaonet 补发。
3、分卷压缩包资源 需全部下载后解压第一个压缩包即可,下载过程不要强制中断 建议用winrar解压或360解压缩软件解压!
4、云桥CG资源站所发布资源仅供用户自学自用,用户需以学习为目的,按需下载,严禁批量采集搬运共享资源等行为,望知悉!!!
5、云桥CG资源站,感谢您的赞赏与支持!平台所收取打赏费用仅作为平台服务器租赁及人员维护资金 费用不为素材本身费用,望理解知悉!


评论(19)
谢谢分享
谢谢分享学习一下
谢谢分享
谢谢分享
有翻译 看看哦