

关于迈凯轮培训课程
欢迎来到迈凯轮教程,在本教程中,我们将在17小时40分钟内对迈凯轮650S进行建模和渲染。本教程包括准备参考,预建模迈凯轮汽车车身,添加汽车细节,展开和UV,纹理和材质,以及使用3Ds max中的Vray和Corona渲染引擎进行照明的步骤。Mclaren 650s Gt3 Tutorial ( Modeling, Texturing, Lighting )
翻转法线
讲师:米拉德·坎巴里
时长:17小时40分钟23节课
视频:MP4 1920×1042 44 KHz |语言:英语+中英文字幕(机译)
大小解压后:4.8 GB 含建模参考图

包含
23个全高清视频文件
时长:17小时40分钟视频MP4格式,
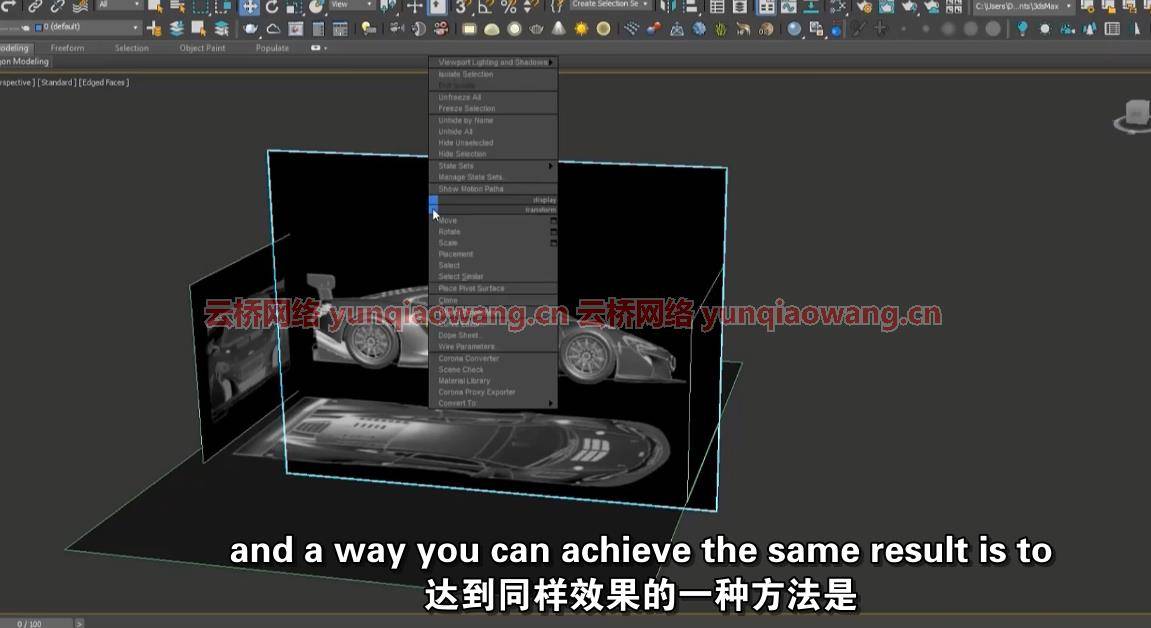
第一步,设置参考
在这一步中,我们检查我们的图像和引用,在3ds Max中设置我们的引用,并为开始建模阶段准备文件。
第二步,开始建模的第一阶段
我们用最简单的建模方法在3ds Max中开始我们的工作,我们一片一片地建模车身。首先,我们只对迈凯轮的一般形式进行建模,以得出正确的初始形式。所有这些步骤都是在3Ds Max中完成的,不需要使用任何特殊的插件或脚本。对于建模步骤,已经考虑了一种可以被所有级别理解和使用的方法。
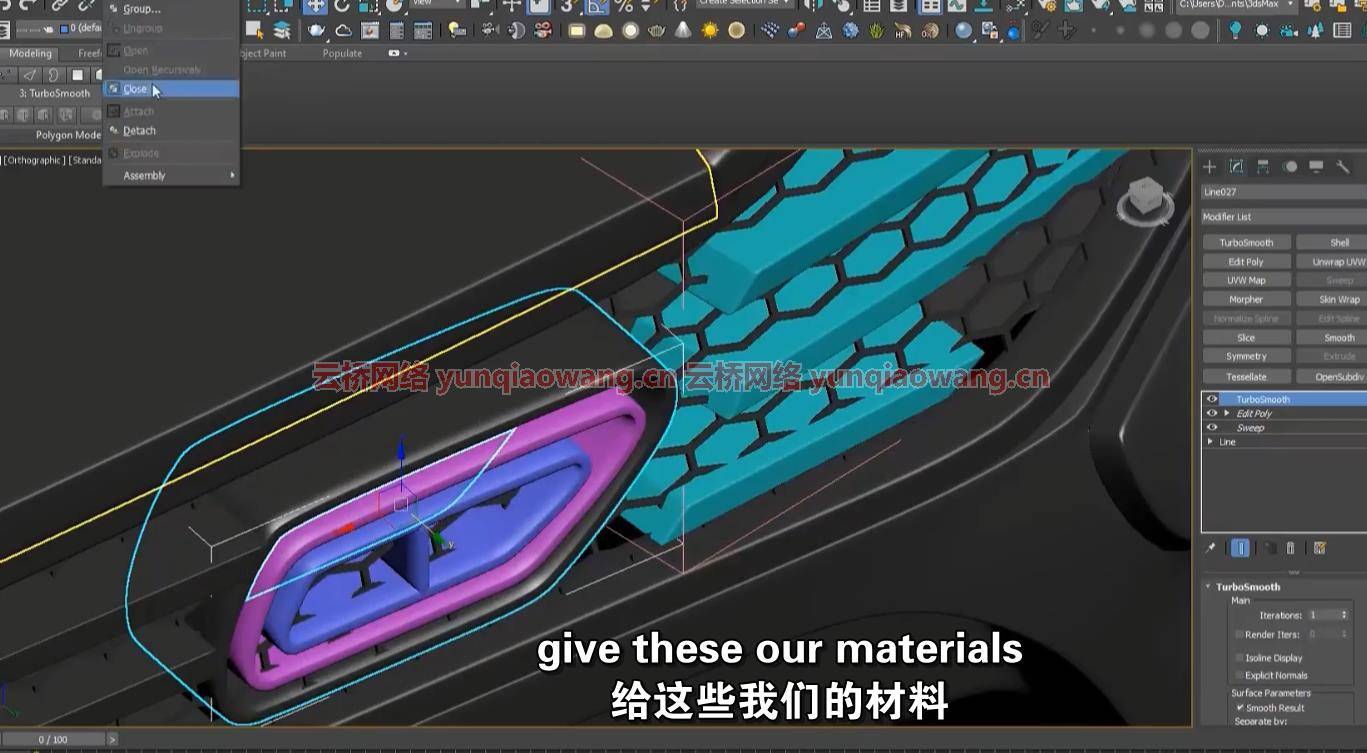
第三步,添加细节
在这一步的训练中,我们将一部分一部分地检查迈凯轮的所有部件,并根据参考资料添加细节。在本节中,我们使用3Ds Max中的涡轮平滑方法创建一个高细节模型。在教程的这一部分,我们将使用3Ds Max在建模方面的优势和长处,并学习如何使用堆栈修改器。在添加细节和最终确定我们的模型之后,我们继续下一部分。
第四步,UV和展开
在这一部分,我们在UV讨论中使用了一个很棒的软件,叫做Rizom Lab。这种选择的原因是3ds Max的“展开”修改器的弱点,它会扰乱工作过程,尤其是高多边形模型。而且伴随着所有这些情况,软件的各种功能在工作过程中极大地帮助了我们。我们将汽车的模型一部分一部分地输入到软件中,并遵循展开过程。经过这些步骤,我们继续我们的方式在物质品特。
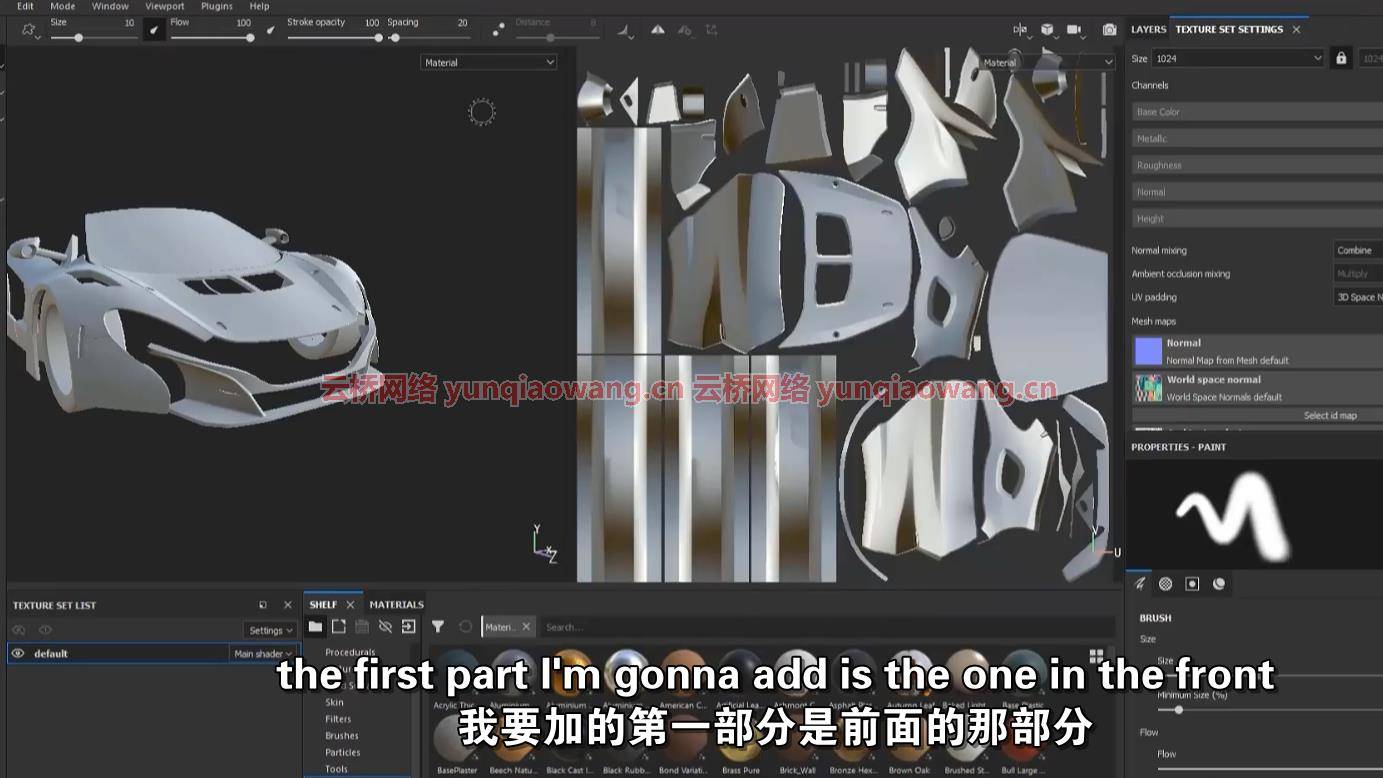
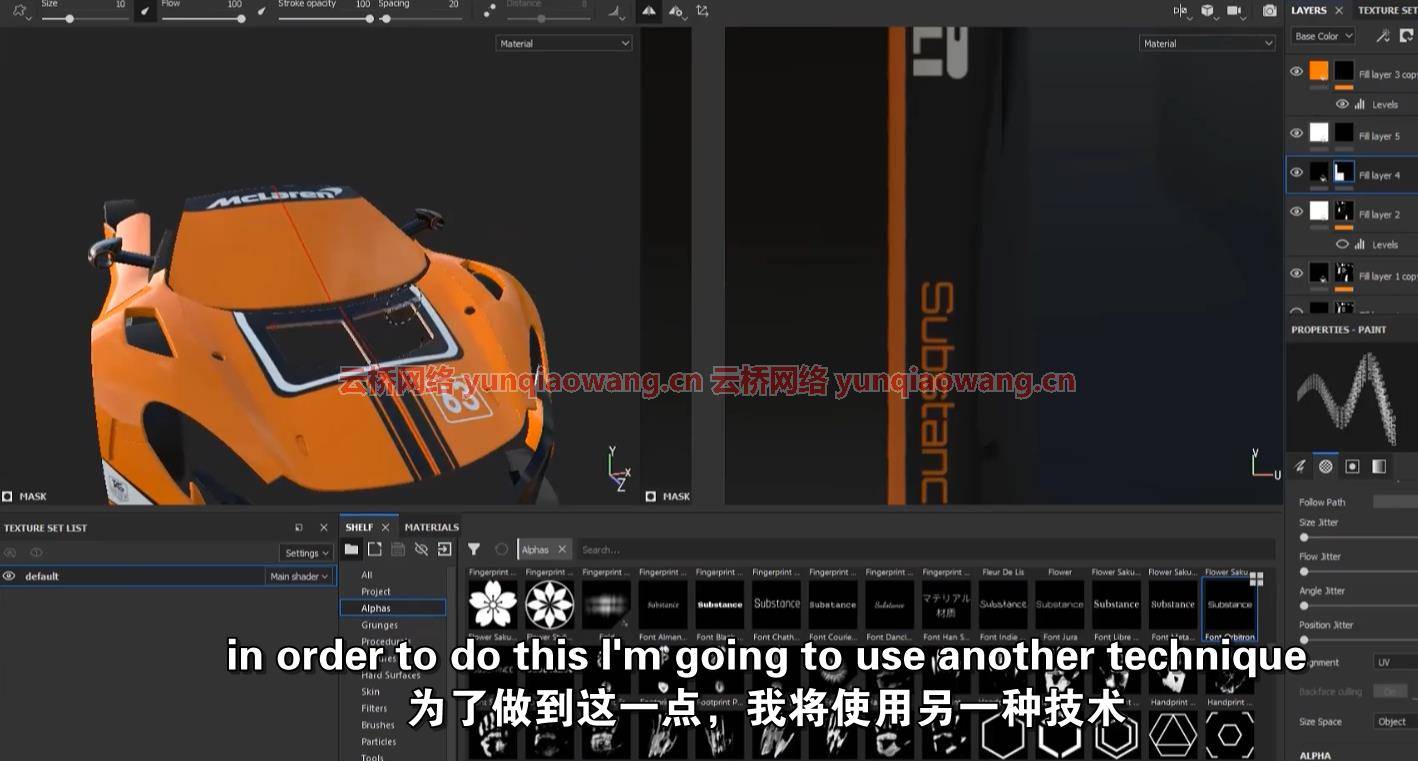
第五步,纹理和材质
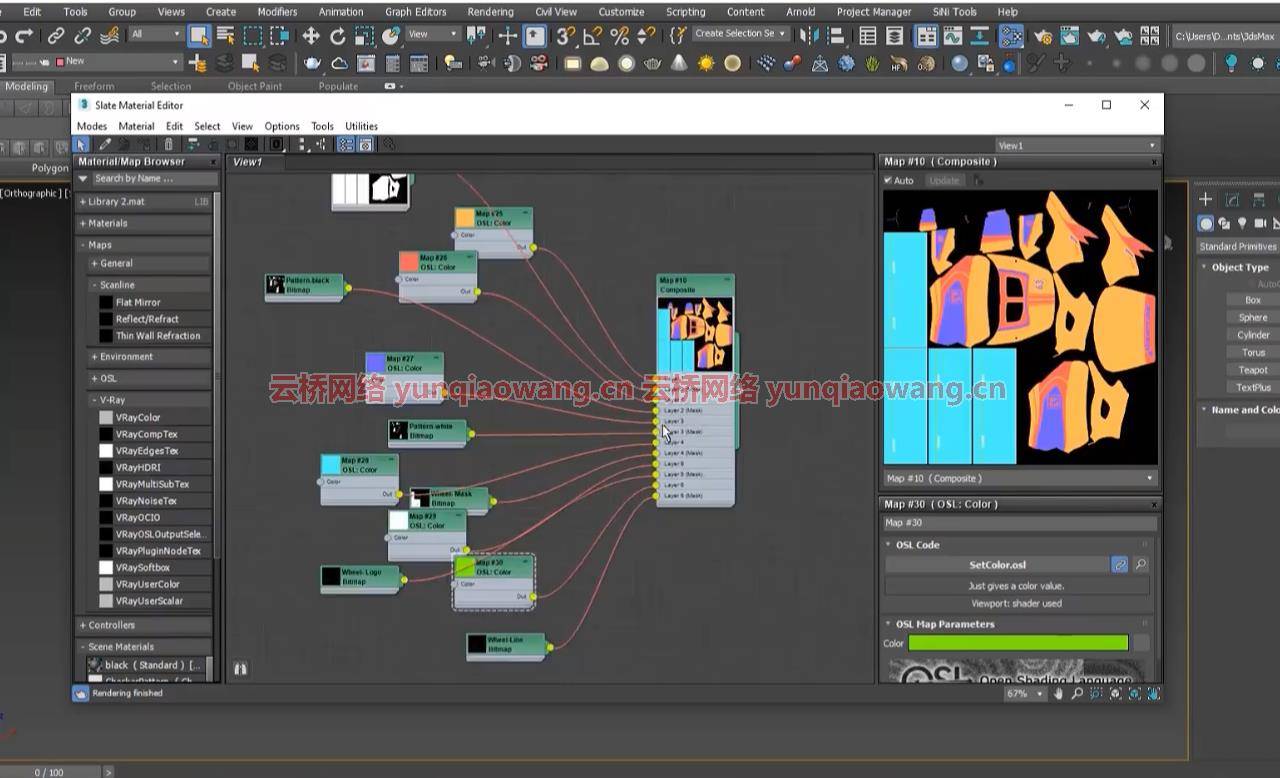
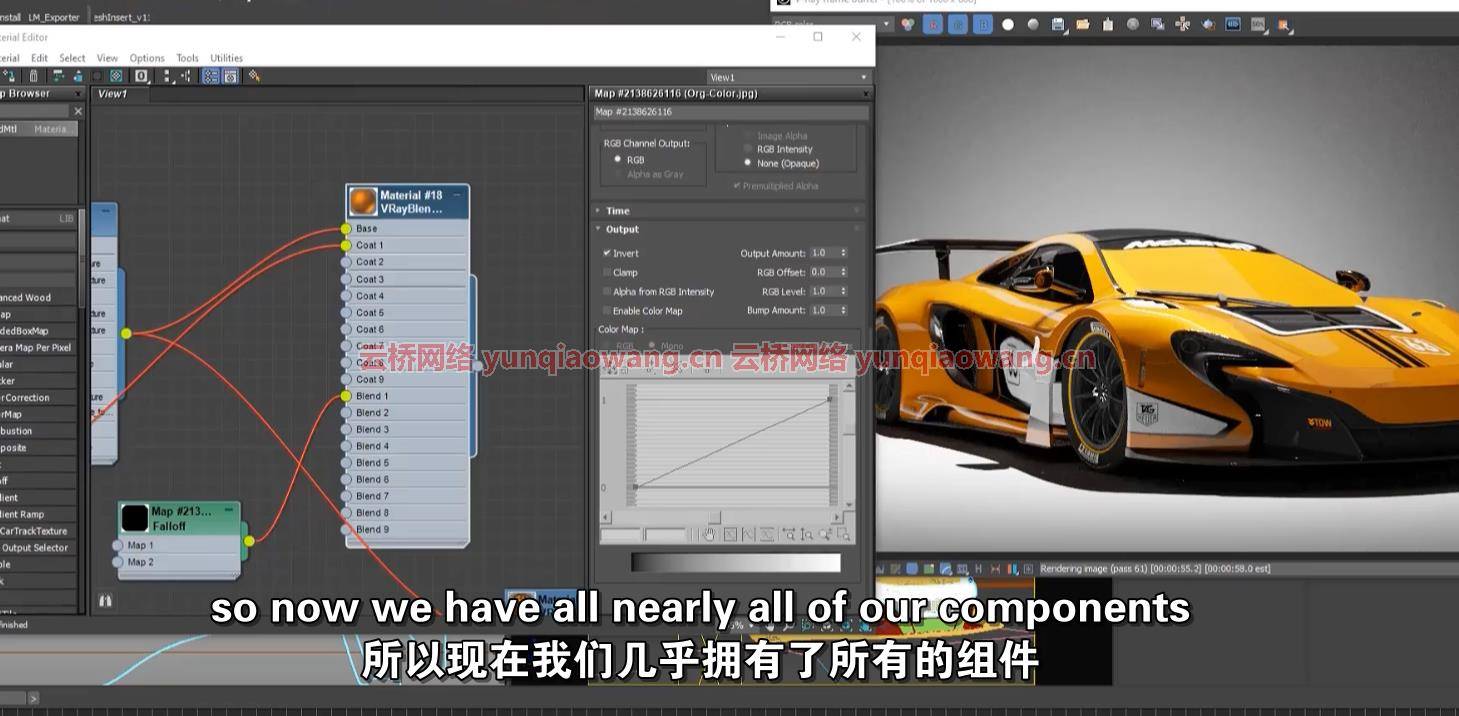
这一部分分为两个部分,在第一部分我们开始制作材质,我们需要在Corona和Vray中制作材质。除了物质Pinter,我们还会用到Photoshop。在这一节中,您可以使用我的方法,也可以使用任何其他资源或方法。对于这一节,我尝试考虑了一个非常实用的方法,用最少的知识使用纹理领域优秀的软件,Substance Painter。在第二部分,我们将学习如何在另一个软件中创建着色器,这里是3ds Max,从我们在Substance Painter中创建的纹理。
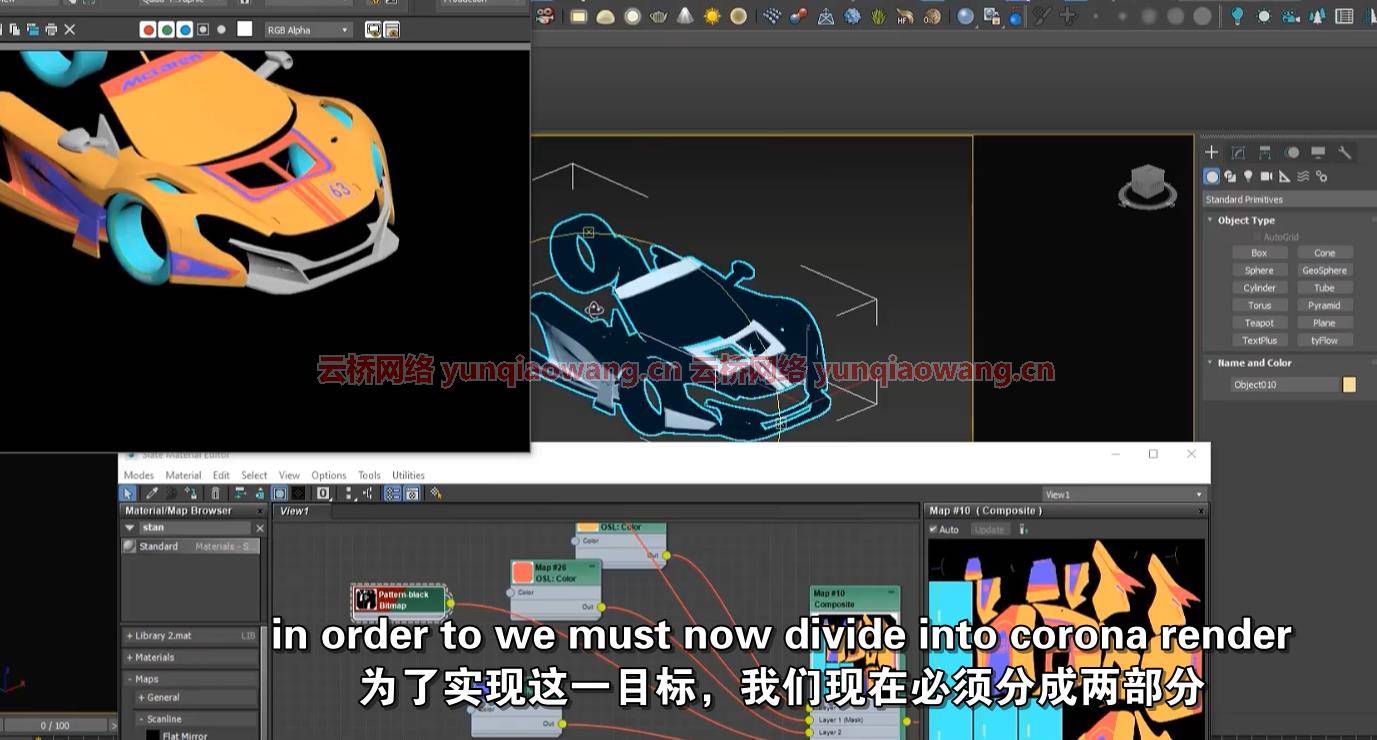
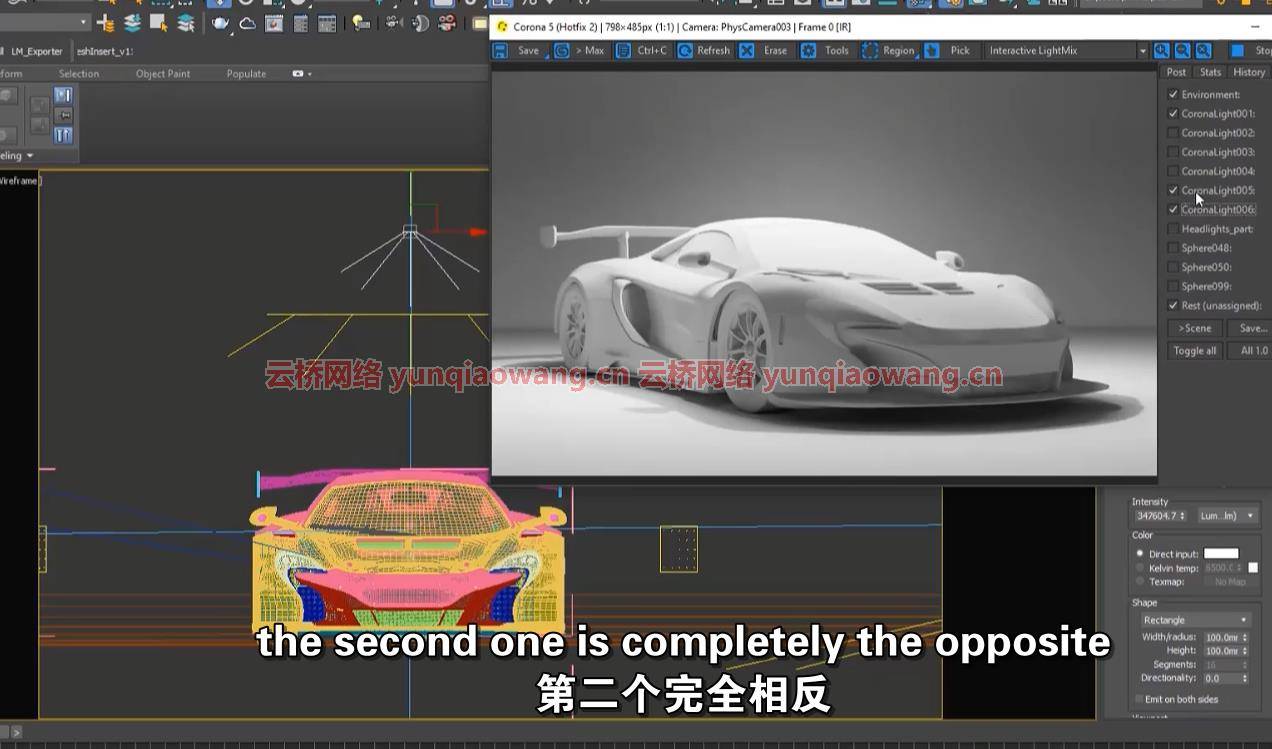
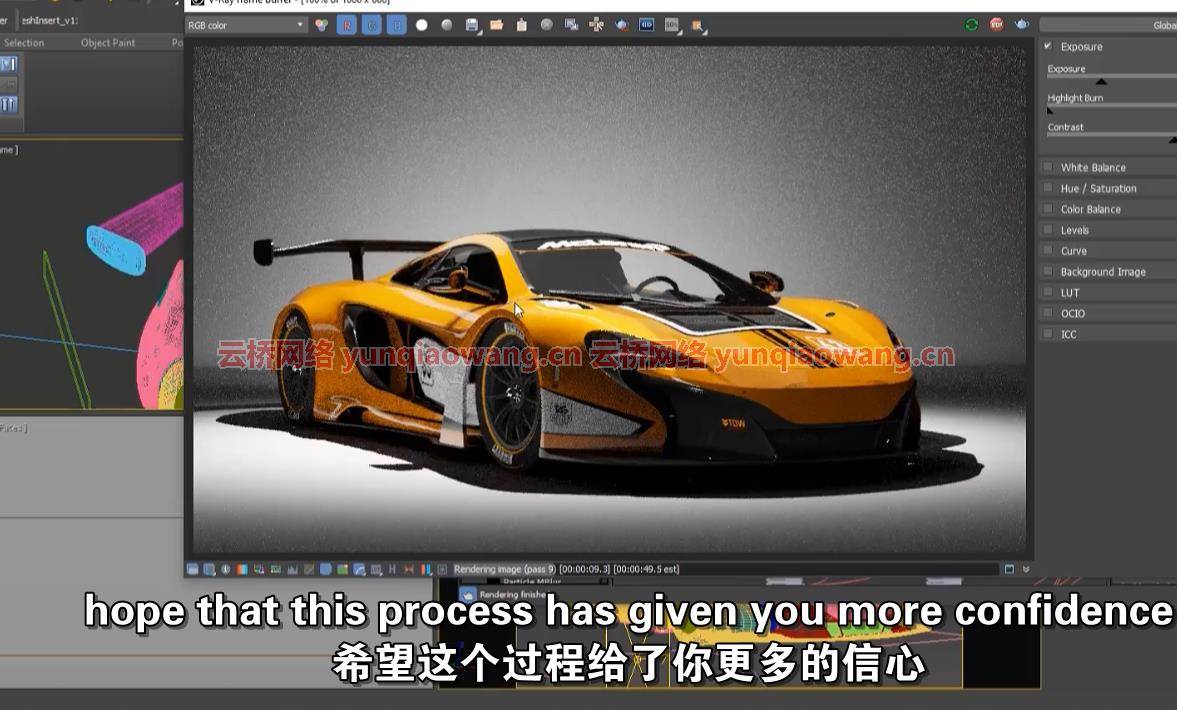
第六步,阴影,照明和渲染
这一部分也有2个独立的部分,从零到英雄。着色器构造、照明和渲染的所有阶段都在两个渲染引擎Vray和Corona中完成。你可以使用这一节几乎所有的步骤,尤其是在Substance Pinter中制作的纹理的使用,以及任何渲染引擎中光照的规则和方法。
有什么要求?
建议使用我们在整个教程中使用的相同软件来学习课程:3Ds Max用于建模,RizomLab用于UV和展开,Substance Painter用于创建纹理,Vray或Corona用于渲染。但是,您可以使用自己软件中使用的所有方法。
目标受众是谁?
迈凯轮教程是针对新手和中级的。你至少要知道3ds max,Vray,Corona,Substance Painter,Rizom Lab的基础知识。
FlippedNormals
Instructors: Milad Kambari
Duration: 17h 40m • 23 Lessons
Video: MP4 1920×1042 44 KHz | English
Size: 4.6789 GB
ABOUT MCLAREN TRAINING COURSE
Welcome to McLaren tutorial, in this tutorial we are going to model and render a McLaren 650S in 17 hours and 40 minutes. This tutorial includes the steps of preparing a reference, pre-modeling the body of a McLaren car, adding car details, Unwrap and UV, texturing and material, and lighting with the Vray and Corona rendering engine in 3Ds max.
INCLUDES
23 Full HD Video Files
Duration: 17hrs 40 min video MP4 format with full audio commentary in English
FIRST STEP, SETUP REFERENCE
In this step, we check our images and references, and setup our references in 3ds Max, and prepare the file for start modeling phase.
SECOND STEP, START FIRST PHASE OF MODELING
We start our work inside 3ds Max with the simplest method of modeling, and we model the car body piece by piece. At first, we only model the general form of the McLaren to arrive at a correct initial form. All these steps are done inside the 3Ds Max without using any special plugins or scripts. For modeling steps, a method has been considered that can be understood and used by all levels.
THIRD STEP, ADDING FINE DETAIL
In this Step of the training, we will examine all the parts of the Mclaren part by part and add the details according to the references. In this section, we create a high-detail model using the TurboSmooth method in 3Ds Max. In this part of the tutorial, we will use one of the advantages and strengths of 3Ds Max in modeling and learn how to use the stack modifier. After adding the details and finalizing our model, we move on to the next part.
FOURTH STEP, UV AND UNWRAP
In this part, we use a wonderful software in UV discussion called Rizom Lab. The reason for this choice is the weakness of 3ds Max’s Unwrap Modifier, which disrupts the work process, especially high-poly models. And along with all these cases, the various features of the software greatly help us in the work process. We enter the model of the car into the software part by part and follow the unwrap process. After these steps, we continue our way in Substance Pinter.
FIFTH STEP, TEXTURING AND MATERIAL
This part is divided into 2 parts, in the first part we start making the textures that we need to make the material in Corona and Vray. In addition to Substance Pinter, we will also use Photoshop. In this section, you can use my method, or you can use any other resource or method. For this section, I have tried to consider a very practical method to use the excellent software in the field of texturing, Substance Painter, with the least knowledge. In the second part, we will learn how to create shaders in another software, which is 3ds Max here, from the textures we created in Substance Painter.
SIXTH STEP, SHADERING, LIGHTING, AND RENDERING
This part also has 2 separate parts from zero to hero. All stages of shader construction, lighting and rendering are done in 2 rendering engines, Vray and Corona. You can use almost all the steps in this section, especially the use of textures made in Substance Pinter, and the rules and methods of lighting in any rendering engine.
WHAT ARE THE REQUIREMENTS?
It is recommended to follow the course with the same software we use throughout the tutorial: 3Ds Max for Modeling, RizomLab for UV and Unwrap, Substance Painter for Creating Texture, Vray or Corona for Rendering. However, you can use all the methods used in your own software.
WHO IS THE TARGET AUDIENCE?
the McLaren tutorial is aimed at beginners and intermediates. You should know at least basic knowledge of 3ds max, Vray, Corona, Substance Painter, and Rizom Lab.
1、登录后,打赏30元成为VIP会员,全站资源免费获取!
2、资源默认为百度网盘链接,请用浏览器打开输入提取码不要有多余空格,如无法获取 请联系微信 yunqiaonet 补发。
3、分卷压缩包资源 需全部下载后解压第一个压缩包即可,下载过程不要强制中断 建议用winrar解压或360解压缩软件解压!
4、云桥CG资源站所发布资源仅供用户自学自用,用户需以学习为目的,按需下载,严禁批量采集搬运共享资源等行为,望知悉!!!
5、云桥CG资源站,感谢您的赞赏与支持!平台所收取打赏费用仅作为平台服务器租赁及人员维护资金 费用不为素材本身费用,望理解知悉!
6、For users outside China, if Baidu Netdisk is not convenient for downloading files, you can contact WeChat: yunqiaonet to receive a Google Drive download link.


评论(15)
Thanks for sharing
感谢分享
感谢分享
感谢分享
感谢分享